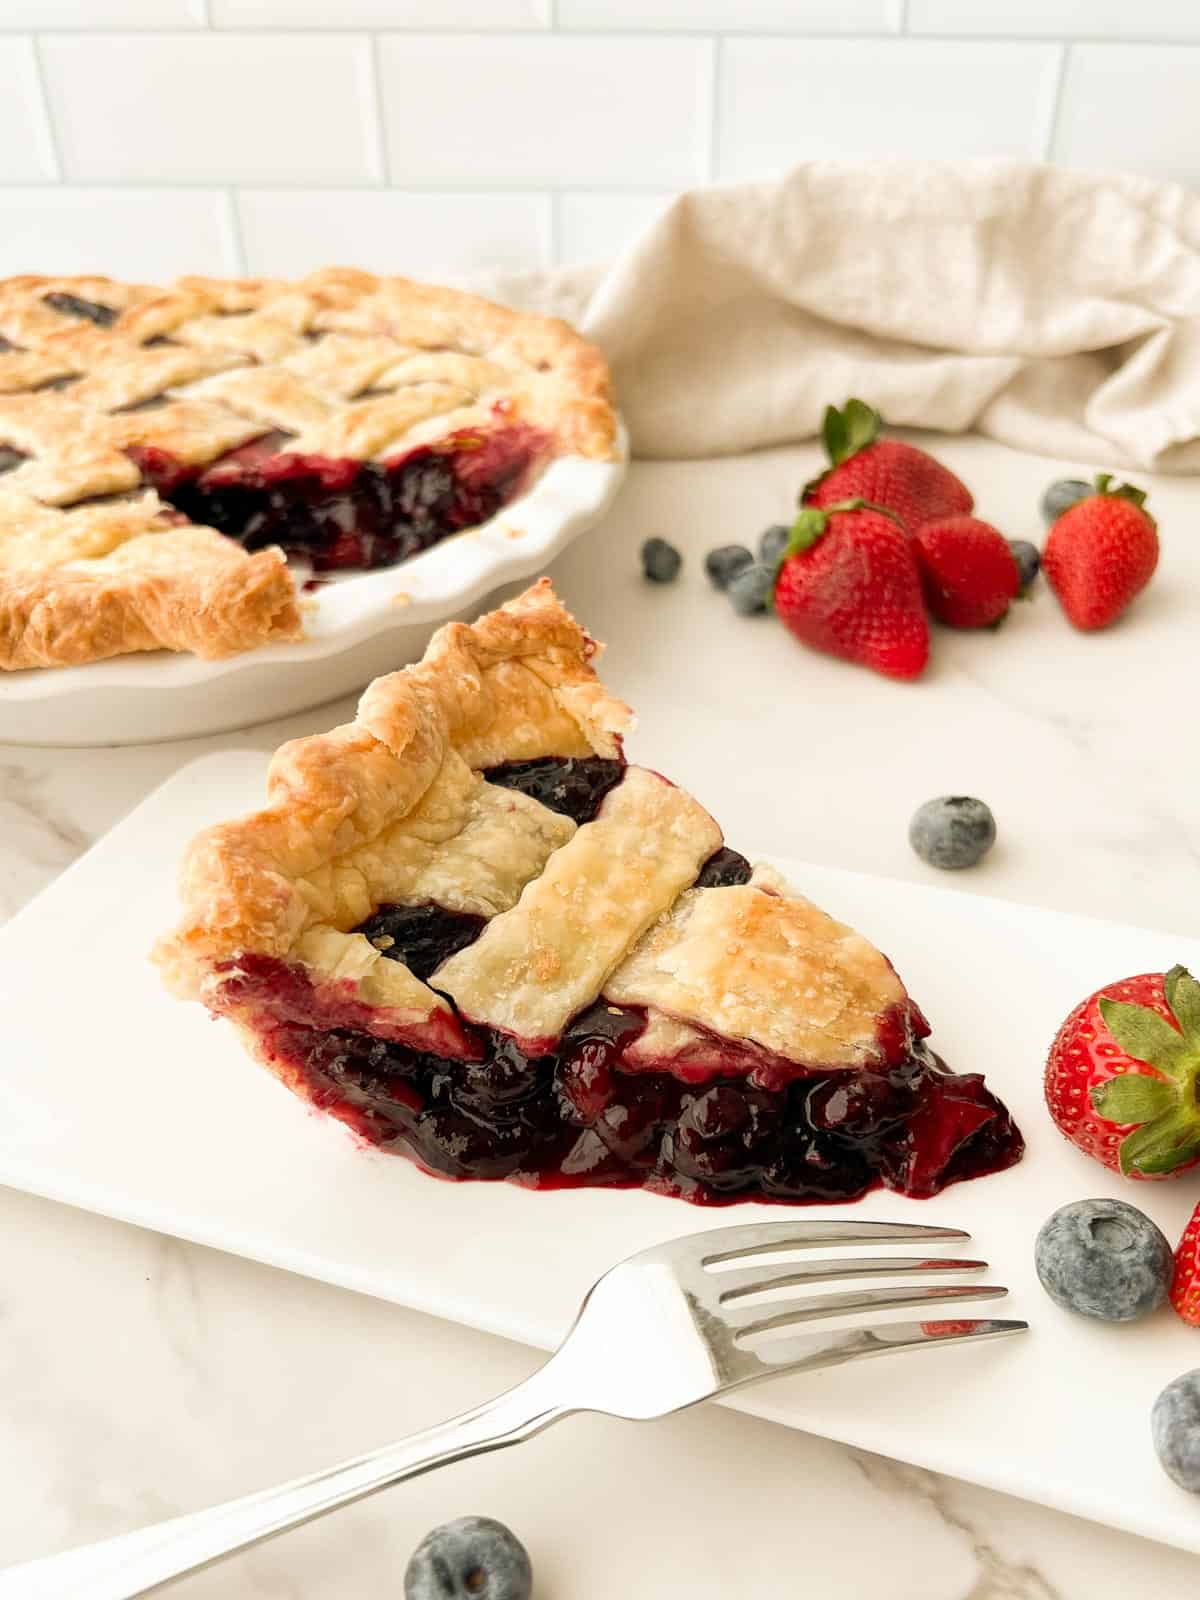
Blueberry strawberry pie is summer in a slice. It stars a flaky, buttery crust and a sweet fruit filling. It's a fun recipe that can be made with fresh or frozen berries!
Save This Recipe! 💌
There are few things more nostalgic than summertime and this pie recipe brings back all the feels. It's a show stopper, with a beautiful lattice crust that highlights the rich fruit filling.
The secret to this amazing pie is the pre-cooked strawberry blueberry filling. I promise this step is worth it! Pre-cooking intensifies the fruit flavors and thickens the filling to perfection. The end result is a bakery-style pie that transforms simple ingredients into a work of art.
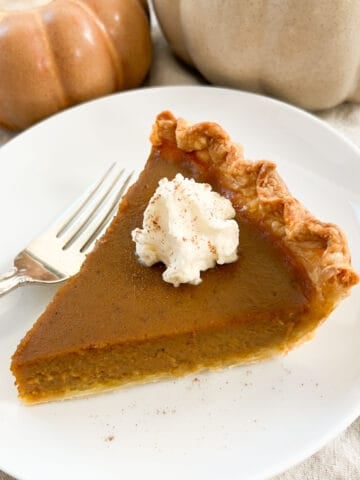
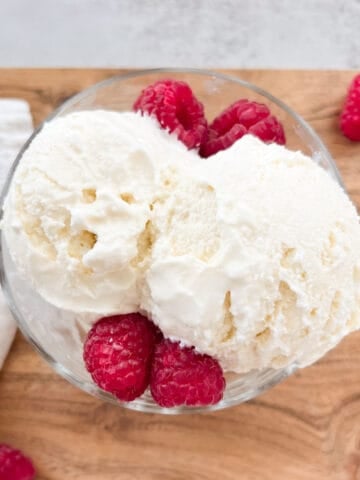
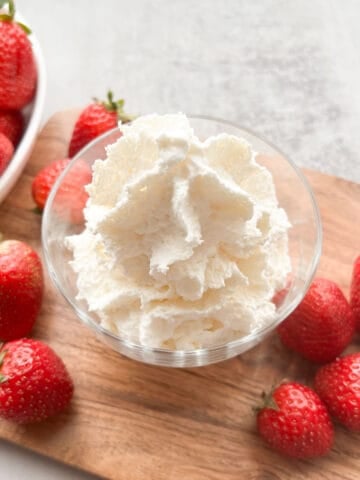
Since this pie can be made with fresh or frozen fruit, it's the perfect year-round dessert – whether it's actually summertime or you just need a dose of summer nostalgia. I love to top it with my homemade no egg vanilla ice cream, which enhances the fresh fruit flavors. If you love whipped cream on your pie, I highly recommend checking out this whipped cream dispenser recipe. The hint of vanilla is the perfect compliment to the buttery crust. And if you're looking for more pie recipes, this pumpkin custard pie is a winner!
Jump to:
Ingredients
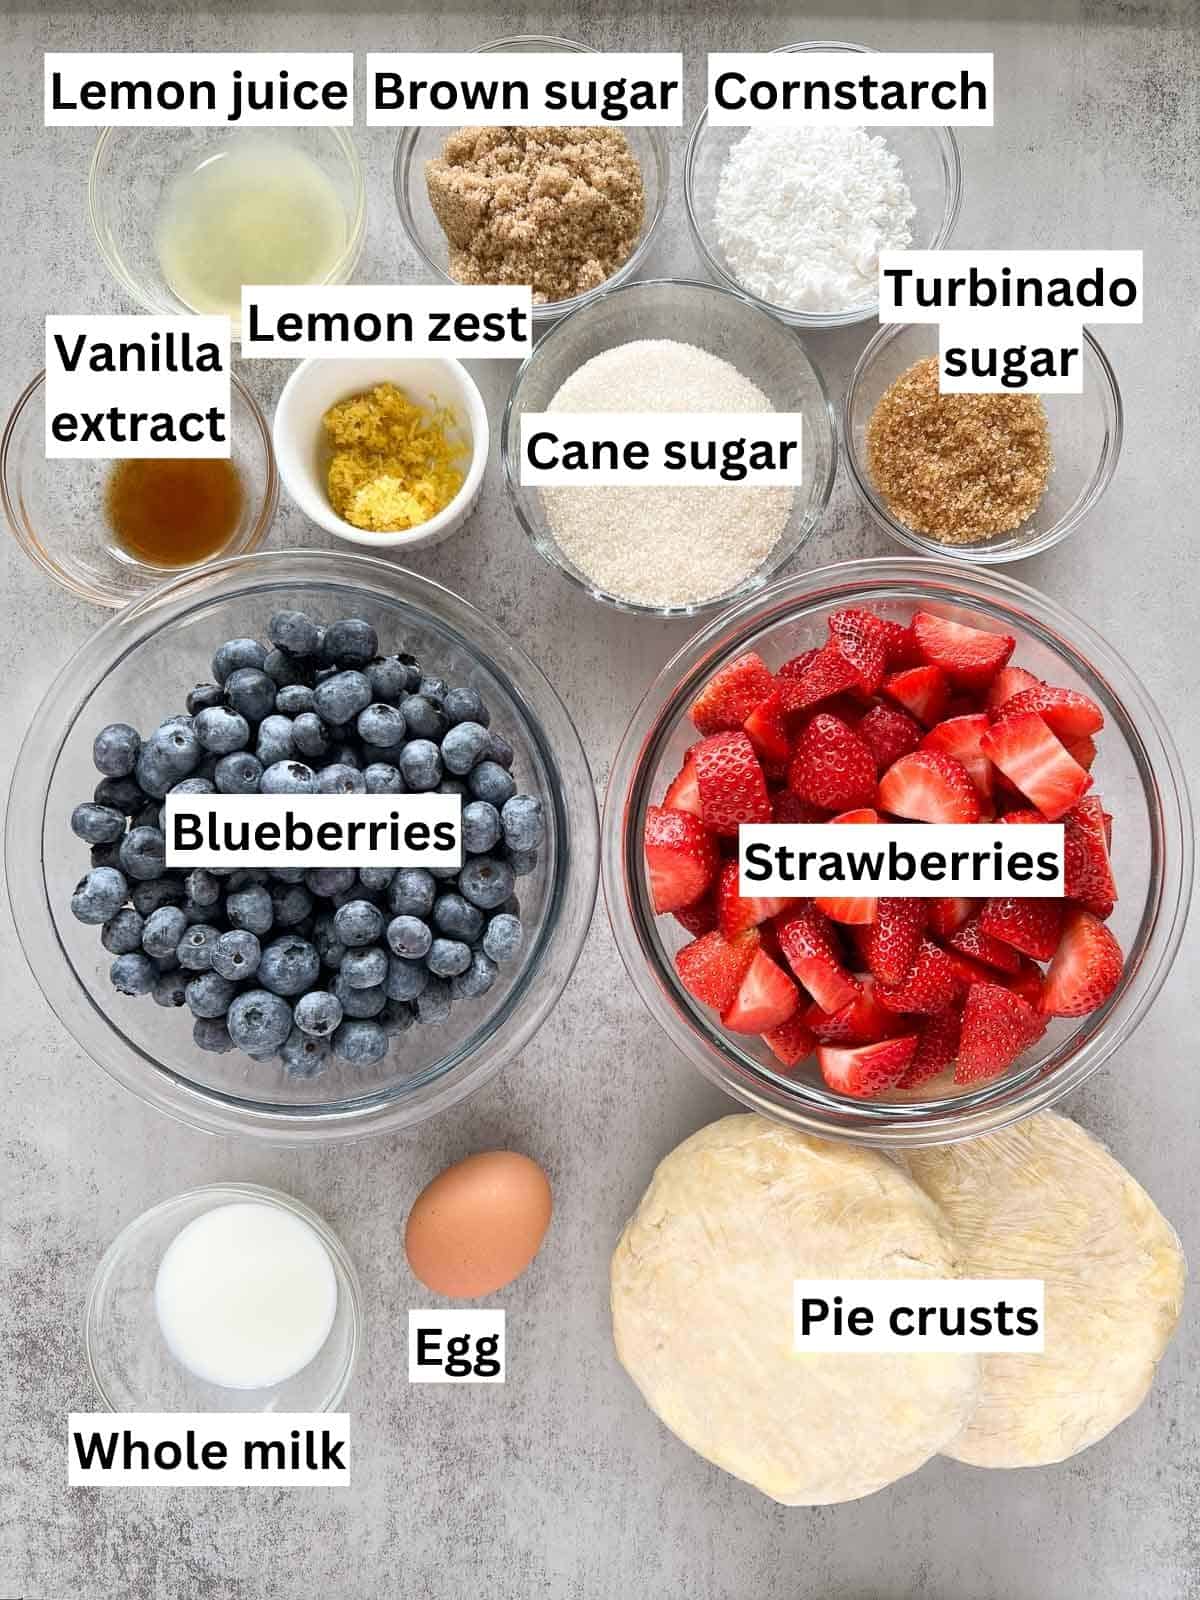
Ingredient Notes:
- Strawberries and blueberries: you can use fresh or frozen berries. Since the filling is pre-cooked with cornstarch, it will thicken beautifully regardless of which type you use. If using frozen fruit, do not thaw before cooking. This prevents the fruit from releasing too much juice. Regardless of whether you use fresh or frozen, strawberries and blueberries are a match made in heaven. They are perfectly sweet and contain antioxidants and vitamins!
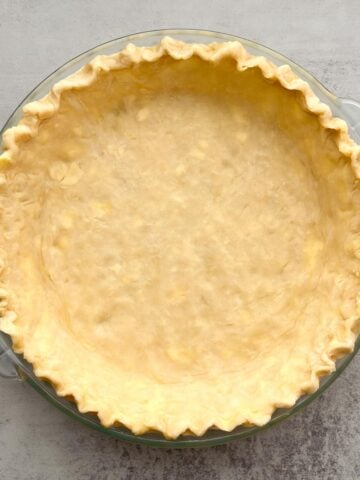
- Pie crusts: you will need two unbaked pie crusts for this recipe. The crusts should fit a deep pie plate that measures 9 inches in diameter and 1.5 to 2 inches deep. You can use a store bought crust, but I highly recommend making your own! I love using this homemade, all butter, 321 pie dough recipe. It makes just enough for this pie and is so flaky and tender! Using a homemade dough is also a great way to ensure that your crust contains only high quality, simple ingredients.
- Lemon zest: this brightens up the fruit flavors. I use a fine grater or zester to scrape only the outer, yellow portion of the lemon peel. This avoids the white part underneath that can be quite bitter.
- Lemon juice: this adds a hint of tartness that balances the sweetness of the pie. I recommend using freshly squeezed lemon juice for the best flavor.
- Turbinado sugar: a minimally processed and refined sugar, it has larger crystals that add decoration and a hint of texture to the pie crust. The crystals are a golden brown color from the natural molasses in sugar cane.
See recipe card for quantities.
Substitutions and Variations
- Cane sugar: you can substitute this with granulated sugar.
- Milk: adding milk in the egg wash makes the crust golden and shiny. You can replace it with another milk of your choice or omit it altogether. The crust may be less shiny as a result.
- Cornstarch: you can substitute this with arrowroot powder or tapioca starch. Arrowroot powder has the same thickening power as cornstarch. Since it has a finer texture, it may result in a silkier filling. Tapioca starch may create a slightly softer and more translucent filling.
- Turbinado sugar: if you don't have any on hand, you can substitute with cane or granulated sugar. It can also be omitted altogether.
- Add a festive twist: instead of the lattice crust, you could top the pie with dough-shaped stars for the 4th of July or hearts for Valentine's Day. Simply roll the dough out as usual and make the shapes with cookie cutters!
Instructions
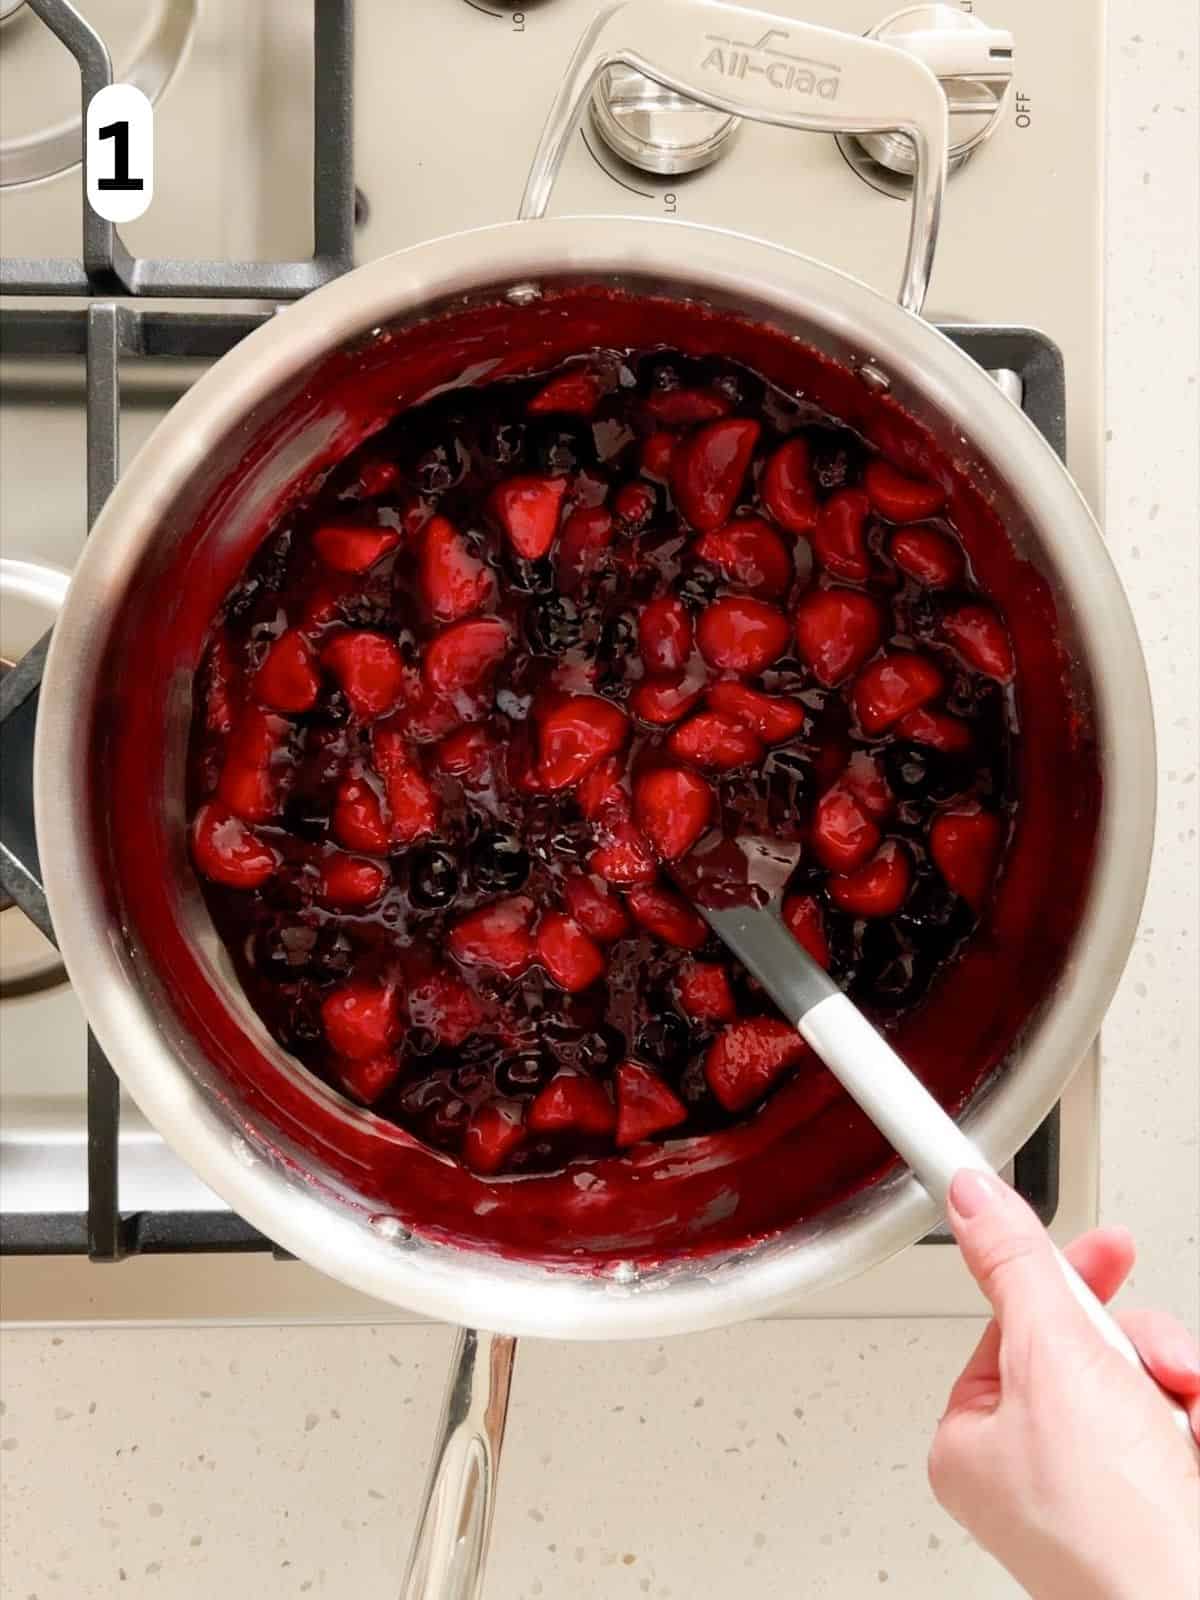
Step 1: combine the strawberries, blueberries, cane sugar, brown sugar, cornstarch, lemon juice, lemon zest, and vanilla extract in a medium-sized saucepan. Cook over medium heat for about 10 minutes, stirring frequently until it thickens. Then remove from the heat and transfer the filling to a large rectangular dish so it cools faster. Place on a wire rack and cool for about 1 hour until it reaches room temperature.
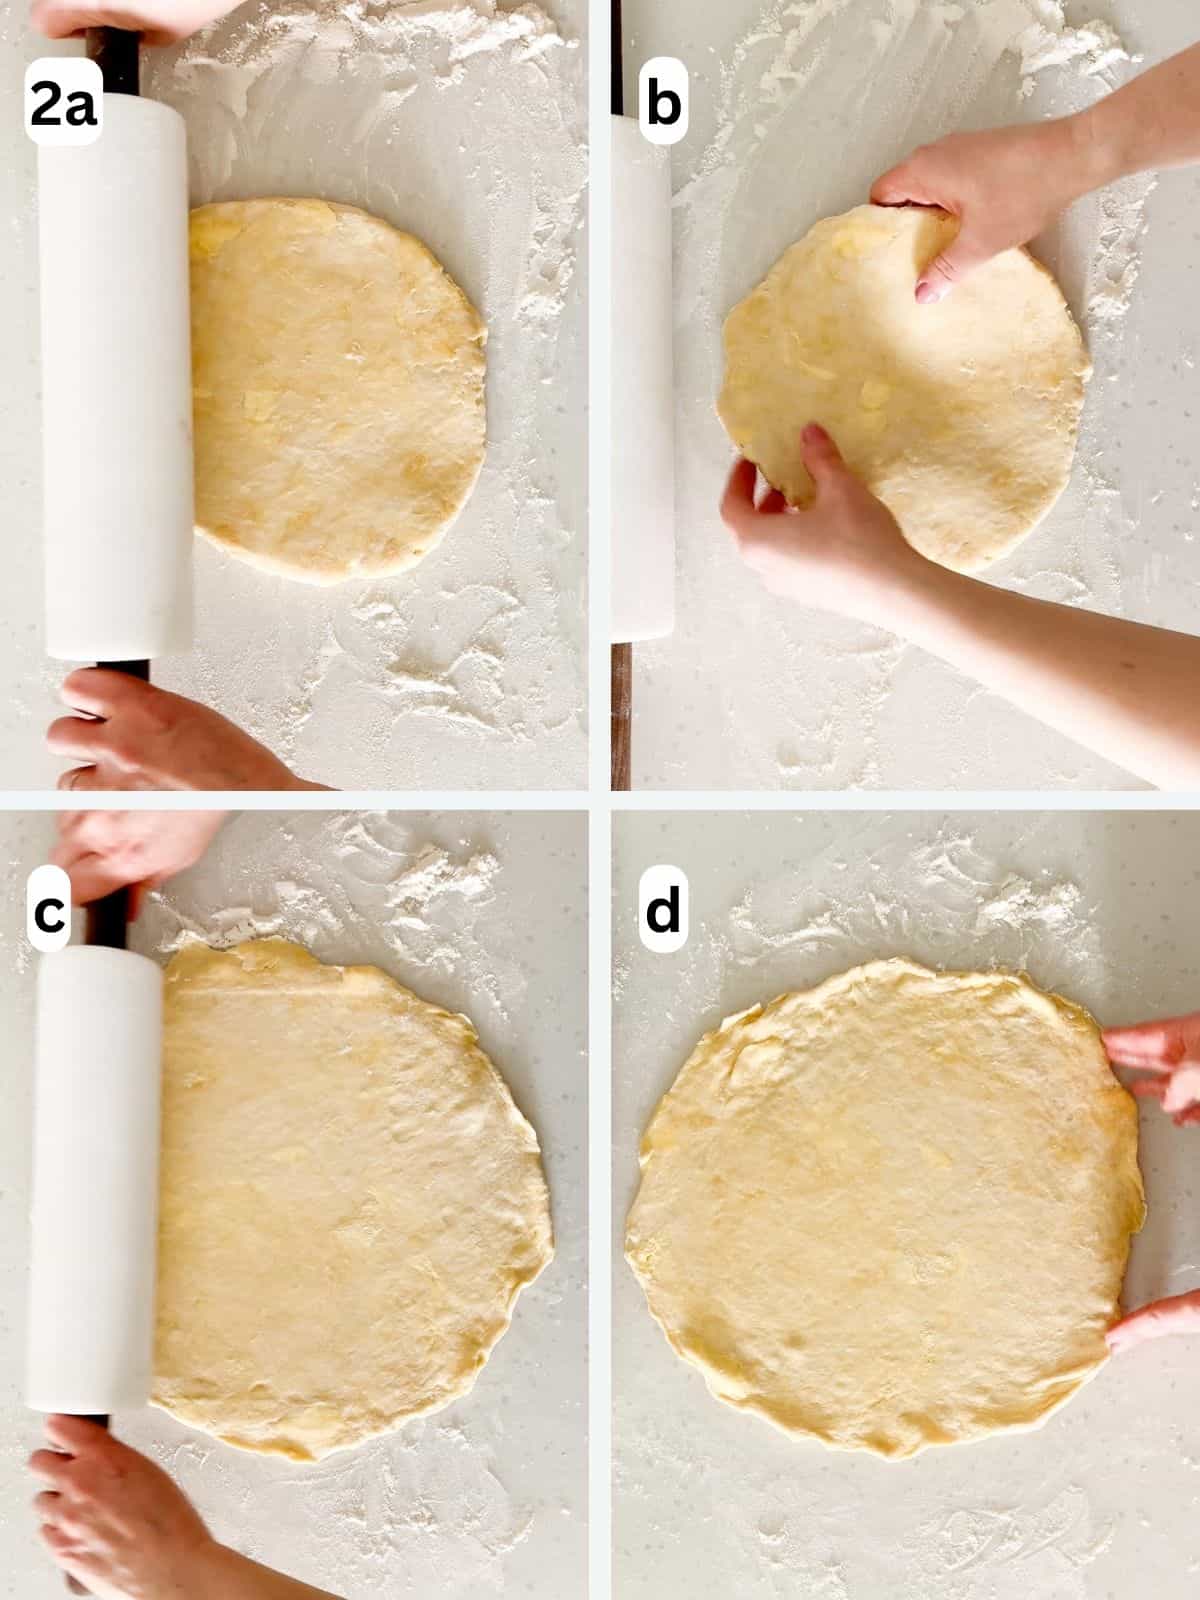
Step 2: after the filling cools, preheat the oven to 375°F (190°C). Remove one pie crust from the refrigerator and place on a lightly floured surface. Roll the dough into a 12-inch circle, applying gentle force with a rolling pin from the center outwards. Turn the dough ¼ turn every few rolls. Once you have the 12-inch circle, smooth any cracks along the edges.
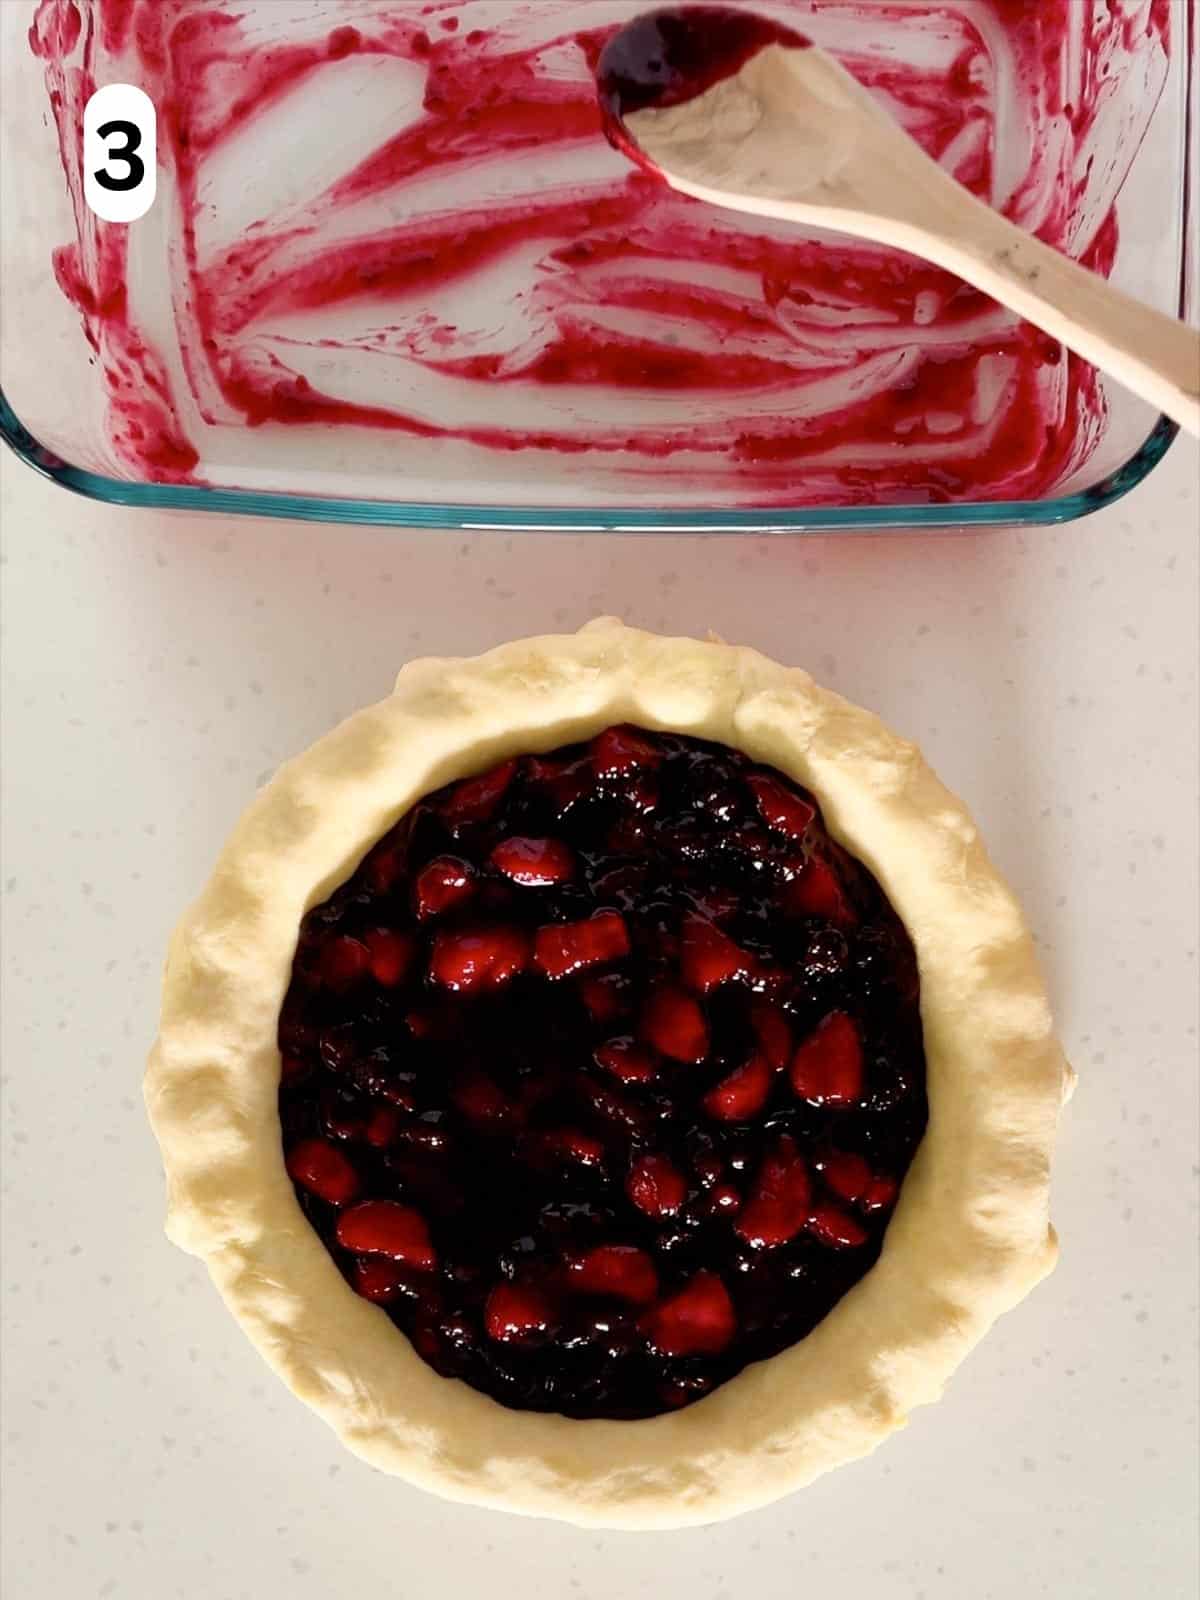
Step 3: transfer the crust to a deep pie dish measuring 9 inches in diameter and 1.5 to 2 inches deep. Press the dough into the bottom and sides of the dish. Then spoon the filling evenly into the pie crust.
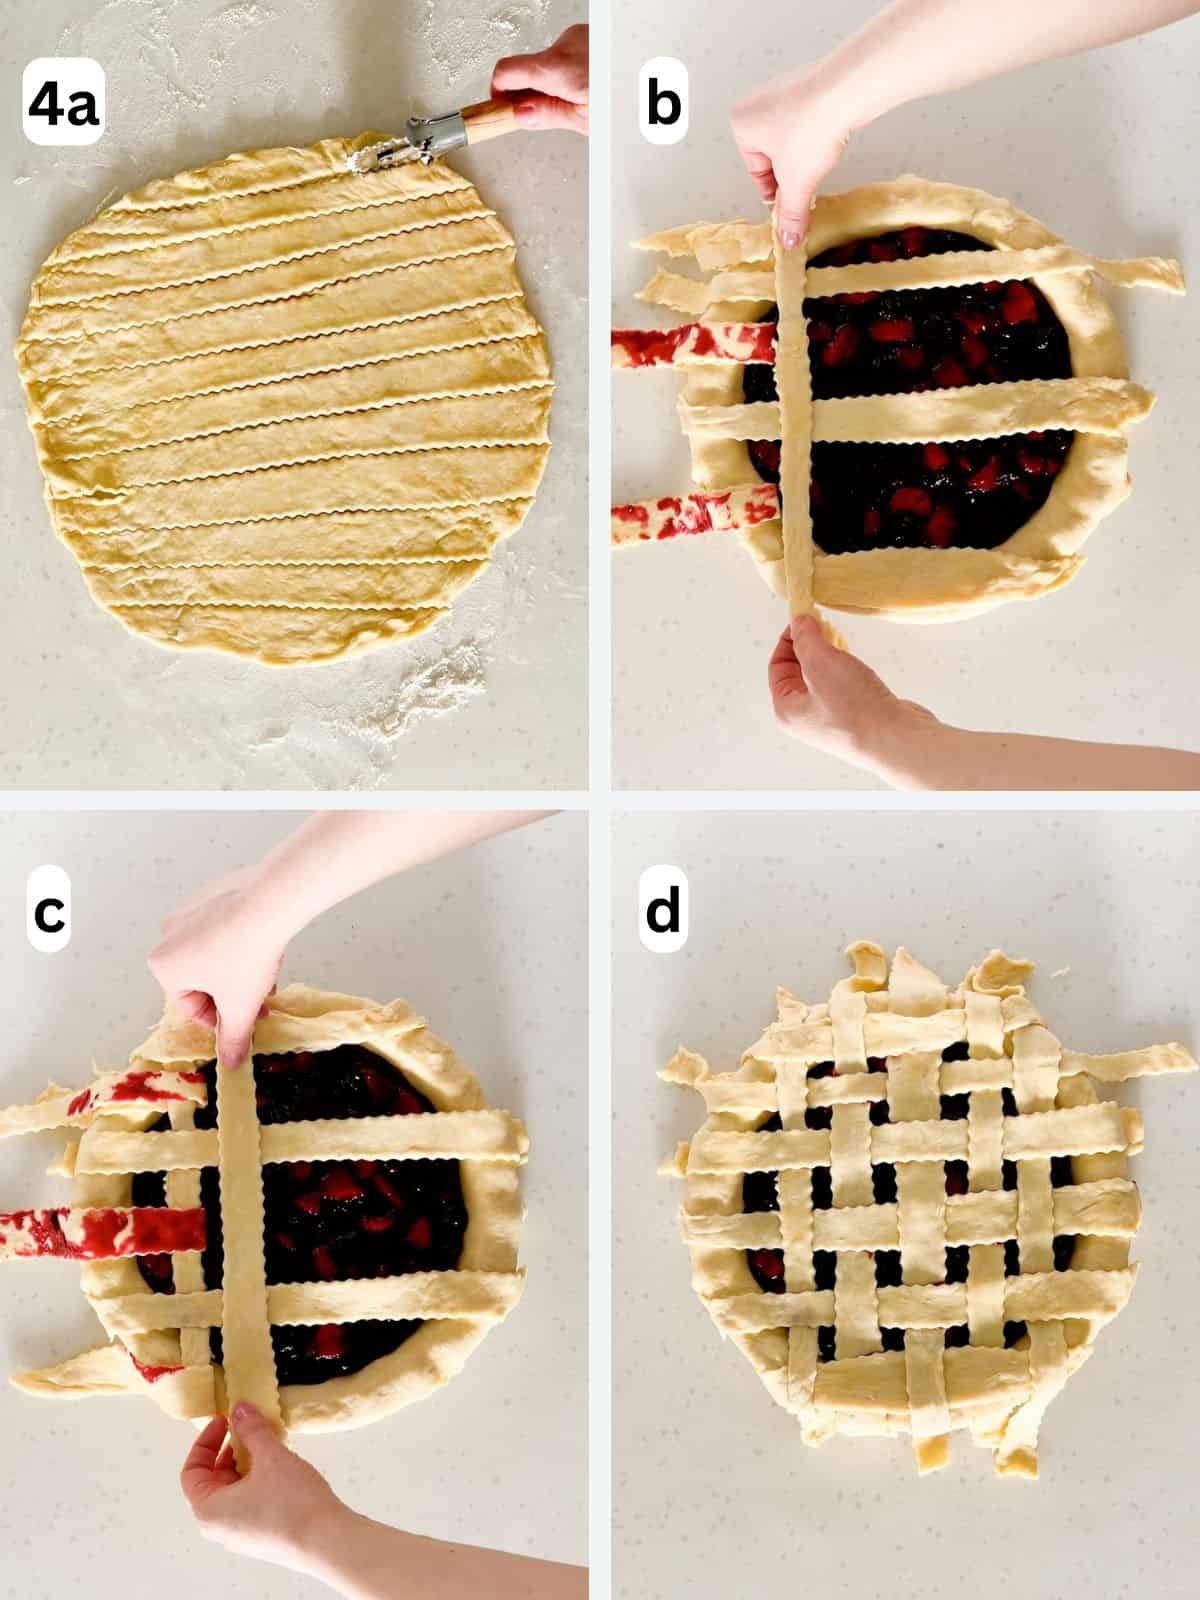
Step 4: place the second pie crust on a lightly floured work surface and roll it into a 12-inch circle. Use a pastry cutter or knife to cut twelve, 1-inch strips of dough. Make the lattice crust by laying 6 strips of dough vertically across the top of the pie. Use the shorter strips at the edges of the pie and the longer strips in the center. Then fold every other strip back (3 strips in total). Lay an unused strip of dough perpendicular across the top. Then unfold the vertical strips back onto the perpendicular strip. Next, fold back the 3 vertical strips that were not folded back the first time. Lay another unused strip perpendicular across the top. Repeat these steps until you have a lattice crust across the top of the pie.
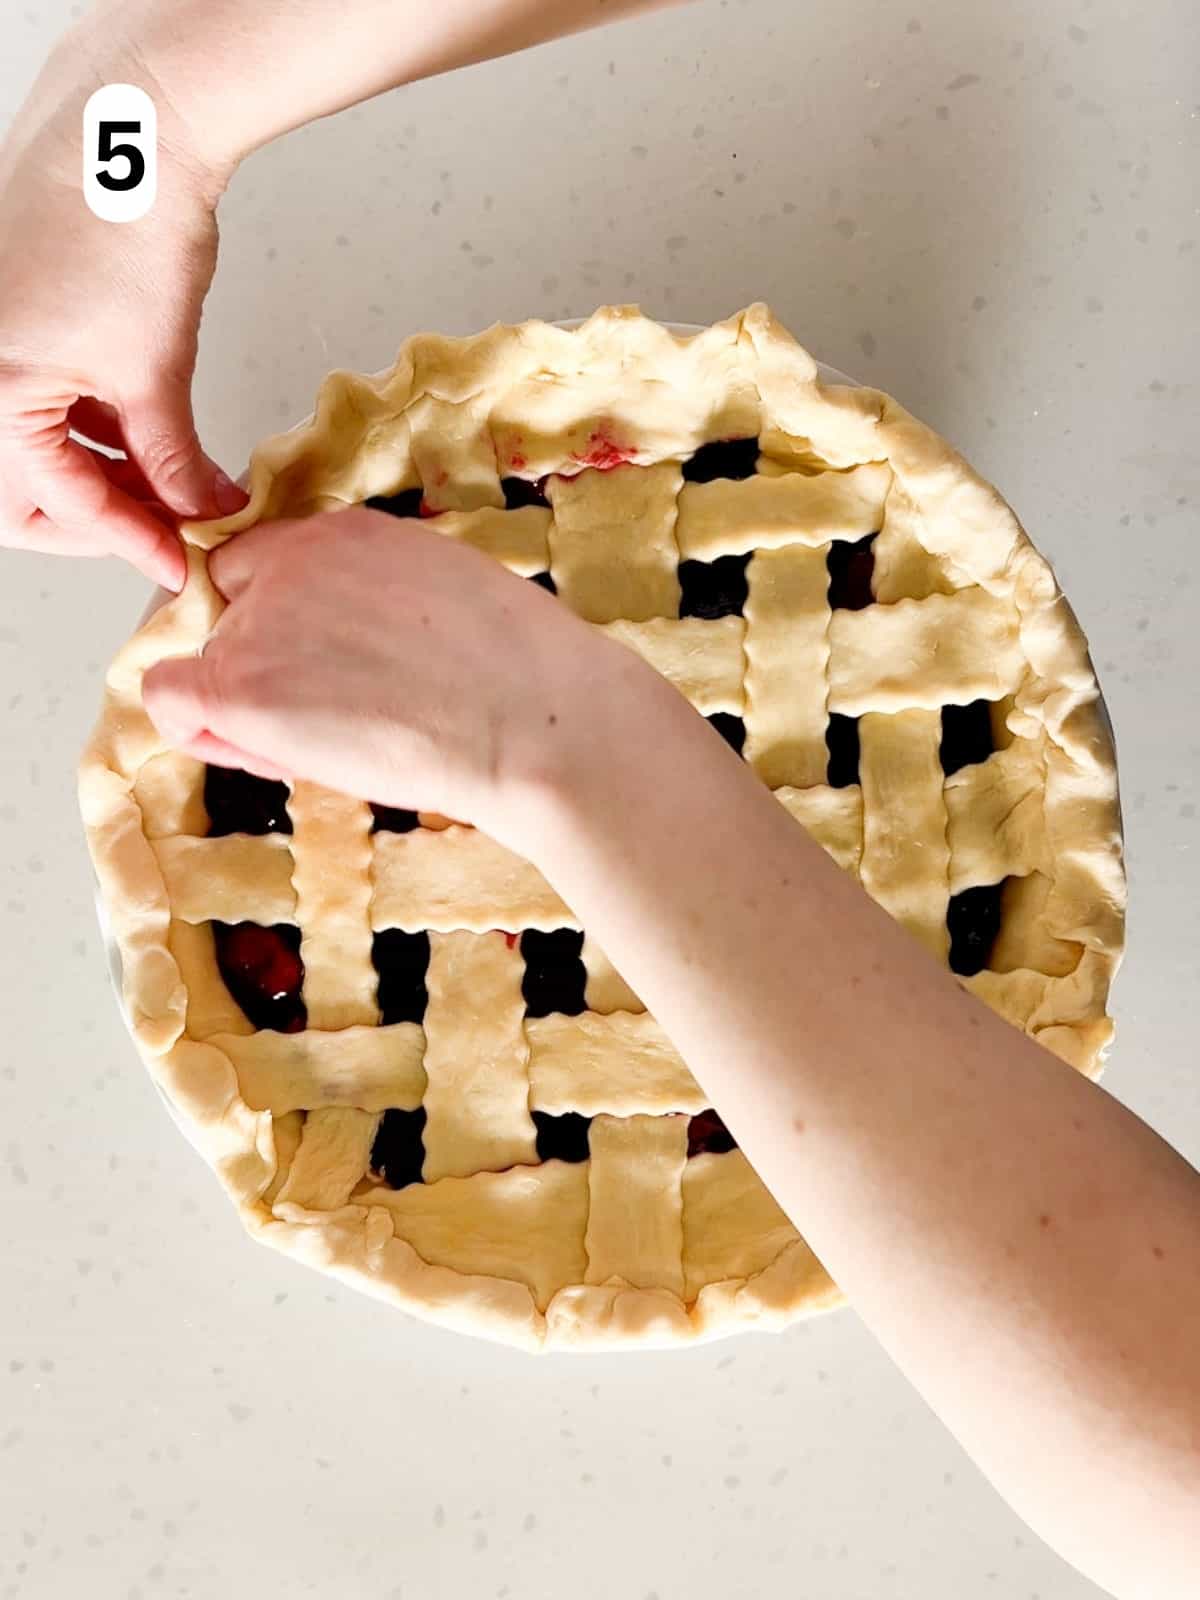
Step 5: use kitchen scissors to trim off excess dough along the circumference of the pie, leaving about ½ inch of overhang. Then fold the overhang back towards the center of the pie, pinching to adhere the bottom and top crusts together. Flute the edges of the pie by pinching the dough around the knuckle of your index finger. Repeat around the entire circumference of the pie.
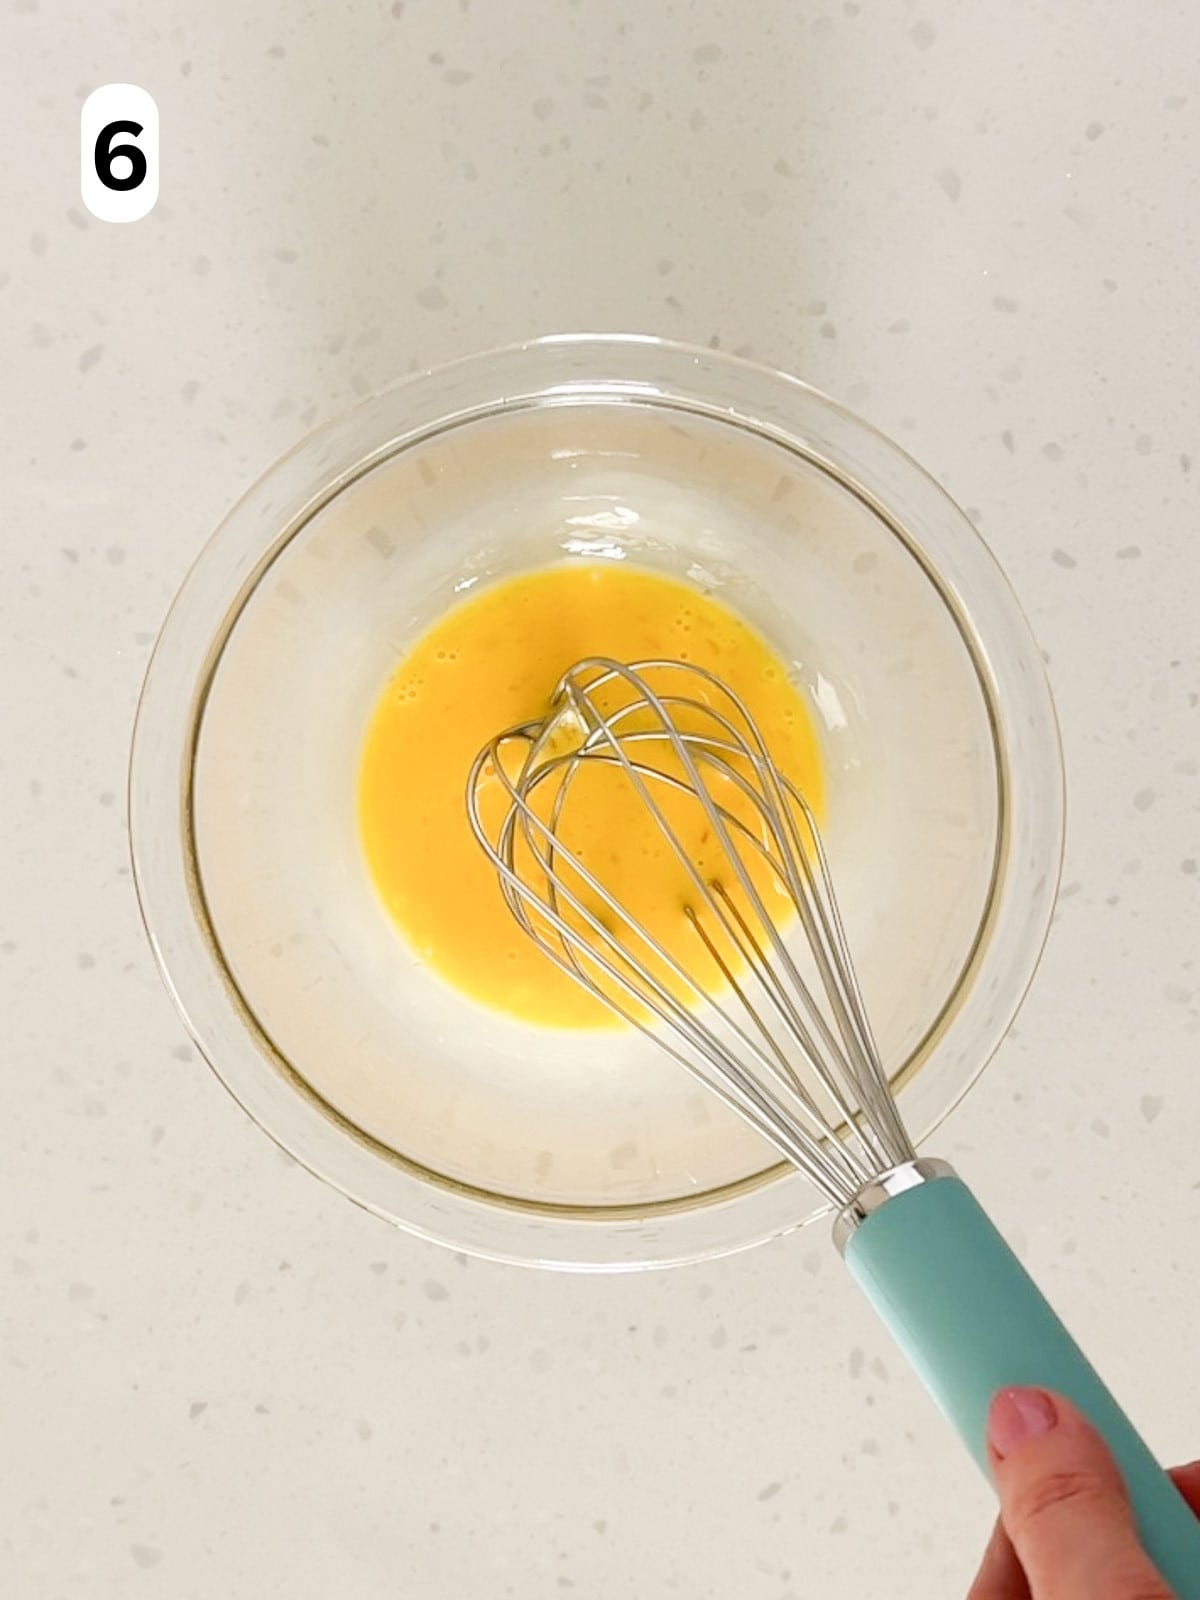
Step 6: add the egg and milk to a small bowl and whisk together until it forms a uniform egg wash. Brush the egg wash over the lattice crust and fluted edges of the pie. Then sprinkle the turbinado sugar across the top.
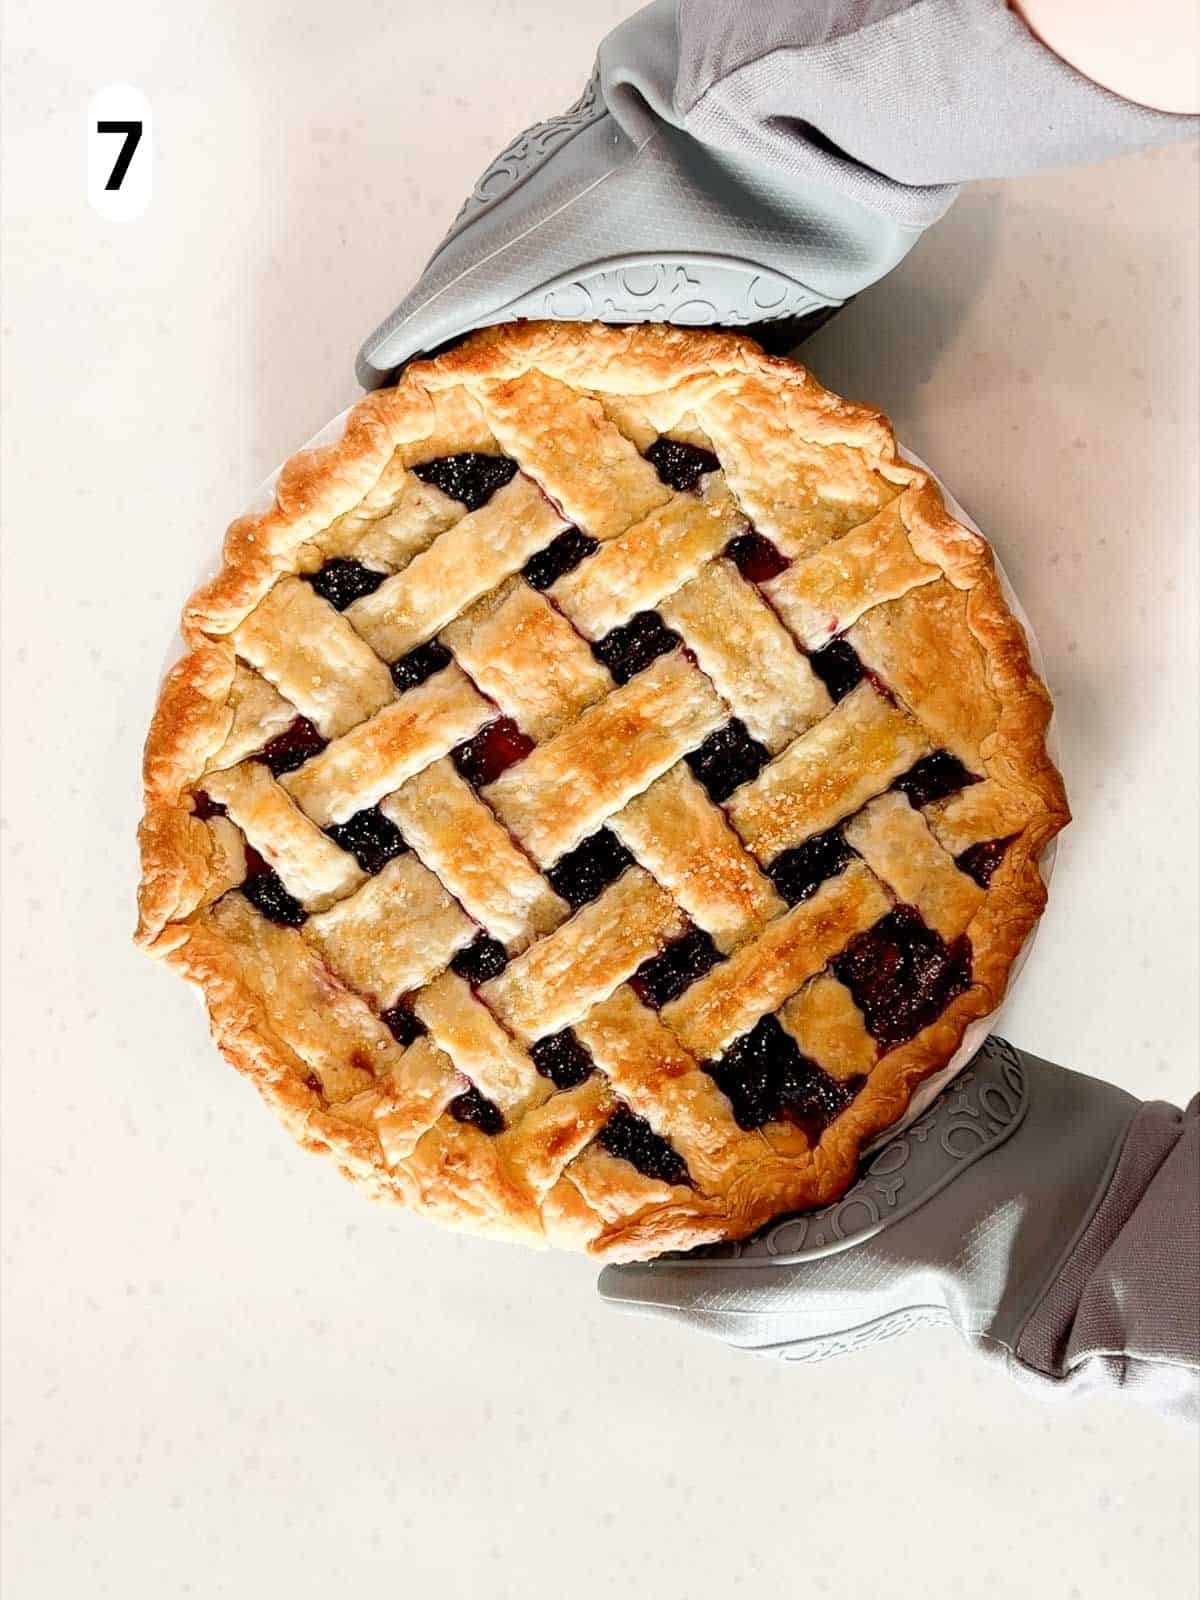
Step 7: place the pie on a baking sheet and bake for 45 to 55 minutes until the crust is golden and the filling is bubbly. About 25 minutes into the baking time, apply a crust shield or foil along the edges of the pie to prevent it from getting too dark. Watch the lattice top as it bakes to make sure it doesn't get too brown. You can remove the crust shield and instead tent the entire pie if needed.
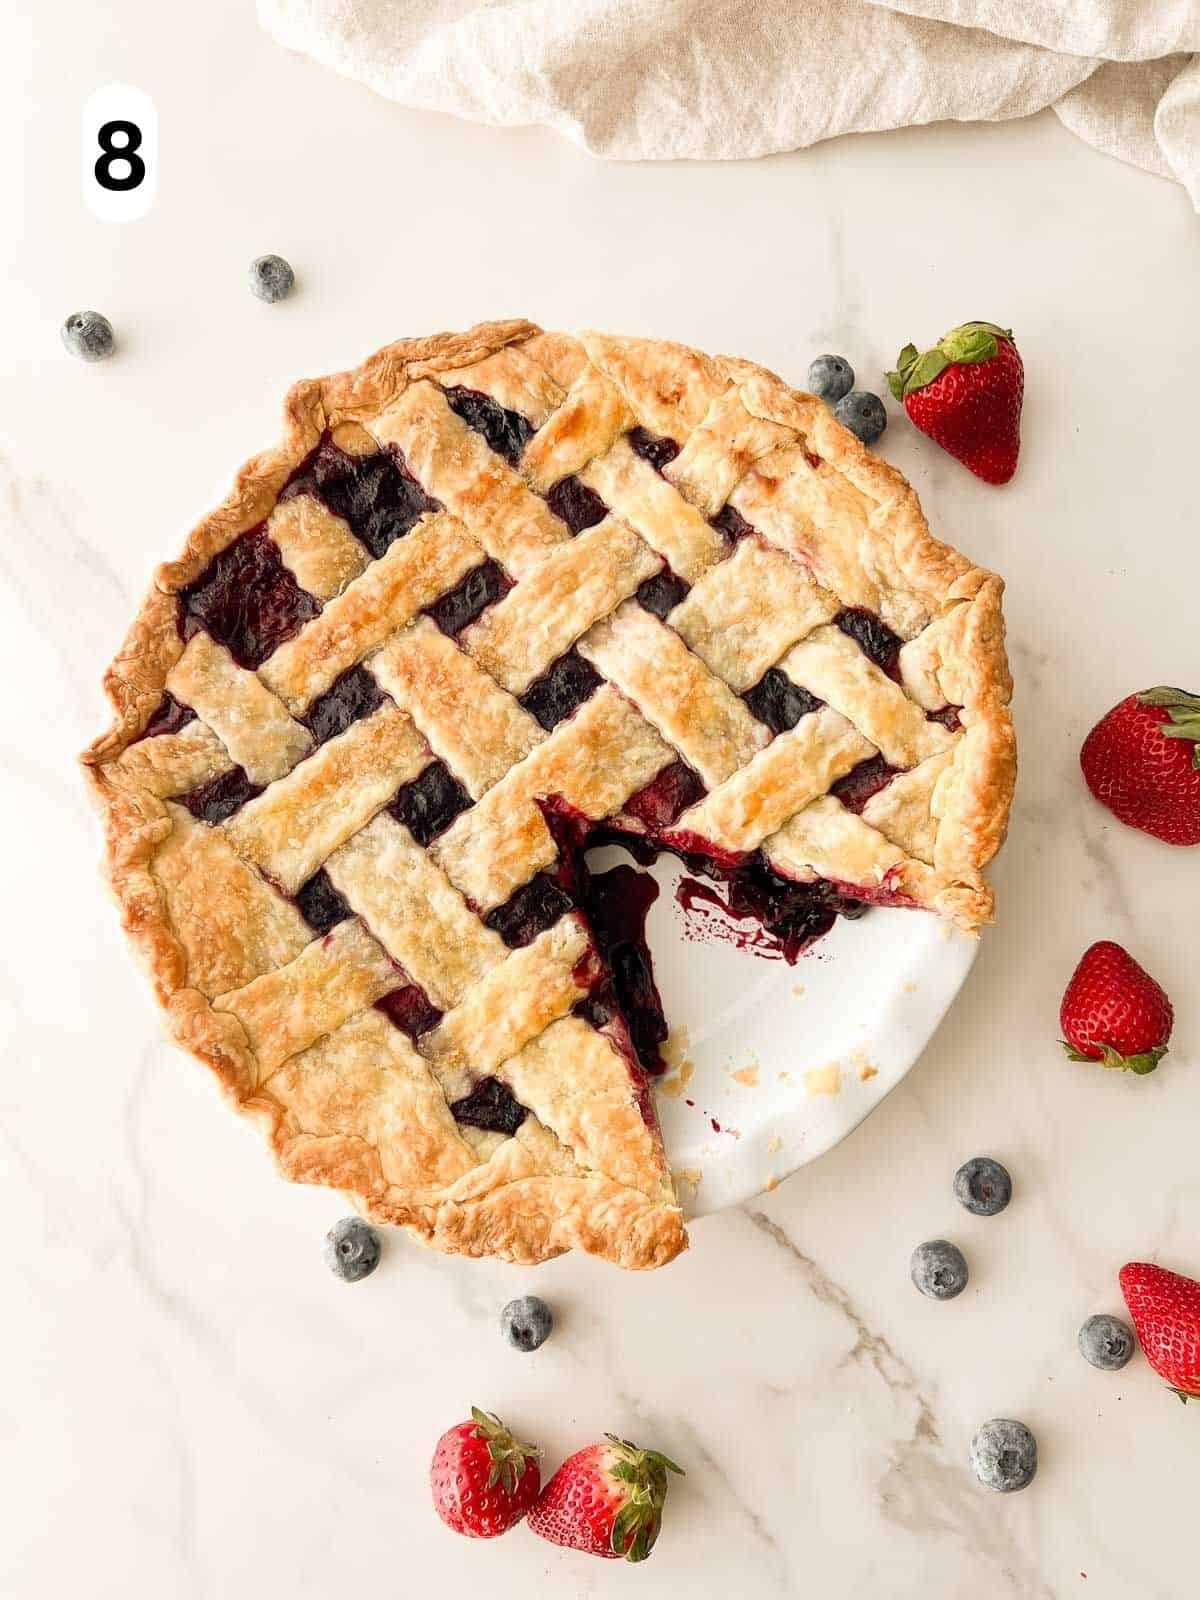
Step 8: allow the pie to cool on a wire rack for at least 1 hour before slicing. This lets the filling set and prevents it from being too juicy when sliced. Enjoy!
Equipment
- Deep pie dish measuring 9 inches in diameter and 1.5 to 2 inches deep. I prefer glass or ceramic dishes. In my experience, both produce a beautifully browned and tender crust. For baking beginners, glass has the added benefit of being able to visualize the entire crust as it bakes.
Storage
Store the pie covered in the refrigerator for up to 4 days. For more information about storing leftovers safely, check out this USDA Leftovers and Food Safety guide.
You can make the filling ahead of time and store it in an airtight container in the refrigerator for up to 2 days. The pie crust can also be made in advance. My 3-2-1 pie crust recipe has all the details for how to make a homemade dough ahead of time!
Expert tips
- Pre-cook the pie filling for the best texture and flavor. This thickens the filling to achieve a bakery-style pie. It also intensifies the flavors, creating a mixed berry filling with the perfect amount of sweetness and tart.
- Keep the pie crusts cold! If the crust is too warm, it will melt and lose it's shape in the oven. I recommend keeping the crusts in the refrigerator until immediately before use. Also, do not add the filling until it has cooled to room temperature.
FAQ
Pre-cooking the filling is a great way to keep a berry pie from being too runny. When cooking the filling with a thickening agent like cornstarch or tapioca starch, the berries release their juices and thicken before baking. You can also let the pie rest and cool before slicing, allowing the filling to thicken further.
There is no need to pre-bake the crust for this pie. The baking time is long enough that the crust will become perfectly flaky and tender. Even though the filling is pre-cooked, a sufficient baking time allows it to set well and develop more flavor, giving the crust ample time to bake.
Related
Looking for more pie recipes? Try these favorites:
Pairing
Looking for delicious toppings to go with this pie? Check out these recipes:
Did you make this recipe? I'd love to see your masterpiece! Leave a comment below and tag @little.nonni on Instagram!
Recipe

Blueberry Strawberry Pie
Save This Recipe! 💌
Ingredients
Pie Filling:
- 1½ pounds fresh strawberries (hulled and quartered)*
- 1 pound fresh blueberries *
- ½ cup cane sugar *
- ¼ cup brown sugar
- ¼ cup cornstarch *
- 1 tablespoon lemon juice
- 1 tablespoon lemon zest
- 1 teaspoon vanilla extract
Pie crust:
- 2 pie crusts (unbaked and chilled, for a deep pie dish measuring 9 inches in diameter and 1½ to 2 inches deep)*
- 1 large egg
- 1 tablespoon whole milk *
- 1 tablespoon turbinado sugar *
Instructions
- Cook the pie filling: in a medium-sized saucepan, combine the strawberries, blueberries, cane sugar, brown sugar, cornstarch, lemon juice, lemon zest, and vanilla extract. Cook over medium heat for about 10 minutes, stirring very frequently until the mixture thickens. Then remove from the heat and transfer the filling to a large rectangular dish with plenty of surface area so it cools faster. Place the dish on a wire rack and let cool for about 1 hour until it reaches room temperature.
- Preheat the oven and roll out the pie crust: when the filling is cool, preheat the oven to 375℉ (190℃). Remove one pie crust from the refrigerator and place on a lightly floured surface. Roll the dough into a 12-inch circle. To do so, apply gentle force with a rolling pin from the center outwards. Every few rolls, turn the dough about ¼ turn. Once you have the 12-inch circle, smooth out any cracks along the edges.
- Fill the pie: Carefully transfer the crust to a pie dish measuring 9 inches in diameter and 1½ to 2 inches deep. Firmly press the dough into the bottom and sides of the dish. Then spoon the filling into the pie ensuring it's evenly distributed.
- Make the lattice crust: place the second pie crust on a lightly floured surface. Roll it out into a 12-inch circle, using the same technique described in Step 2. Use a pastry cutter or knife to cut twelve, 1-inch thick strips. Lay 6 strips vertically across the top of the pie, ensuring they are evenly spaced. Use the shorter strips at the ends and the longer strips at the center of the pie. Then fold every other strip back (3 strips in total). Lay one of the unused strips perpendicular across the top. Then unfold the vertical strips back onto the perpendicular strip. Next, fold back the 3 vertical strips that were not folded back the first time. Lay another unused strip perpendicular across the top. Continue this process until the lattice crust is complete.
- Flute the edges of the pie crust: Trim any excess dough along the circumference of the pie, leaving about ½ inch of overhang. Fold the overhang back towards the center of the pie, pinching to adhere the bottom and top crust together. Then flute the edges of the pie by pinching the dough around the knuckle of your index finger. Repeat the fluting around the entire circumference of the pie.
- Top the crust with egg wash and sugar: in a small bowl whisk the egg and milk together. Brush the egg wash over the lattice crust and the fluted edges of the pie. Then sprinkle the turbinado sugar across the top of the lattice crust.
- Bake: put the pie on a baking sheet and place it in the oven. Bake for 45 to 55 minutes until the crust is golden brown and the filling is bubbly. About 25 minutes into the baking time, apply a crust shield or foil around the edges of the pie to prevent the crust from getting too brown. Watch the pie as it bakes to ensure the lattice crust on top doesn't get too dark. If needed, you can remove the crust shield and instead tent the entire pie.
- Cool and serve: let the pie cool on a wire rack for at least 1 hour before slicing and serving. This allows the filling to set and prevents it from being too juicy when sliced. Enjoy!
Video
Notes
- Strawberries and blueberries: you can substitute the fresh berries with frozen. If using frozen berries, do not thaw before cooking. To hull the strawberries, use a knife to remove the green stem and white part underneath. This removes the bitter parts of the strawberry and results in a smoother filling.
- Cane sugar: this can be substituted with the same amount of granulated sugar.
- Cornstarch: you can substitute this with the same amount of arrowroot powder or tapioca starch. Arrowroot powder may yield a silkier filling, whereas tapioca starch may make the filling softer and more translucent.
- Pie crusts: you can use homemade or store bought pie crusts. I highly recommend making your own for the best flavor and texture. I love using my 321 pie crust recipe. It makes the perfect amount for this pie and is very tender and flaky! It's very important to keep the dough as cold as possible before baking so it maintains it's shape. I recommend leaving it in the refrigerator until immediately before use.
- Milk: this is whisked into the egg wash to make the crust shiny as it bakes. You can use a different milk of your choice or omit it altogether. If you do so, the crust may be less shiny after baking.
- Turbinado sugar: if you don't have any handy, you can substitute this with the same amount of cane or granulated sugar.
- Add a festive topping: instead of the lattice crust, you can top the pie with fun dough shapes. I love doing stars for the 4th of July or hearts for Valentine's Day. Simply roll out the top crust as usual and use cookie cutters to make the shapes.
- Equipment: a deep pie dish measuring 9 inches in diameter and 1.5 to 2 inches deep. I love using ceramic or glass dishes.
- Storage: you can store the pie covered in the refrigerator for up to 4 days.
- Make ahead instructions: the pie filling can be made ahead of time. Store it in an airtight container for up to 2 days in the refrigerator. If using a homemade pie crust, it can also be made ahead of time. My 321 pie crust recipe has all the details for making homemade dough in advance.
Nutrition
The provided nutrition and storage information is estimated. Accuracy is not guaranteed.
See our Disclaimer for more information.



rd says
This is, without a doubt, my favorite fruit pie of all time. The crust is flaky, buttery, and delicious, with a tenderness that is substantial enough to match the delectable fruit filling. Speaking of fruit, the filling is the perfect blend of sweet and tart, with a bright, fresh flavor that eats light yet is deeply satisfying. This is a straightforward recipe that is well worth the effort. Try it out; you (and your lucky friends and family) will be glad you did!
Maria D'Errico says
I'm so happy you love this pie. The crust and filling are a magic combo!