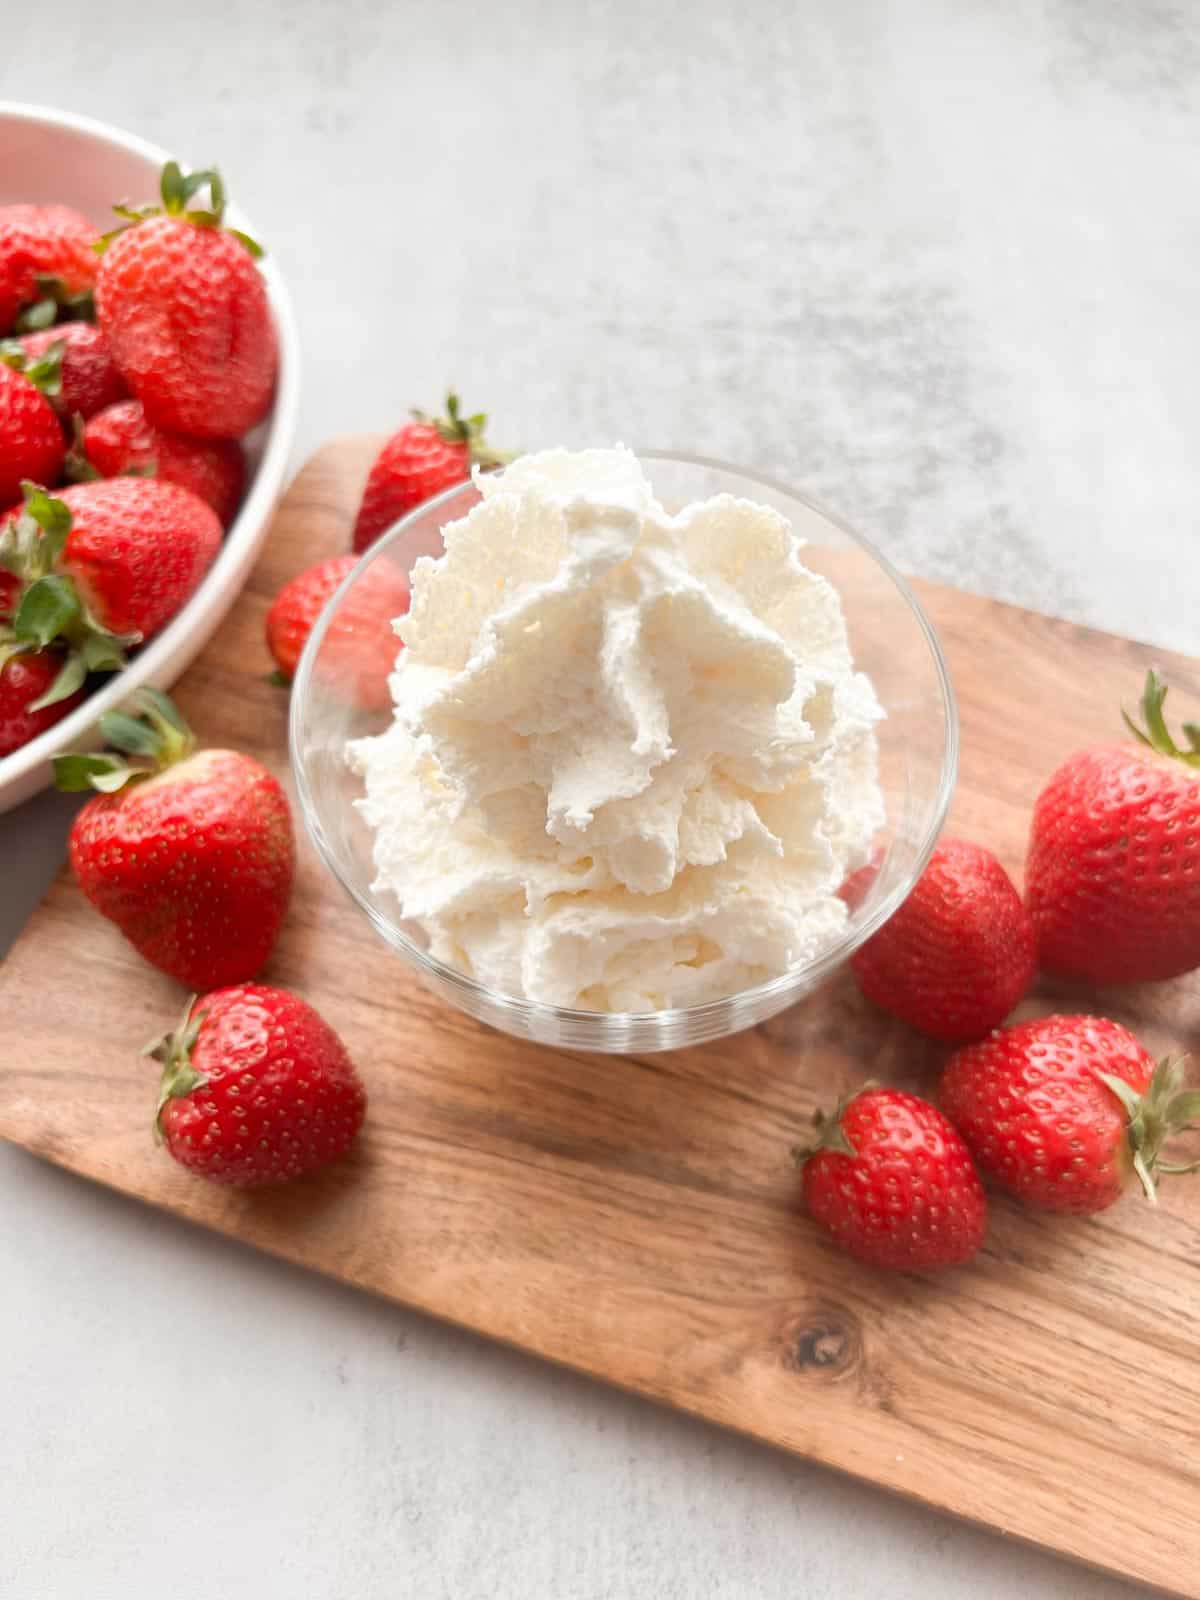
This whipped cream dispenser recipe is fluffy and delicious! It's quick, easy, and only uses 3 simple ingredients. With a hint of vanilla and just the right amount of sweetness, it's the perfect topping for your favorite treats.
Save This Recipe! 💌
Let's make homemade whipped cream fancy! This recipe makes whipped cream with a dispenser instead of a mixer. I prefer to use a dispenser because it only takes minutes and the whipped cream is so fluffy and creamy. It's also fun to play with the different decorator tips. My favorite is the one that dispenses the whipped cream in large, fluffy ridges. So pretty and yummy!
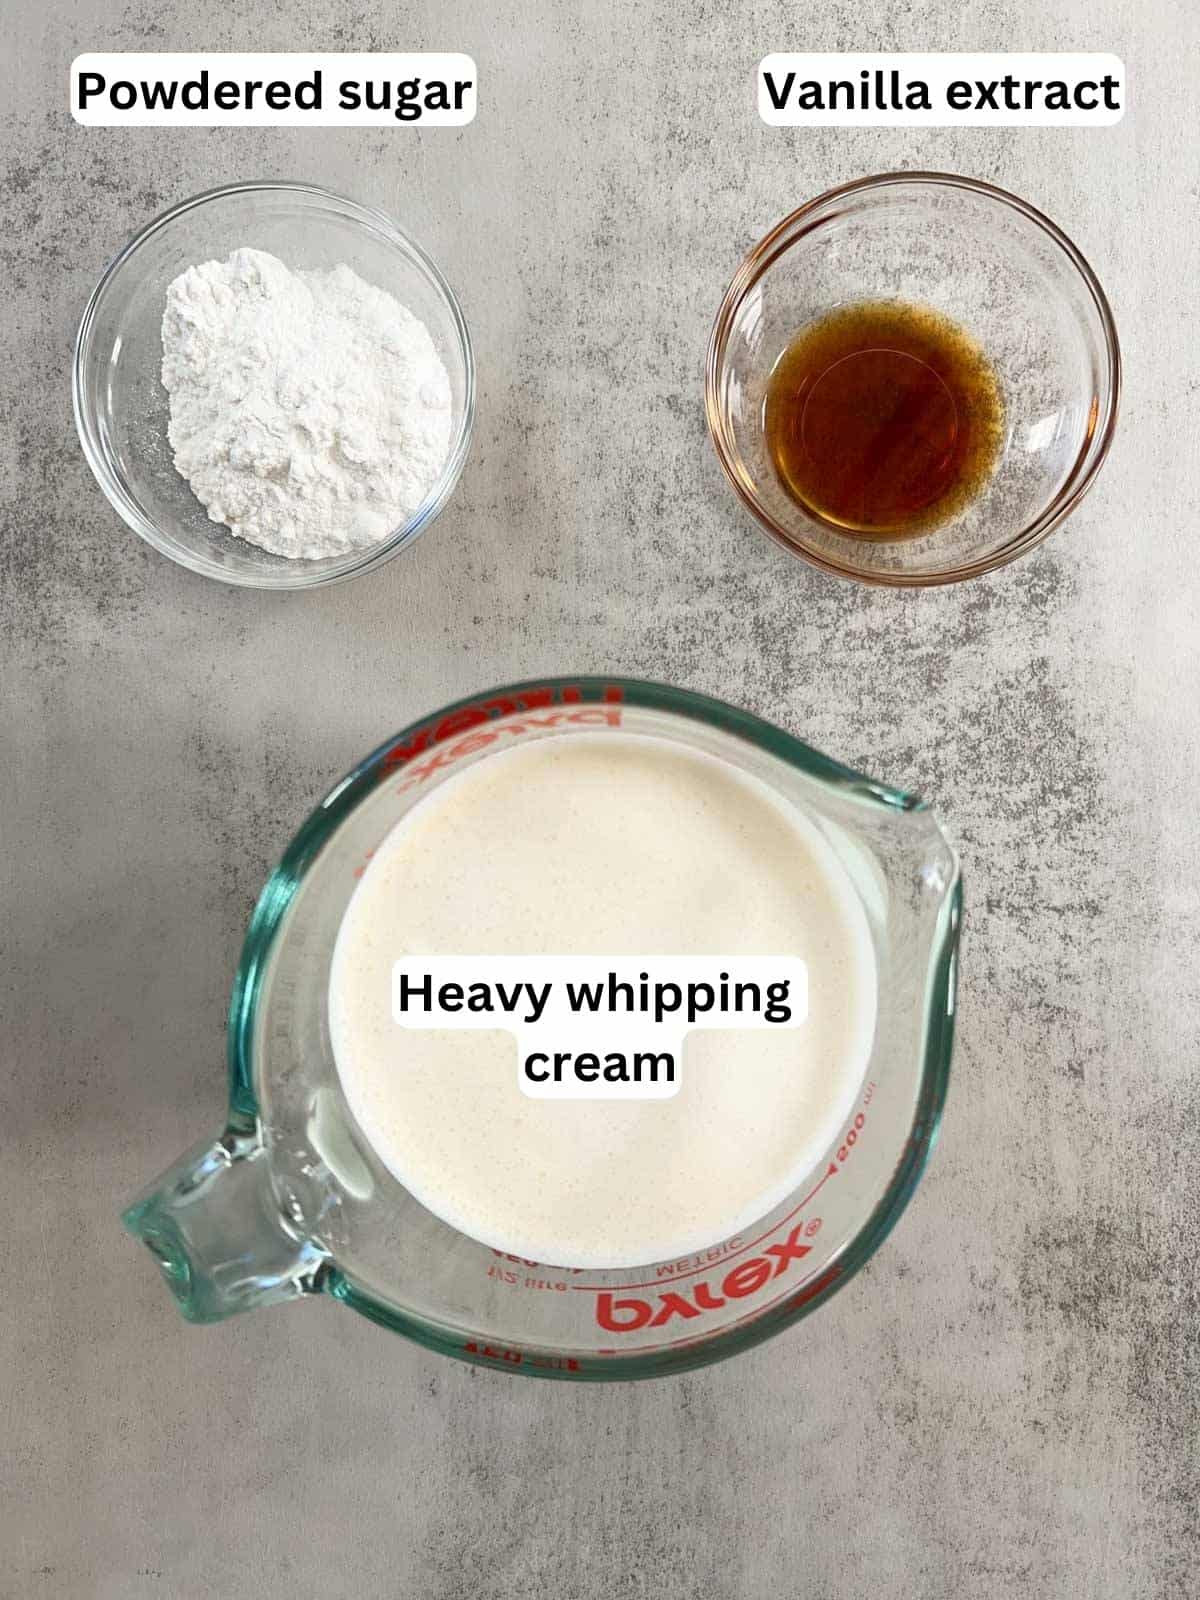
Only 3 simple ingredients are needed. The real cream, sugar, and vanilla are full of flavor that cannot be beat. It's a great way to enjoy a nostalgic treat without the ultra-processed ingredients that may be found in store bought versions, including artificial flavors, sweeteners, and carrageenan.
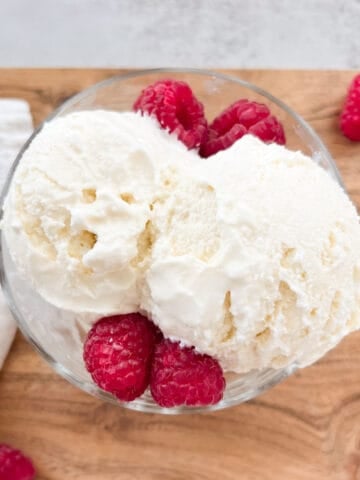
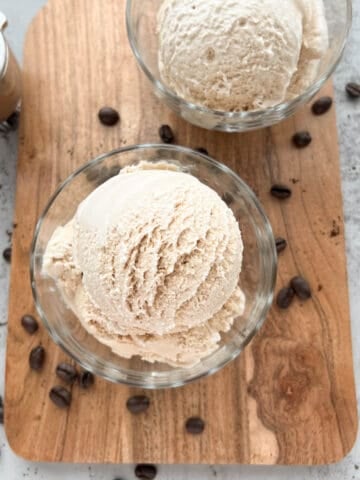
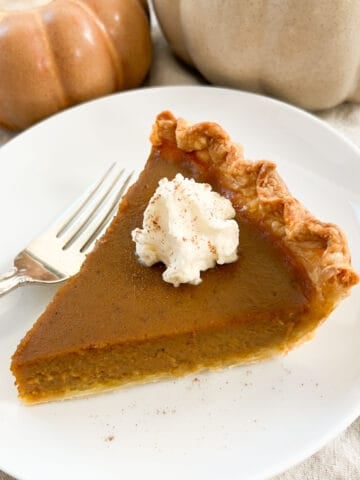
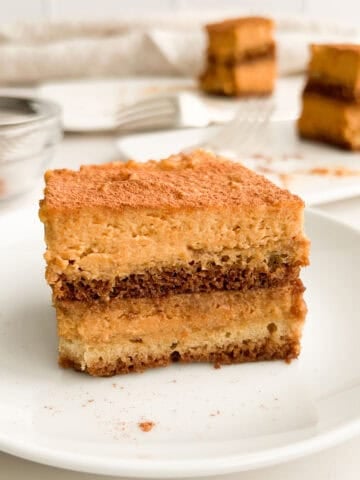
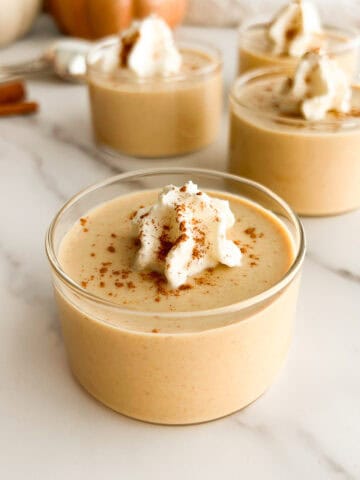
This whipped cream is the perfect topping for no egg vanilla ice cream and espresso ice cream. It's also delicious on pumpkin custard pie!
Jump to:
Ingredients
Ingredient Notes:
- Powdered sugar: either "powdered sugar" or "confectioners sugar" can be used. When looking at the ingredients, it is common to see either tapioca or cornstarch listed. This prevents the sugar from caking and forming clumps. I prefer the subtle sweetness of the tapioca version over those that use cornstarch. Also, some baking experts prefer the tapioca version because it absorbs liquids at a lower temperature. This works great for thickening no-cook foods like whipped cream.
- Heavy whipping cream: this should be kept cold so that it forms the whipped cream properly. I prefer a heavy whipping cream that does not have any gums or carrageenan. My favorite products have "cream" as the only ingredient.
- Vanilla extract: this adds a hint of vanilla that balances the sweetness of the sugar. I prefer to use vanilla extract instead of artificial vanilla flavoring. It uses real vanilla bean and has an authentic flavor. Vanilla flavoring is made with artificial ingredients and may have a bitter aftertaste.
See recipe card for quantities.
Substitutions and Variations
- Flavor with different extracts: the vanilla extract can be substituted with another kind of extract. Some delicious options would be maple or almond extract.
- Spice it up: adding spices is a fun way to enhance your whipped cream! Some great options would be cinnamon or pumpkin spice seasoning.
Instructions
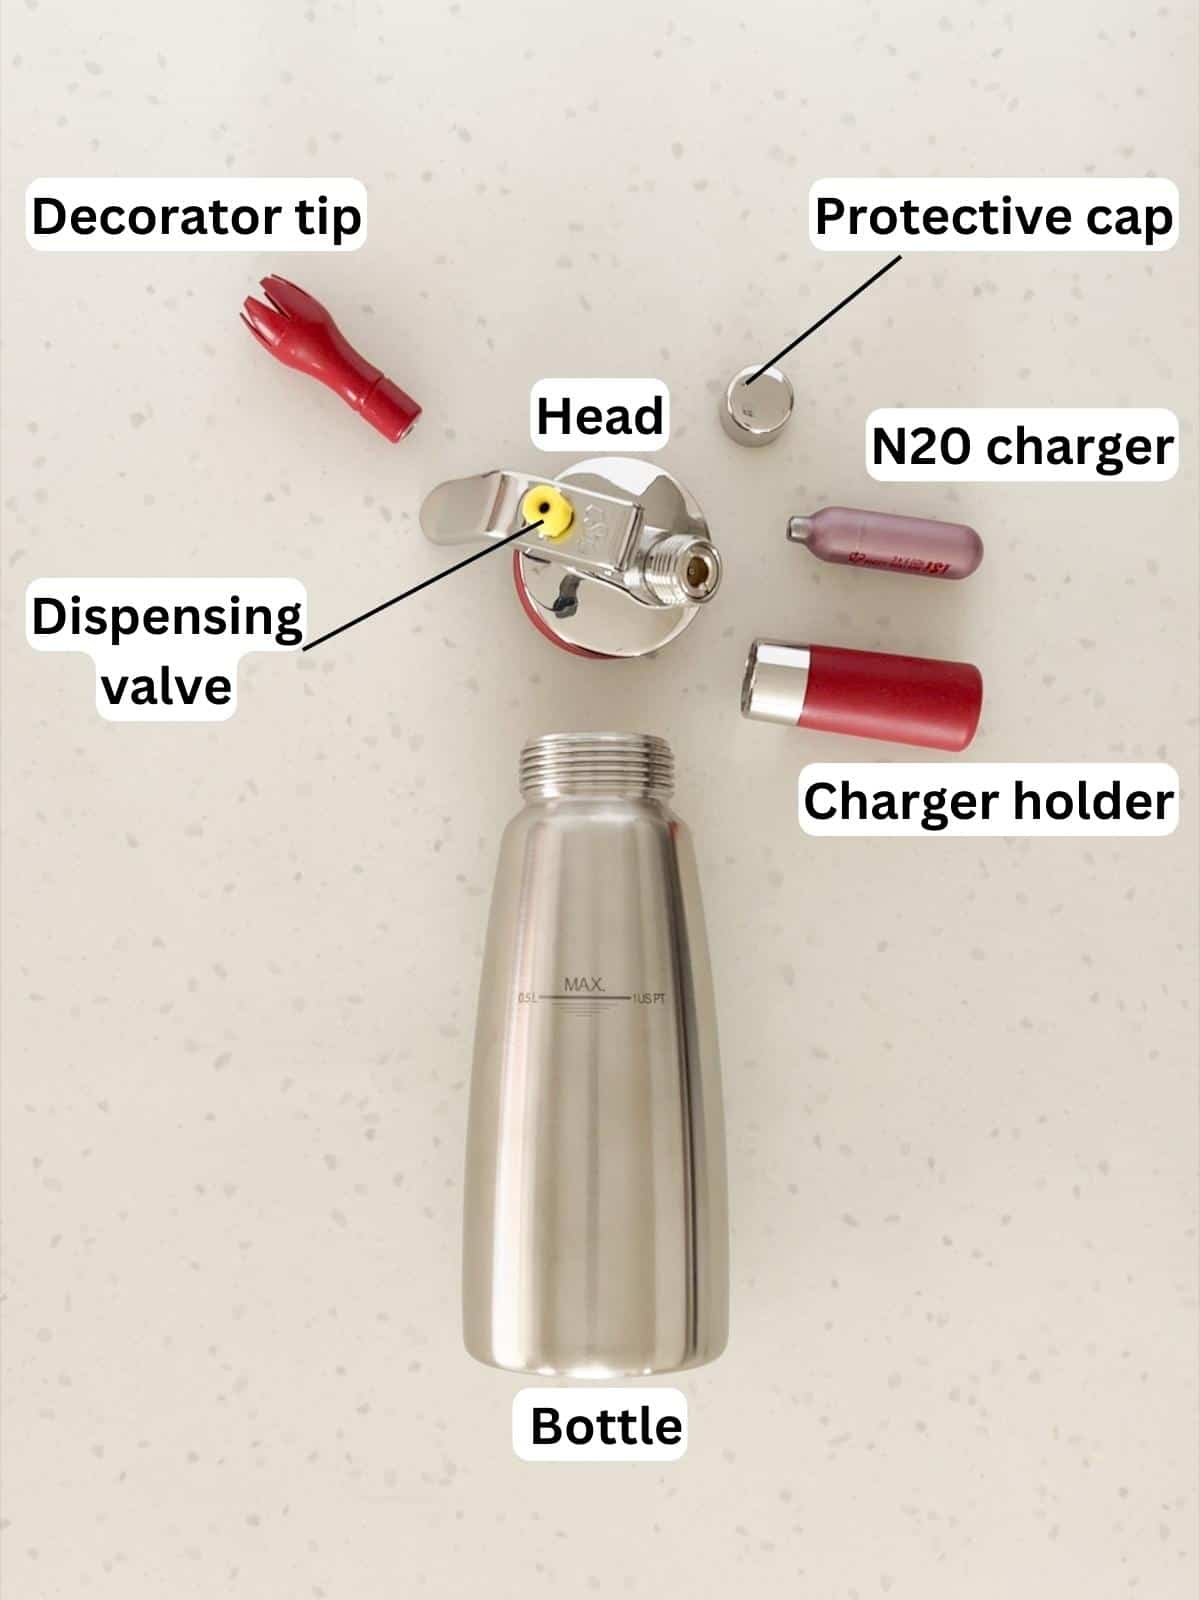
Step 1: Carefully review the different parts of your whipped cream dispenser, as well as the manufacturer's instructions. The following steps are what I use for the 1 pint (0.5 liter) iSi Gourmet Whip and are for informational purposes only. Your manufacturer's instructions may require you to do different steps instead.
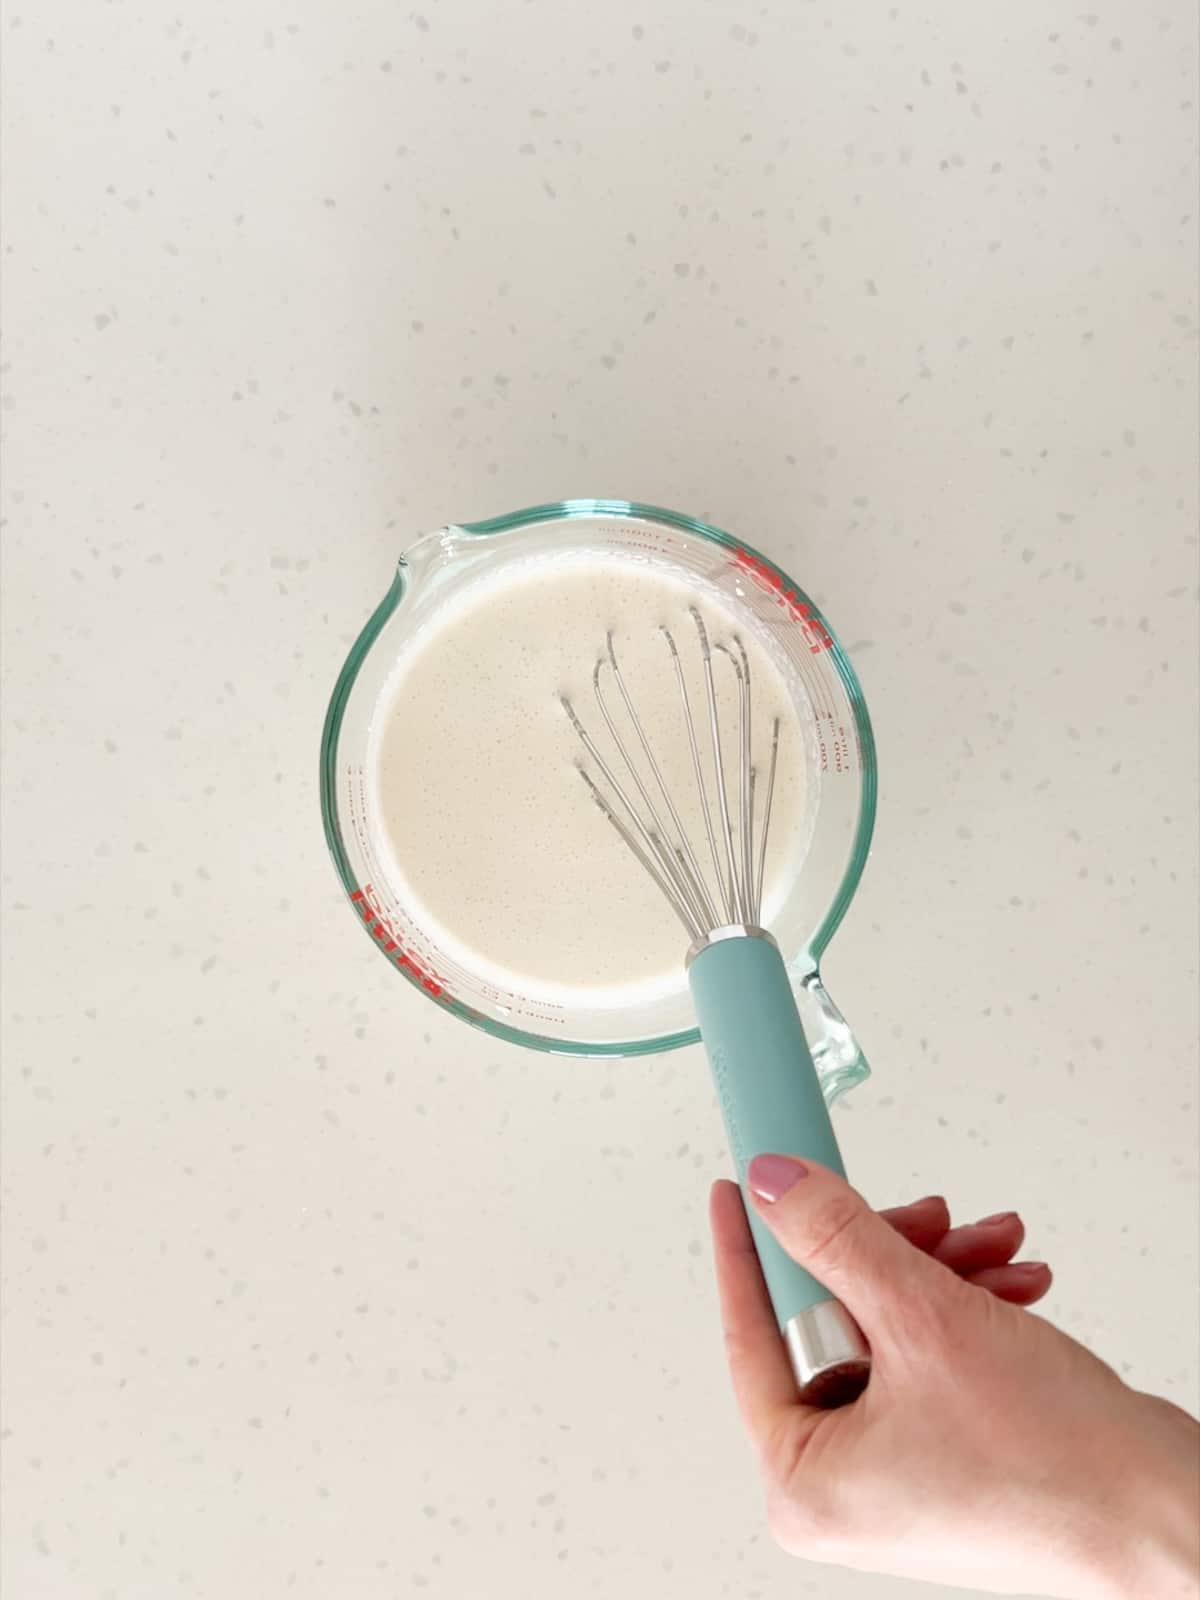
Step 2: Add the heavy whipping cream, powdered sugar, and vanilla extract to a large measuring cup. Whisk the ingredients until combined and smooth. There should be no visible lumps of sugar.
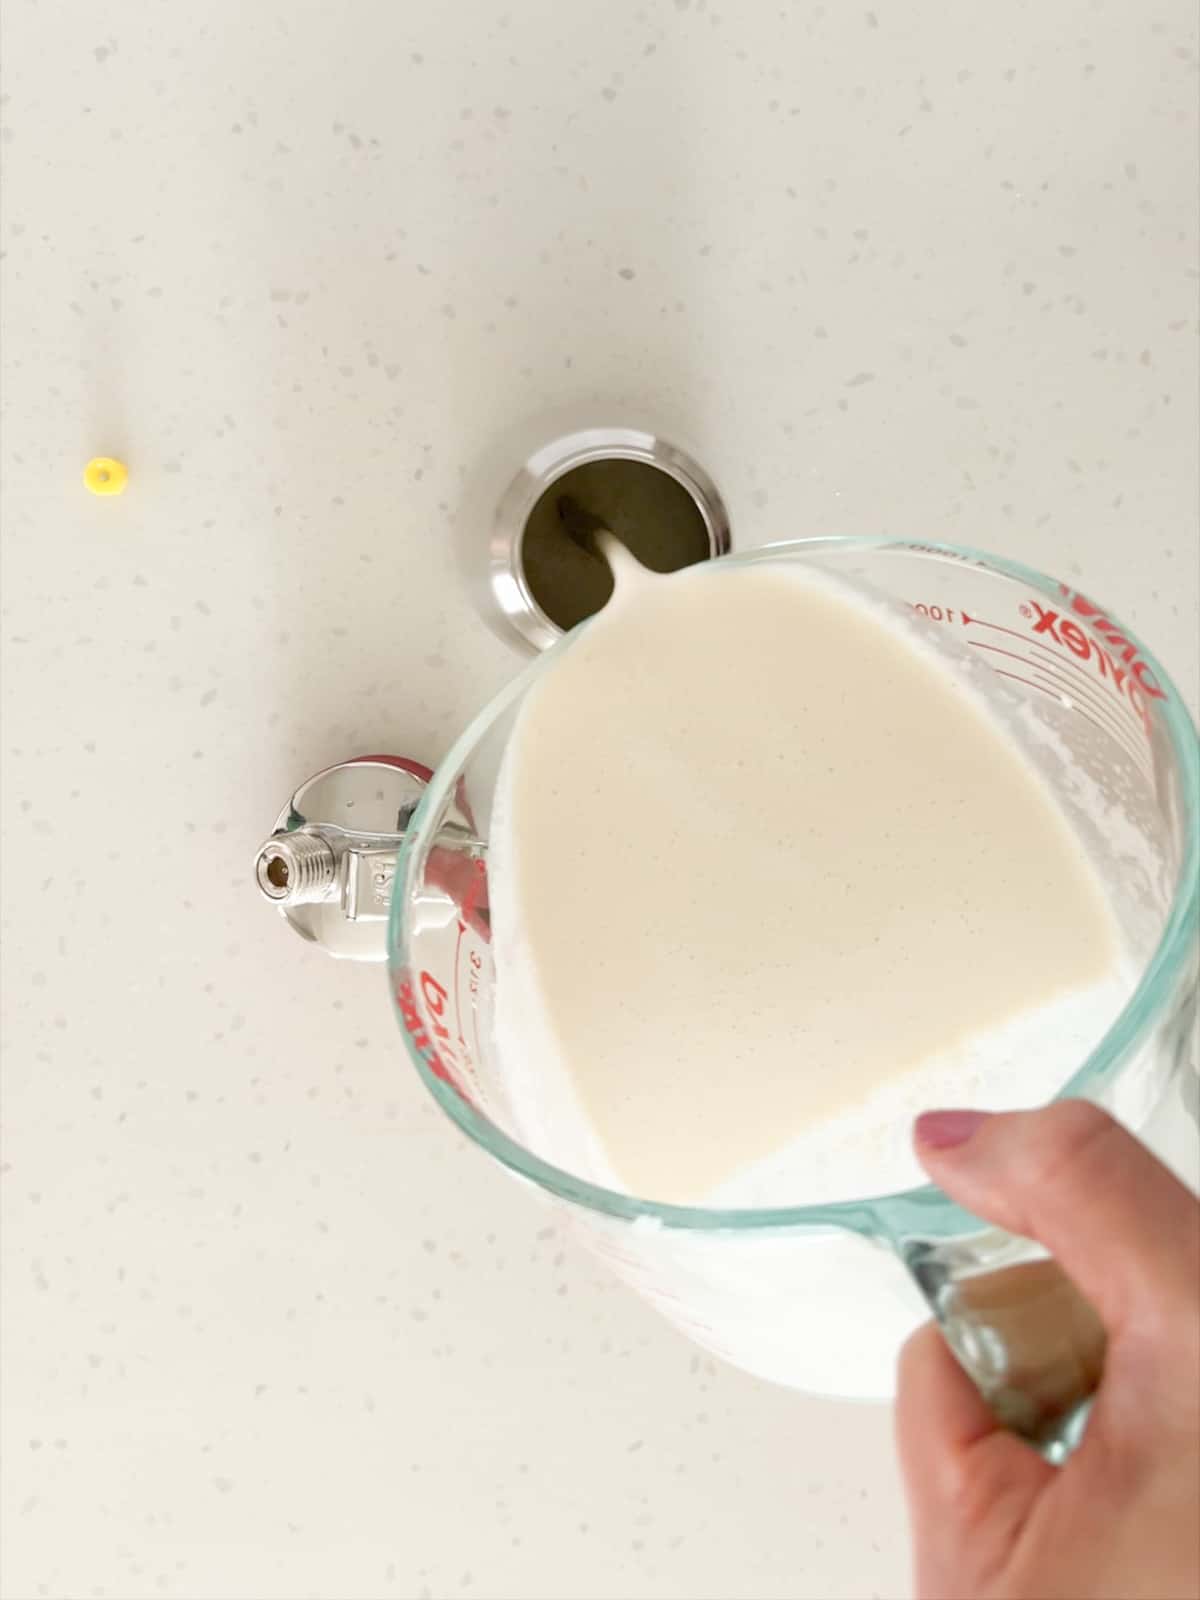
Step 3: Carefully pour the mixture into the dispenser bottle. Ensure it does not exceed the maximum fill line.
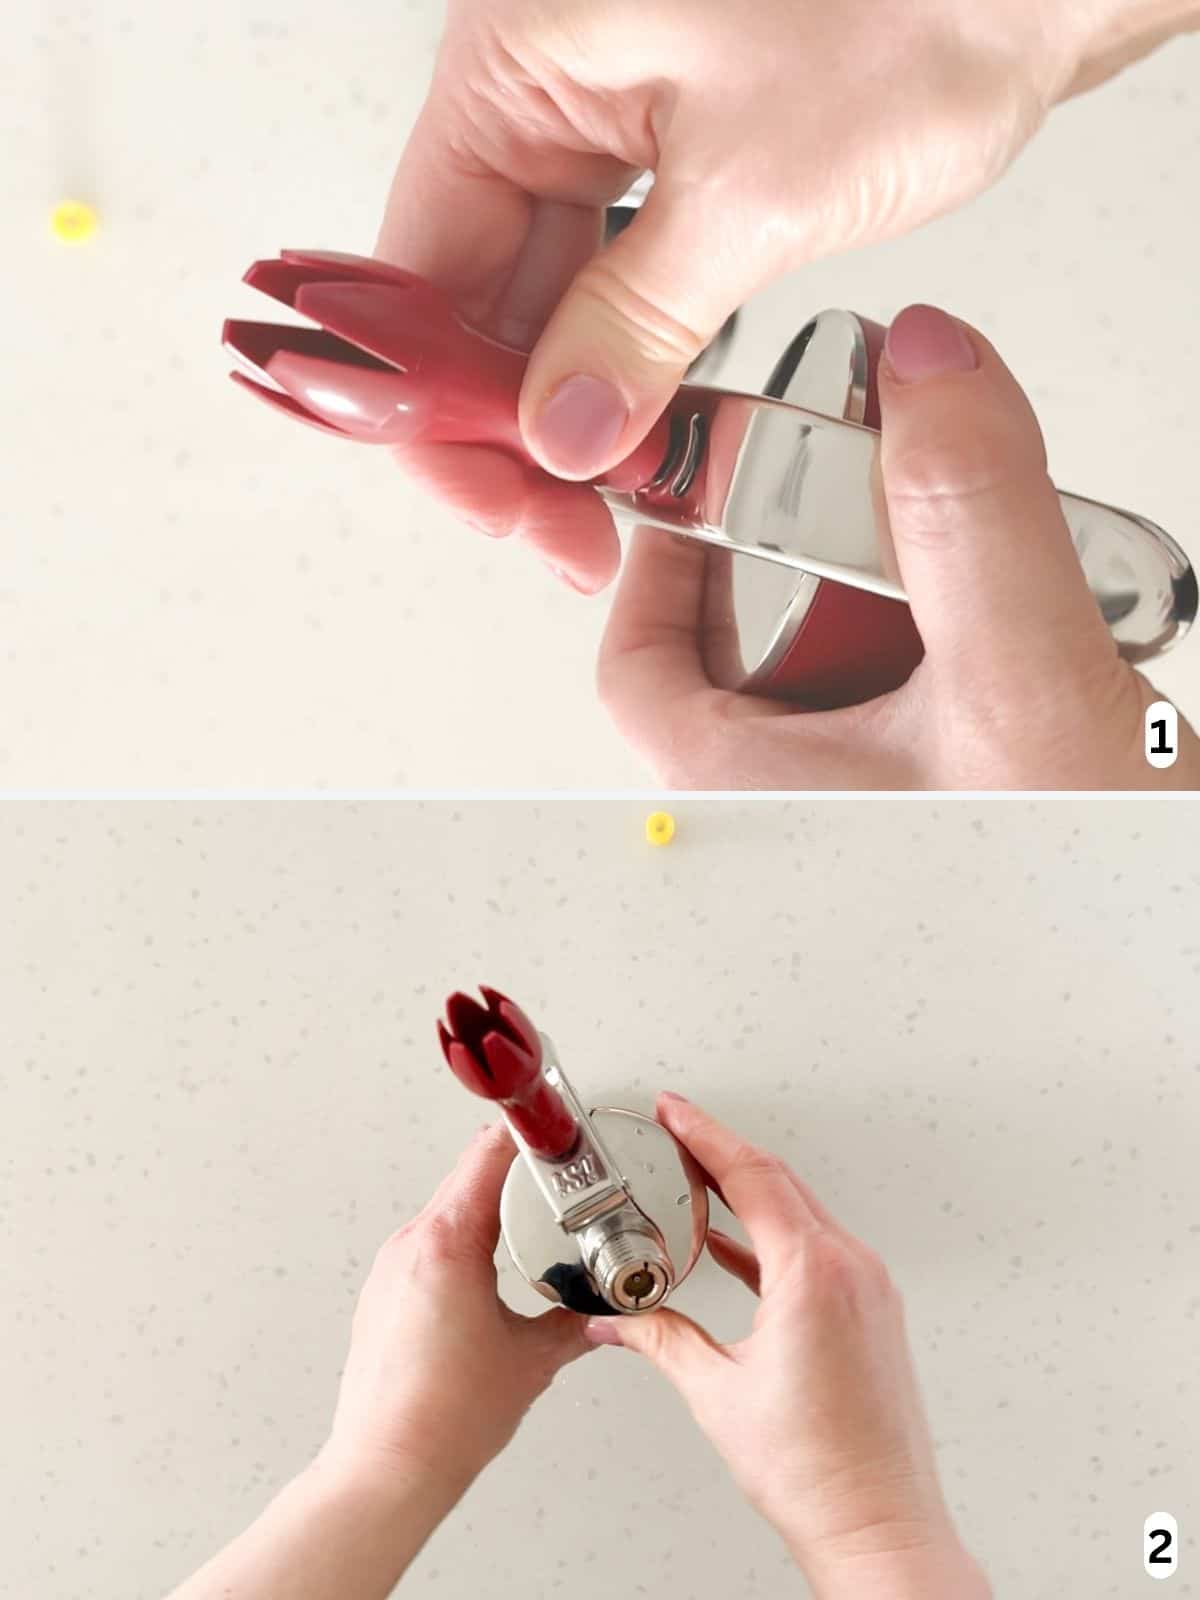
Step 4: Attach the decorator tip to the dispensing valve on the head. Then screw the head onto the bottle so that it is straight and securely sealed.
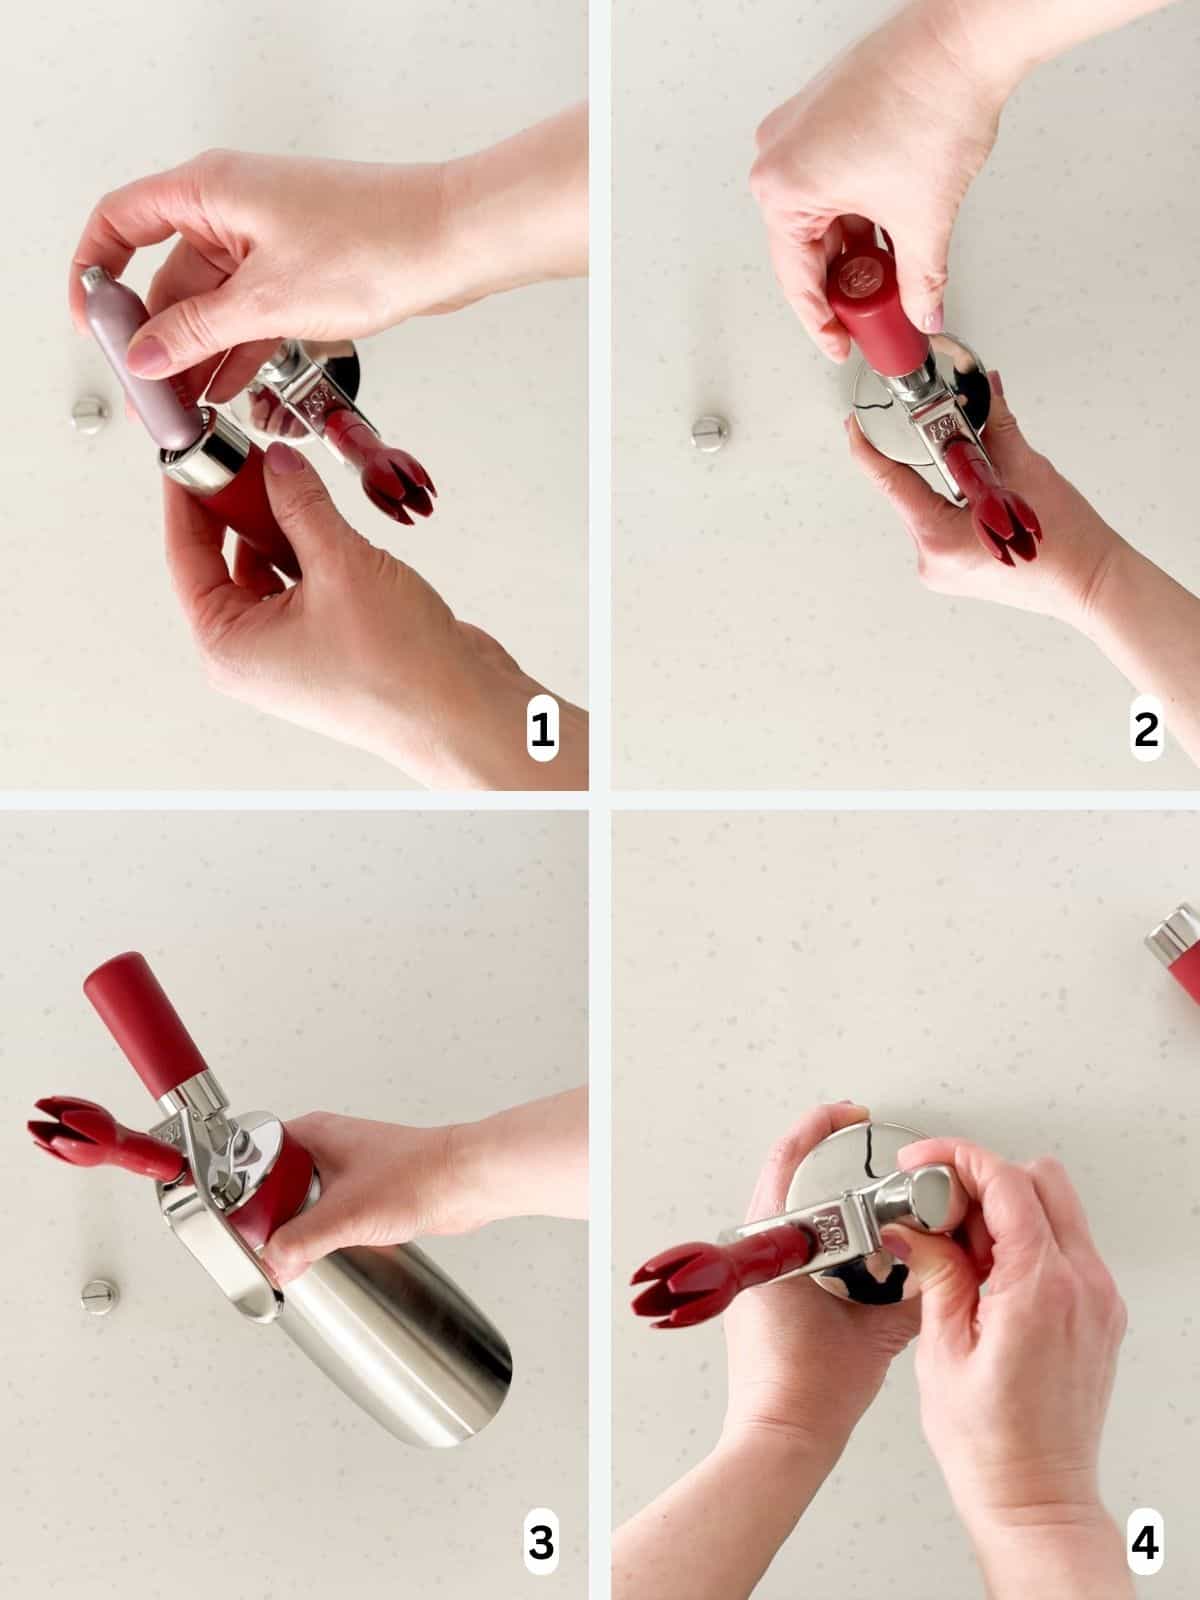
Step 5: Insert the N2O charger into the charger holder. Screw the holder onto the head of the dispenser until you hear all of the charger contents release into the bottle. Then vigorously shake the dispenser 6 times. This ensures the contents mix well. Then unscrew the charger holder and immediately replace it with the protective cap. Your dispenser may be different, so be sure to follow your device's instructions.
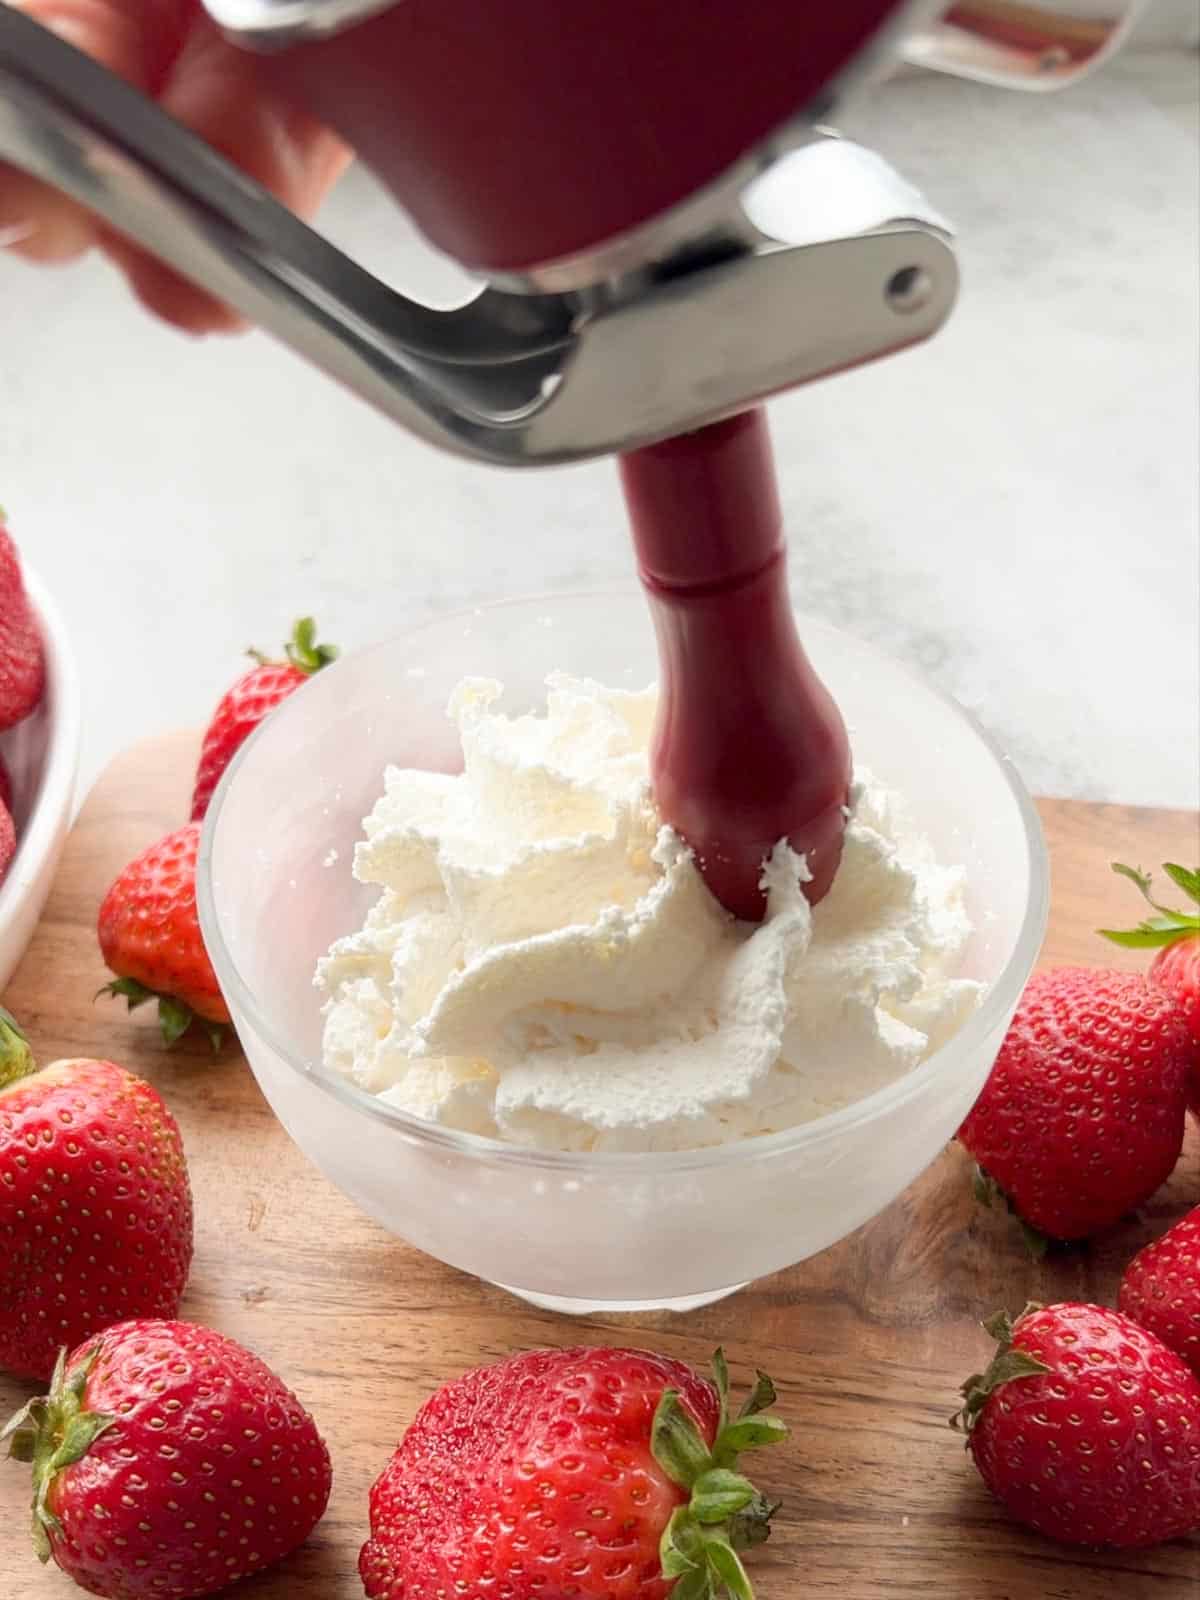
Step 6: Turn the dispenser upside down with the decorator tip in the vertical position. Gently press the lever to serve the whipped cream. Enjoy!
Equipment
- Whipped cream dispenser - This recipe is for a 1 pint (0.5 liter) whipped cream dispenser. I love the iSi Gourmet Whip.
- N2O charger - the whipped cream is charged with nitrous oxide gas (N2O) to give it creaminess and fluff. Be sure to use the charger that is recommended by your manufacturer's instructions
- Whisk
- Large measuring cup - I use a 4-cup size
- Measuring cups or food scale
- Measuring spoons
Storage
This whipped cream can be stored for up to 5 days in the refrigerator.
See the USDA Leftovers and Food Safety guide for more information.
Expert tips
- For best results, the heavy whipping cream should be kept cold. This helps the whipped cream to form properly. Some dispensers also need to be chilled before use.
- Do not overfill the dispenser. The gas needs a certain amount of space for optimal whipping results. Your bottle may have a max fill line to help you not overfill.
FAQ
There are many benefits for buying a whipped cream dispenser. It's a fun way to make homemade whipped cream that is very fluffy and creamy. With different decorator tips you can make fun designs when topping your favorite treats. Using a dispenser can also be a faster way to make whipped cream than the traditional method of using a mixer. Certain dispensers are multi-purpose and can be used to make foams, mousses, sauces, and infused creams.
To achieve the best consistency for your whipped cream, it's important to use cream with a fat content between 30% and 36%. Using a cream with a fat content below 30% may result in a whipped cream that is runny. Before dispensing the whipped cream for the first time, shake the dispenser according to your manufacturer's instructions. This distributes the gasses throughout the bottle so the whipped cream is fluffy.
Pairing
These are my favorite dishes to top with whipped cream:
Did you make this recipe? Leave a comment below and tag @little.nonni on Instagram!
Recipe

Whipped Cream Dispenser Recipe
Save This Recipe! 💌
Ingredients
- 2 cups heavy whipping cream *
- ¼ cup powdered sugar *
- 1 tablespoon vanilla extract *
Instructions
- Review the manufacturer's instructions: Carefully review the different parts of your whipped cream dispenser, as well as the manufacturer's instructions. The following steps are what I use for the 1 pint (0.5 liter) iSi Gourmet Whip and are for informational purposes only. Your manufacturer's instructions may require you to do different steps instead.
- Whisk the ingredients: Add the heavy whipping cream, powdered sugar, and vanilla extract to a large measuring cup. Whisk the ingredients together until combined and smooth. There should be no visible lumps of sugar.
- Pour the mixture into the dispenser: Carefully pour the mixture into the dispenser bottle. Ensure the mixture does not exceed the maximum fill line.
- Screw the head onto the dispenser bottle: Attach the decorator tip to the dispensing valve on the head. Then screw the head onto the bottle so that it is straight and securely sealed.
- Add the N2O charger: Insert the N2O charger into the charger holder. Screw the holder onto the head of the dispenser, until you hear all of the charger contents release into the bottle. Then vigorously shake the dispenser 6 times. This ensures the contents mix well. Then unscrew the charger holder and immediately replace it with the protective cap. Your dispenser may be different, so be sure to follow your device's instructions.
- Serve the whipped cream: Turn the dispenser upside down with the decorator tip in the vertical position. Gently press the lever to serve the whipped cream. It makes a great topping for no egg vanilla ice cream, espresso ice cream, or pumpkin custard pie. Enjoy!
Video

Notes
- Heavy whipping cream: store in the refrigerator until immediately before use. Cold cream helps the whipped cream to form properly.
- Powdered sugar: either powdered sugar or confectioners sugar can be used. I prefer those that contain tapioca instead of cornstarch. The tapioca has a subtle sweet flavor and absorbs liquid at a lower temperature than cornstarch. This makes it ideal for thickening no-cook foods like whipped cream.
- Vanilla extract: this can be substituted with the same amount of another type of extract. Maple and almond extract would be delicious options.
- Add spices: adding 1 teaspoon of cinnamon or pumpkin spice seasoning is a fun way to add flavor! Be sure the spices are completely whisked into the mixture before adding it to the dispenser.
- Storage: Store in the refrigerator for up to 5 days.
- Equipment: this recipe is intended for a 1 pint (0.5 liter) whipped cream dispenser - I have the iSi Gourmet Whip; N2O charger - be sure to use the charger recommended by your manufacturer's instructions; whisk; large measuring cup - I use a 4-cup size for this recipe; measuring cups or food scale; measuring spoons.
Nutrition
The provided nutrition and storage information is estimated. Accuracy is not guaranteed.
See our Disclaimer for more information.


rd says
I love the whipped cream you get at fancy cafes and restaurants. Thanks to this recipe I can FINALLY get that perfect, fluffy whipped cream at home! I’m so glad I had these instructions to help guide me through the process of using a professional whipped cream dispenser. It’s actually really easy, and this recipe makes the BEST whipped cream. If you love perfect whipped cream as much as I do, you HAVE to try this recipe!
Maria D'Errico says
I'm so happy you love the recipe! It's so fun making fancy whipped cream at home.