
This no egg vanilla ice cream is rich, creamy, and made with just 4 simple ingredients! Without eggs, there's no custard to cook, making this homemade vanilla ice cream incredibly easy to prepare. Once you see how simple it is to make from scratch, you'll never go back to store-bought ice cream!
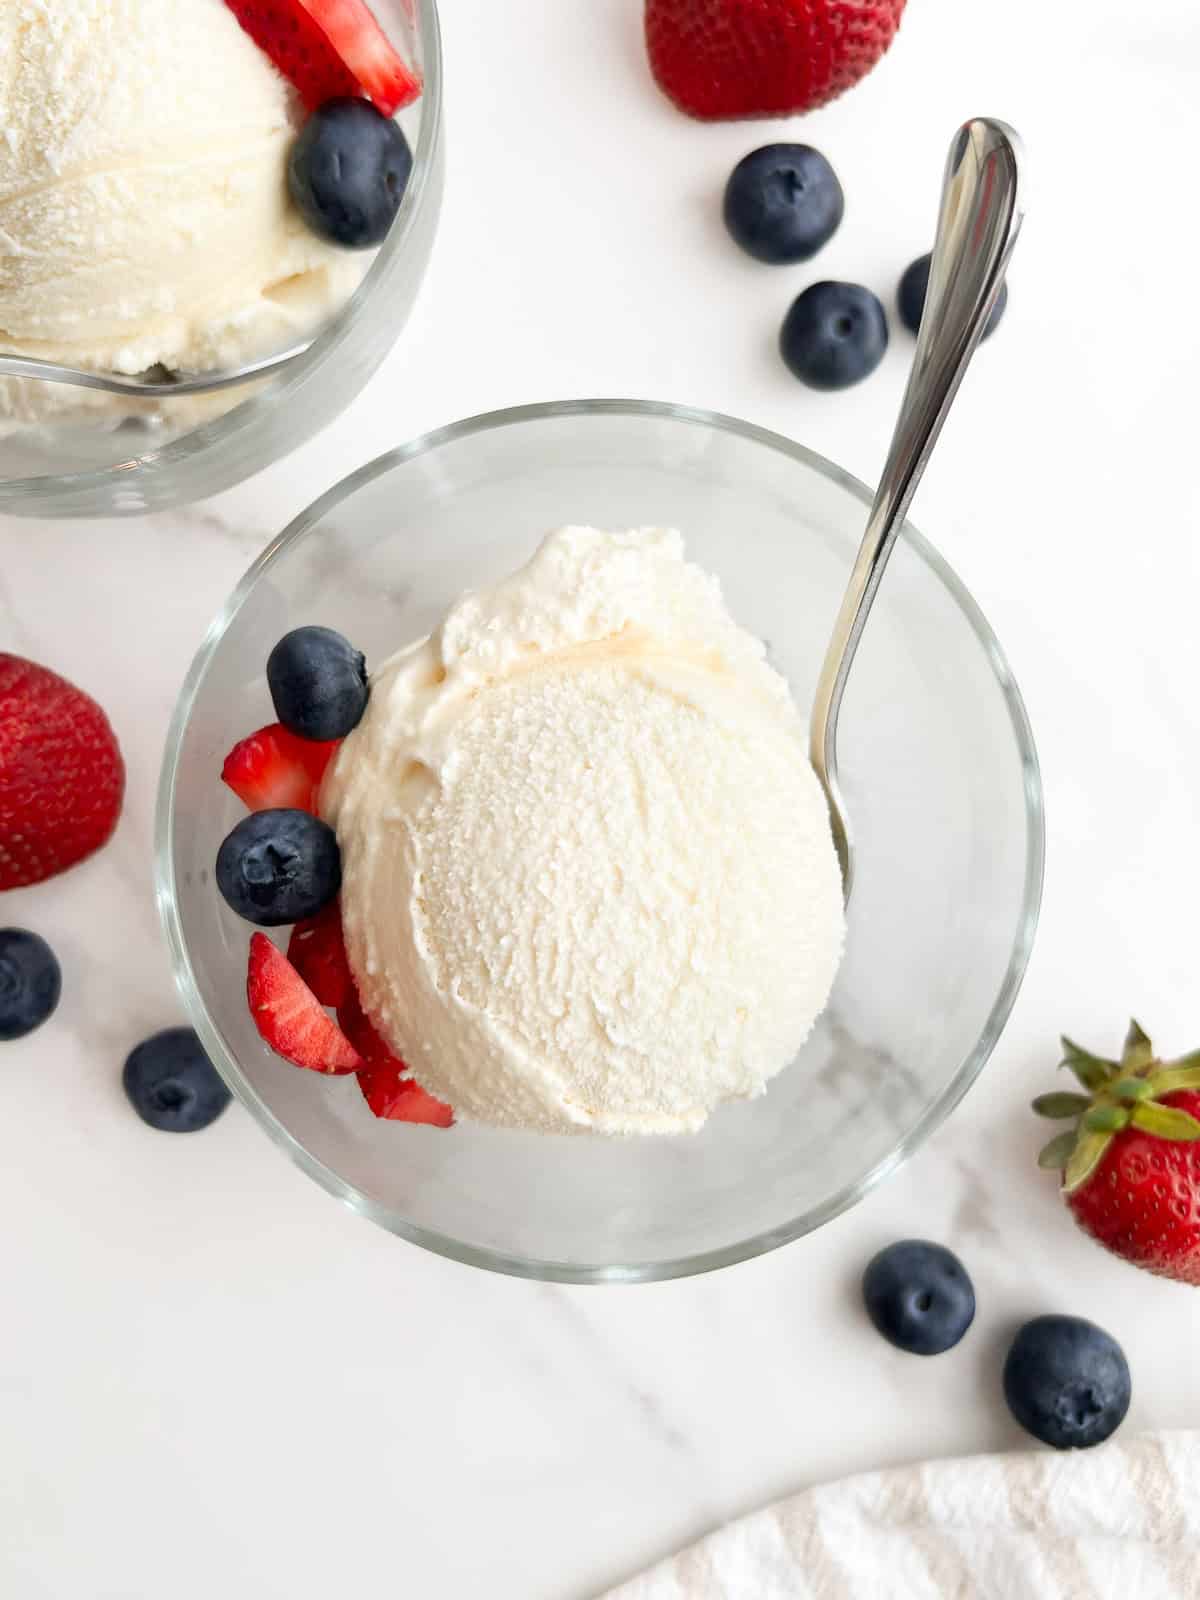
This no egg vanilla ice cream is made in the Philadelphia-style, a classic American method that skips the eggs and cooked custard found in traditional French-style recipes. The result is rich, creamy homemade vanilla ice cream, without the extra work. I make this recipe every week because it's the best vanilla ice cream I've ever had, and my friends and family love it just as much!
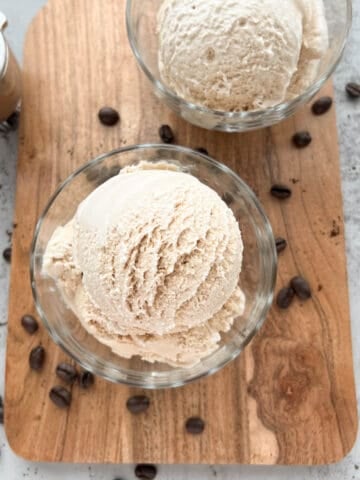
I enjoy serving it with a dollop of homemade whipped cream from my whipped cream dispenser recipe or a scoop of my espresso ice cream, made with the same egg-free method!
Recipe at a Glance: No Egg Vanilla Ice Cream
- ⏱️ Total Time: 35 minutes (5 minutes prep; 30 minutes churn)
- 🍽️ Servings: 12
- 🧑🍳 Method: ice cream maker (no-cook)
- 🥣 Key ingredients: heavy cream, half and half, sugar, vanilla
Why You'll Love This Recipe
- Just 4 simple ingredients: a short ingredient list keeps the recipe simple, while skipping the egg yolks lets the dairy and vanilla flavors shine.
- Easy no-cook method: this Philadelphia-style ice cream skips the eggs and cooked custard while still being rich and creamy. Simply whisk the ingredients together, then let your ice cream maker do the rest of the work.
- No chilling required: start with cold dairy and churn the mixture right away. There's no need to chill the base first.
- Perfect for making ahead: freeze a batch in advance for birthdays, holidays, dinner parties, or whenever you're craving homemade vanilla ice cream.
- Enjoy it soft serve or scoopable: serve it straight from the ice cream maker for a soft-serve consistency, or freeze it for a firmer, scoopable texture.
Jump to:
Ingredients
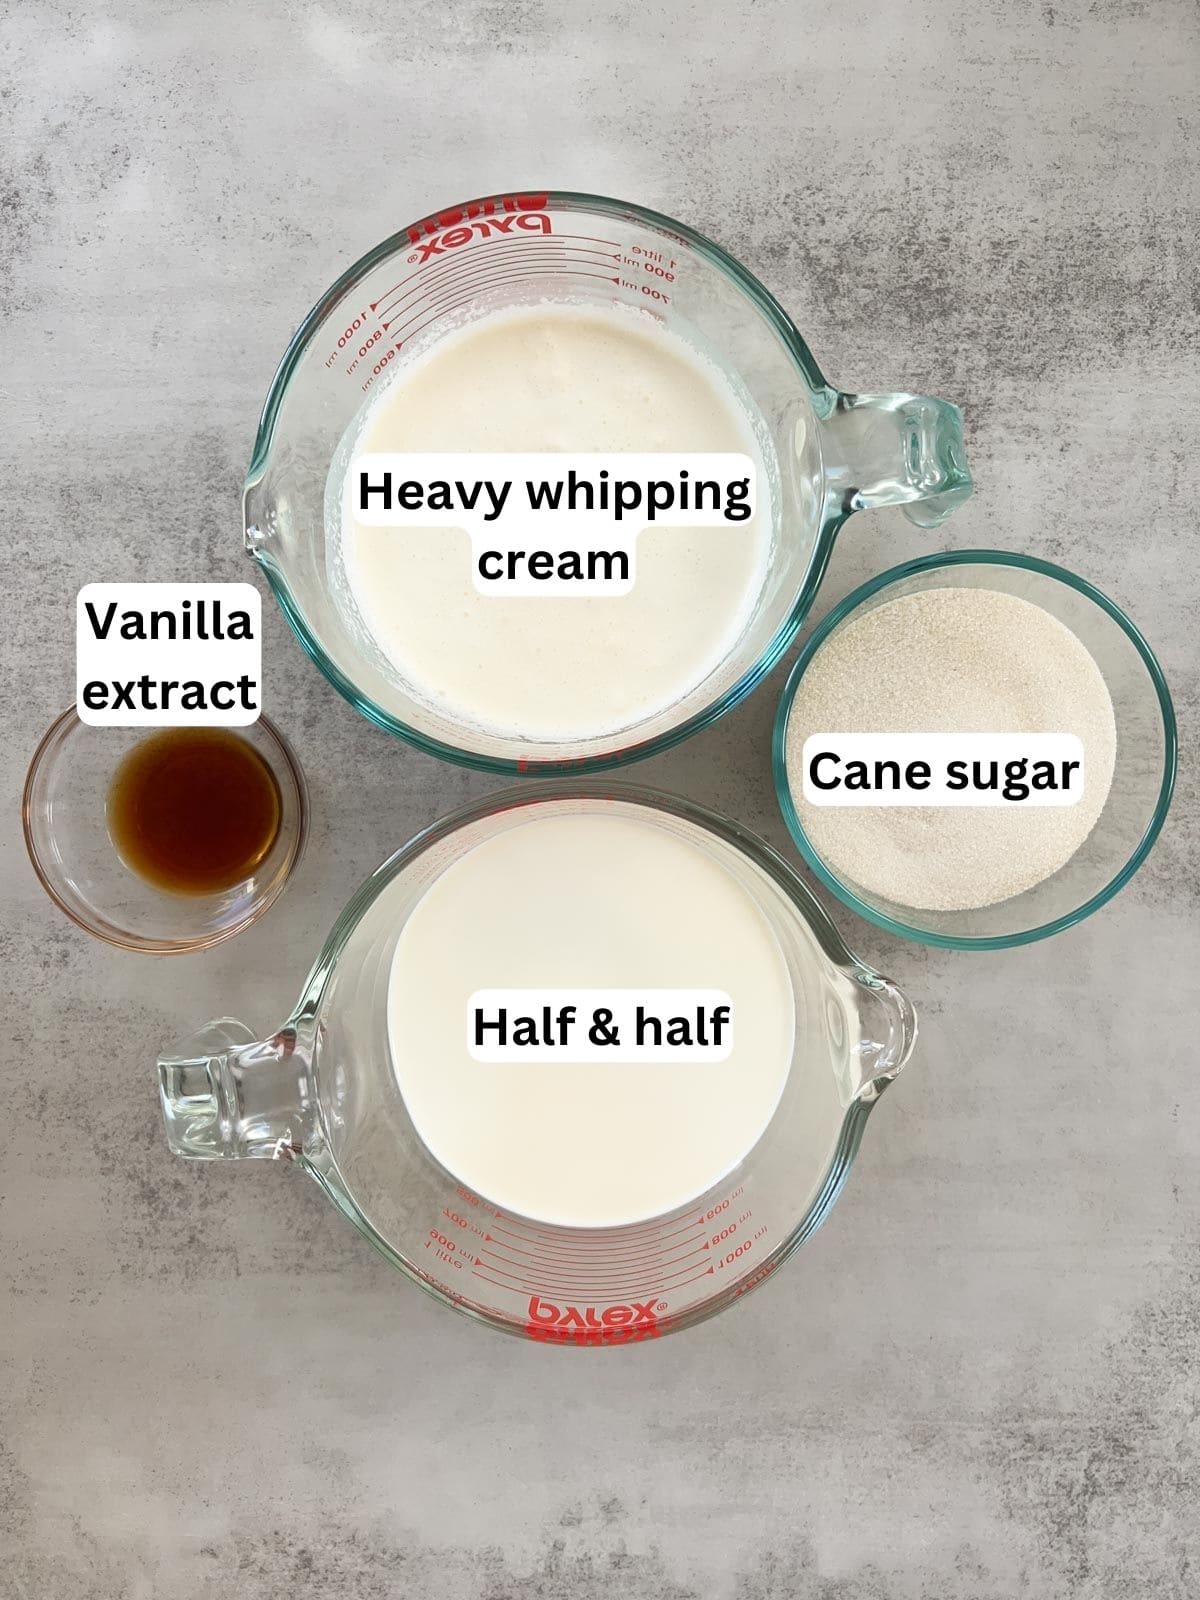
No egg vanilla ice cream uses simple, high-quality ingredients, so choosing the best ones makes all the difference. The ingredient notes below include my recommendations and helpful tips.
Ingredient Notes
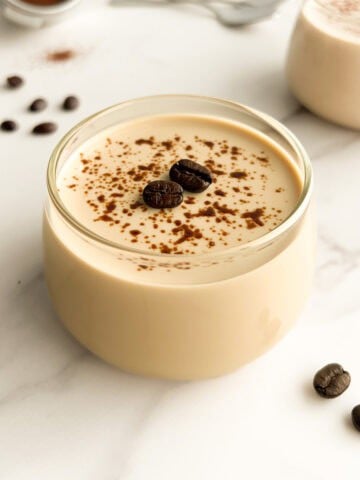
- Heavy whipping cream: this gives the ice cream its rich, creamy texture. Keep it refrigerated until you're ready to use it so the ice cream freezes quickly and smoothly. I tested this recipe with different heavy creams and preferred a grass-fed variety made with just cream (milk) for its richer dairy flavor. You'll find the same high-quality heavy cream in many of my desserts, including my coffee panna cotta and chocolate budino.
- Half and half: this lowers the overall fat content, giving the ice cream a rich, smooth texture without making it too heavy. I keep it refrigerated until just before using and I prefer a grass-fed variety for its rich flavor. If you don't have any on hand, you can substitute using 1½ cups whole milk mixed with ½ cup heavy whipping cream.
- Cane sugar: I tested this recipe with both cane sugar and regular granulated sugar. I prefer cane sugar because its subtle molasses notes complement the vanilla. Regular granulated sugar also works well if that's what you have on hand.
- Vanilla extract: with only 4 ingredients, the quality of the vanilla really matters. I always use pure vanilla extract made with real vanilla beans because it gives the ice cream a rich, natural vanilla flavor. I use the same vanilla extract in desserts like my Italian wedding cookies and Italian almond cake where it complements the buttery, nutty flavors. I avoid imitation vanilla flavoring because I find it has a bitter aftertaste.
See recipe card for quantities.
Substitutions and Variations
- Vanilla bean: I've tested this recipe with vanilla bean in addition to the vanilla extract. This creates an intense, deep vanilla flavor, making it one of my favorite variations! Simply slice the vanilla bean lengthwise, scrape out the seeds, and whisk them into the mixture before churning.
- Toppings: we make this ice cream every week at my house, so we've tried it with lots of different toppings! Here are some of our favorites:
- Chopped air fryer roasted peanuts for a salty crunch
- 3 ingredient brown sugar cookies or walnut biscotti crumbled on top for the ultimate cookies and ice cream combo
- A dollop of homemade whipped cream from my whipped cream dispenser recipe
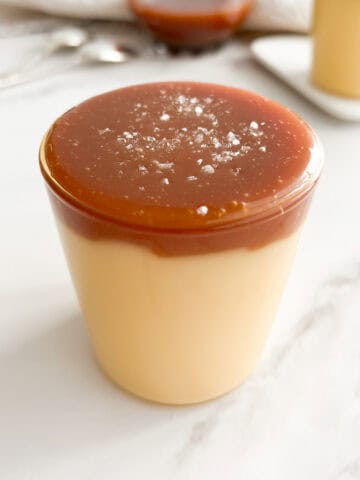
- A drizzle of homemade salted caramel sauce from my caramel budino recipe
How to Make No Egg Vanilla Ice Cream
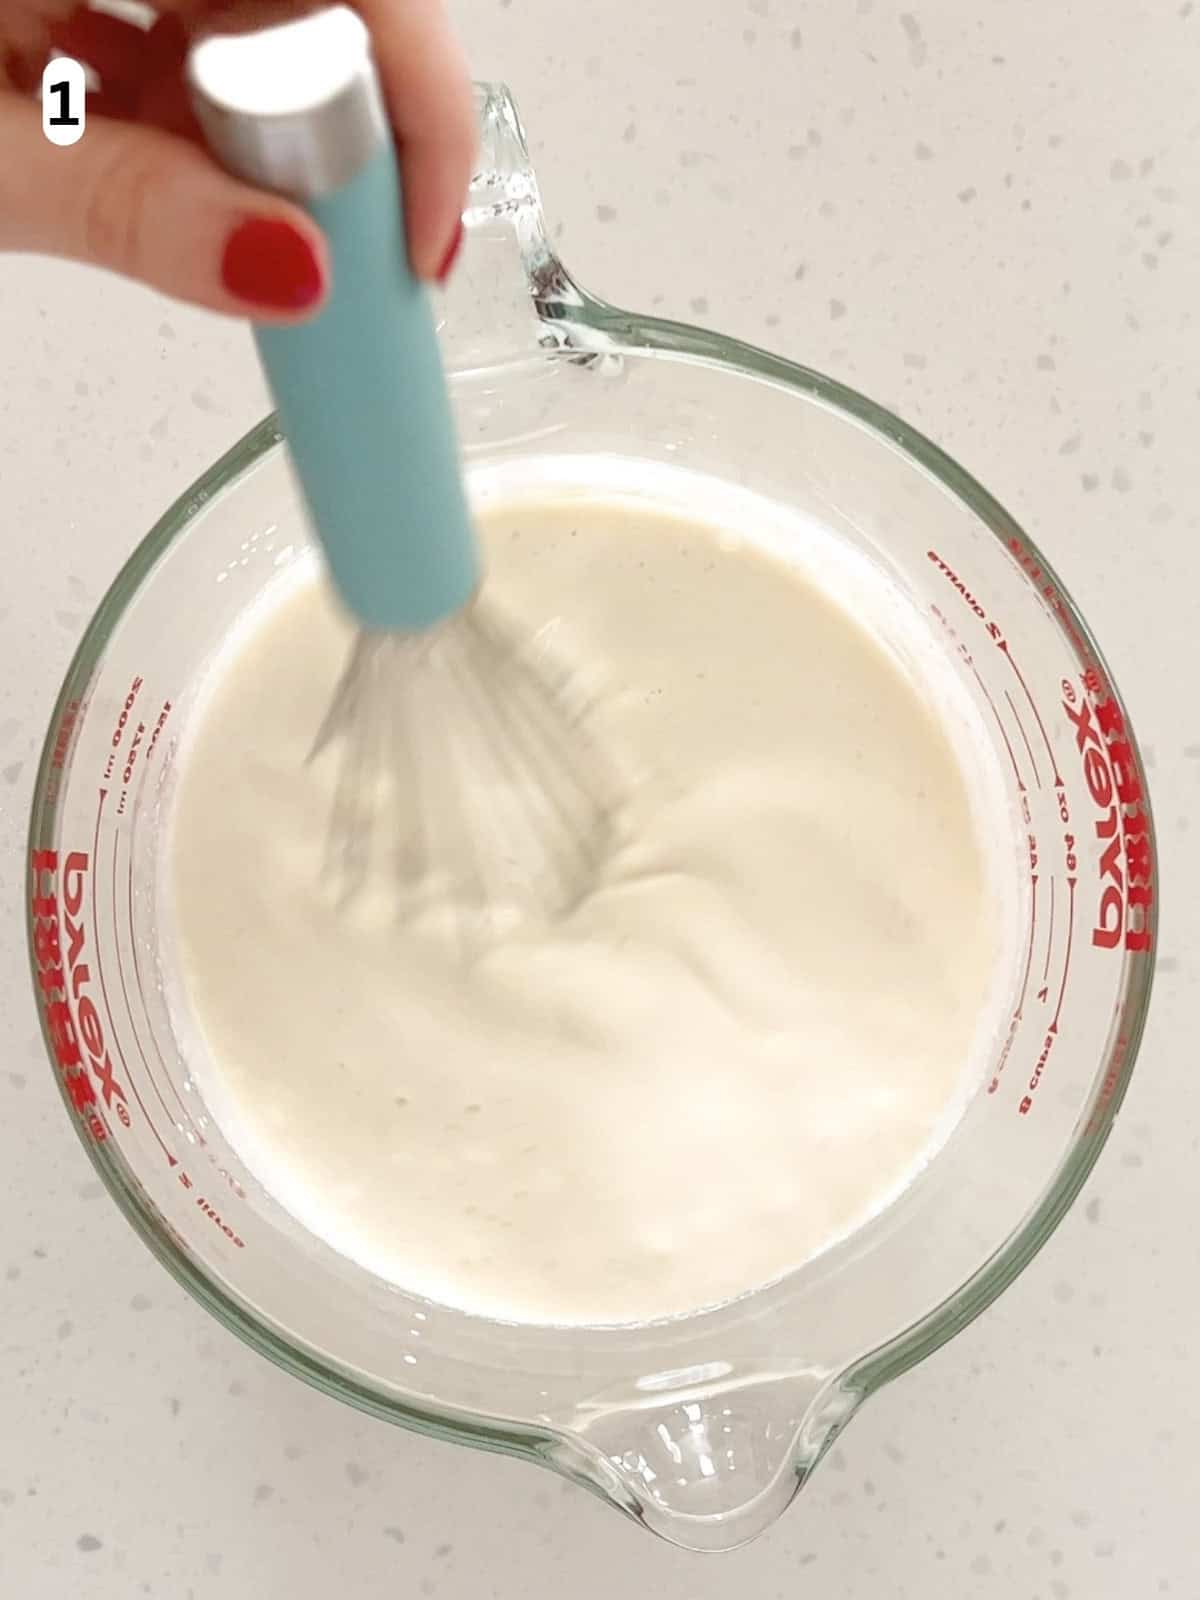
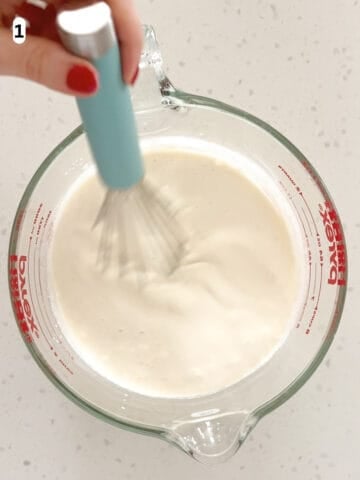
Step 1: Prepare your ice cream maker per the manufacturer's instructions. Some models require the bowl to be frozen for up to 24 hours in advance. Add the cane sugar, vanilla extract, half and half, and heavy whipping cream to a large bowl or measuring cup with a spout. Whisk until the sugar is completely dissolved (image 1). I prefer a measuring cup because the spout makes it easier to pour into the ice cream maker.
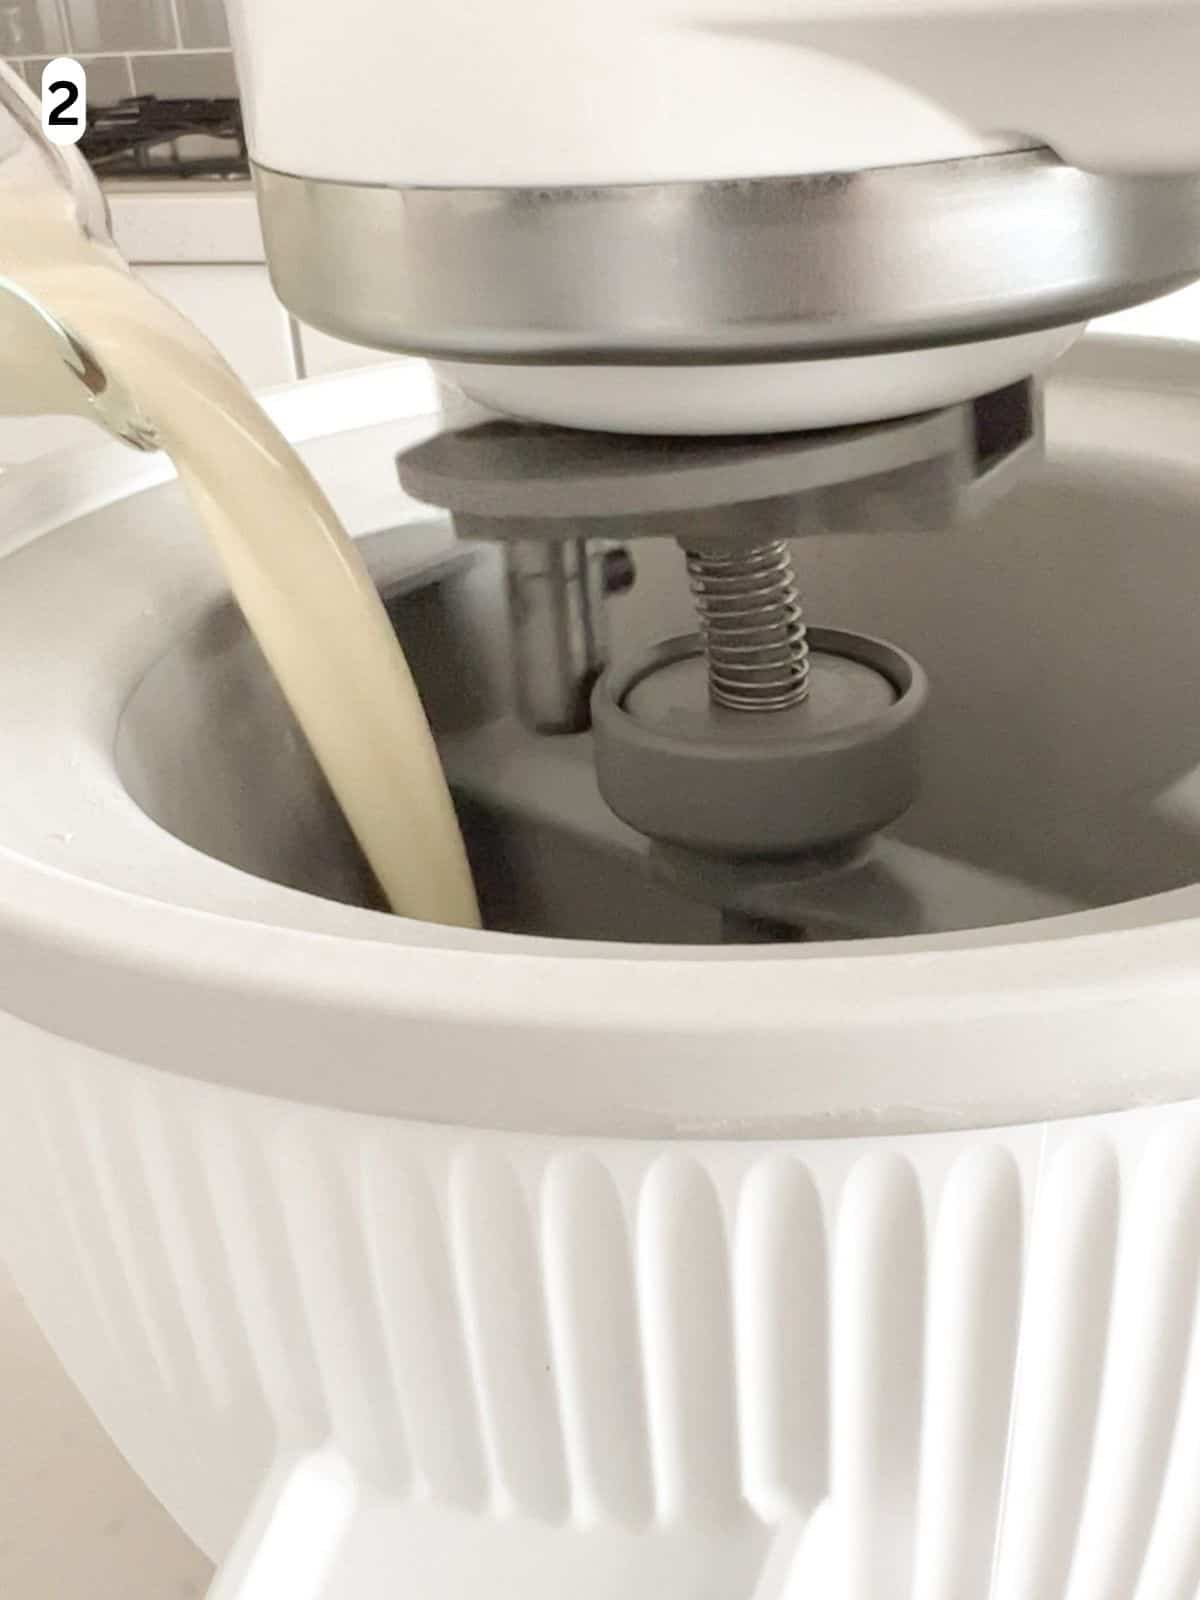
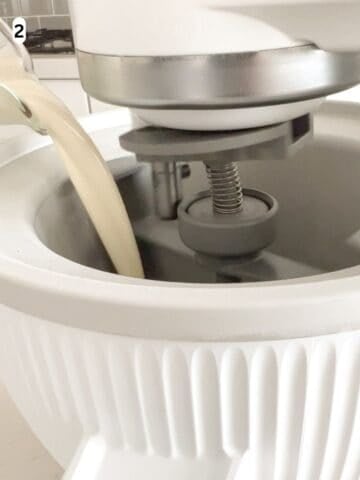
Step 2: Immediately pour the mixture into the ice cream maker according to the manufacturer's instructions (image 2). I use a KitchenAid ice cream maker attachment and must turn it on before adding the mixture. Keeping the mixture cold shortens the churn time and helps create a smooth, creamy texture.
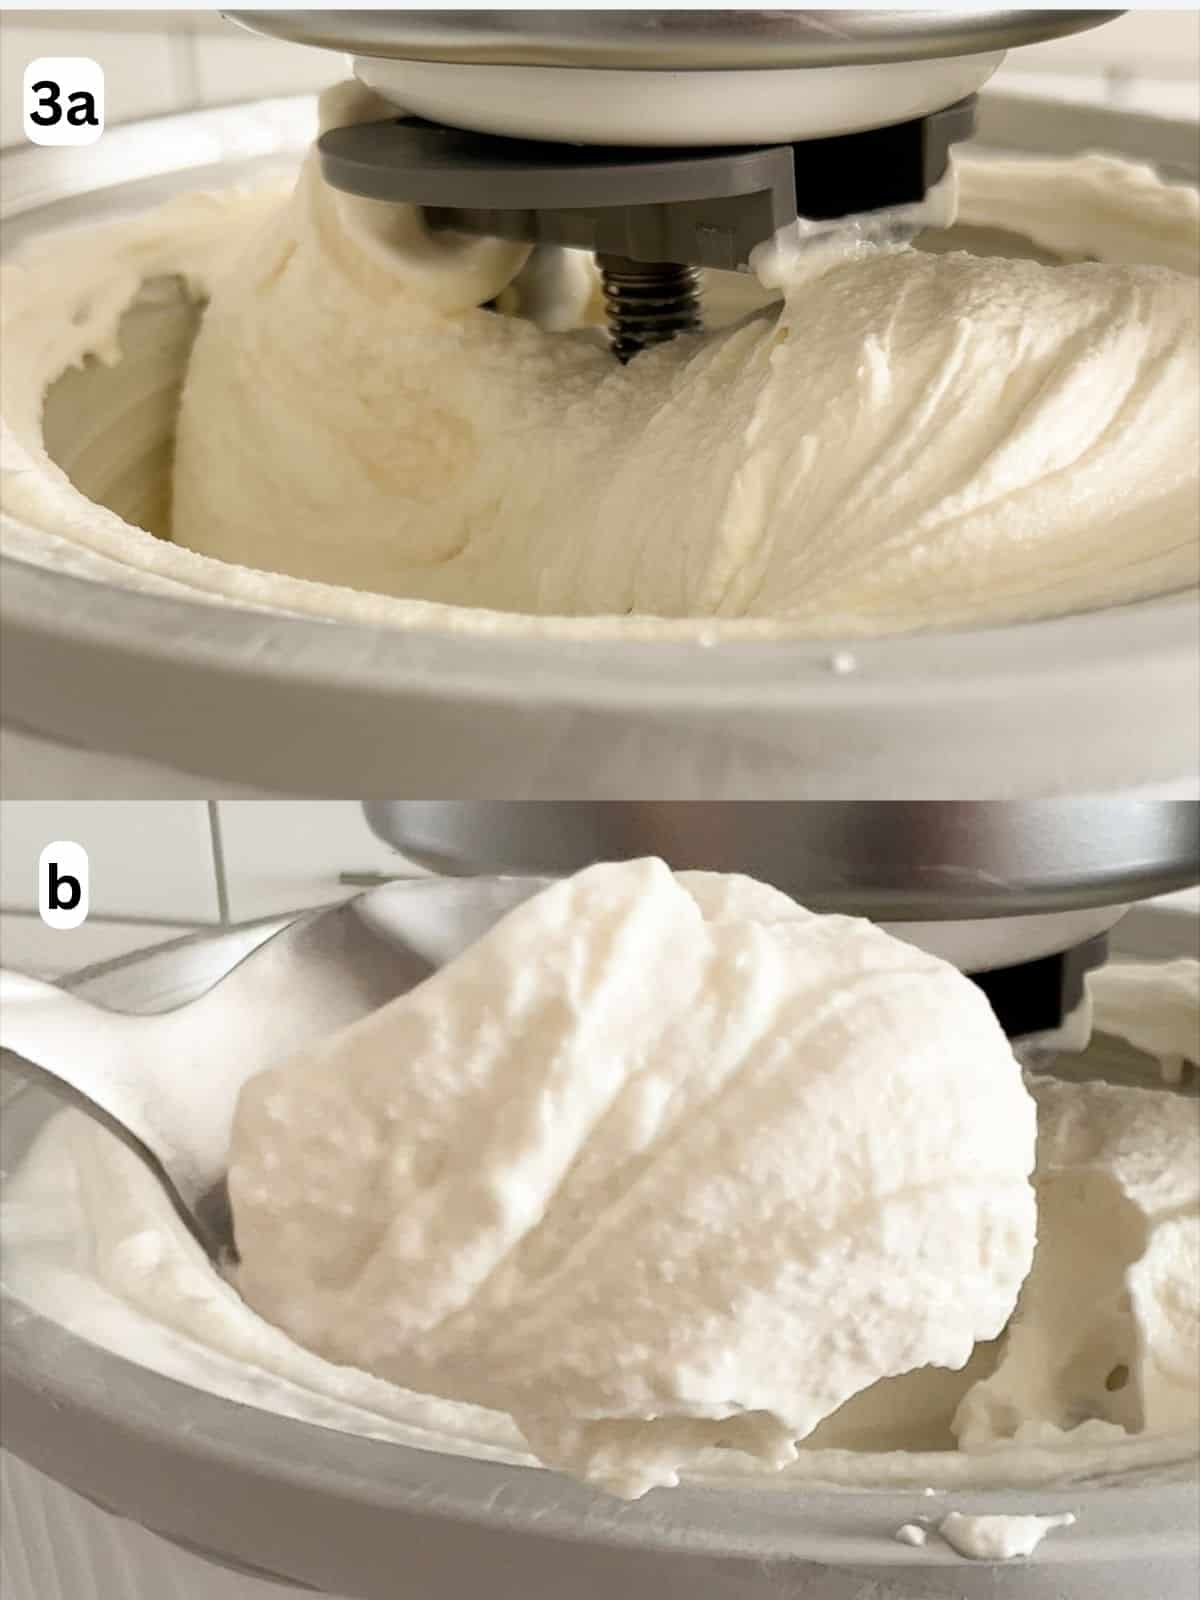
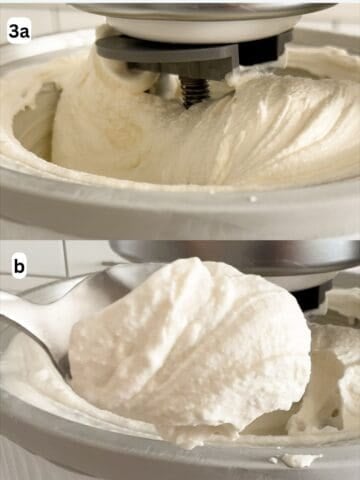
Step 3: Churn as directed by your ice cream maker until the mixture thickens (image 3a). I churn mine for 20 to 30 minutes. When done, it will have the consistency of soft serve ice cream (image 3b).
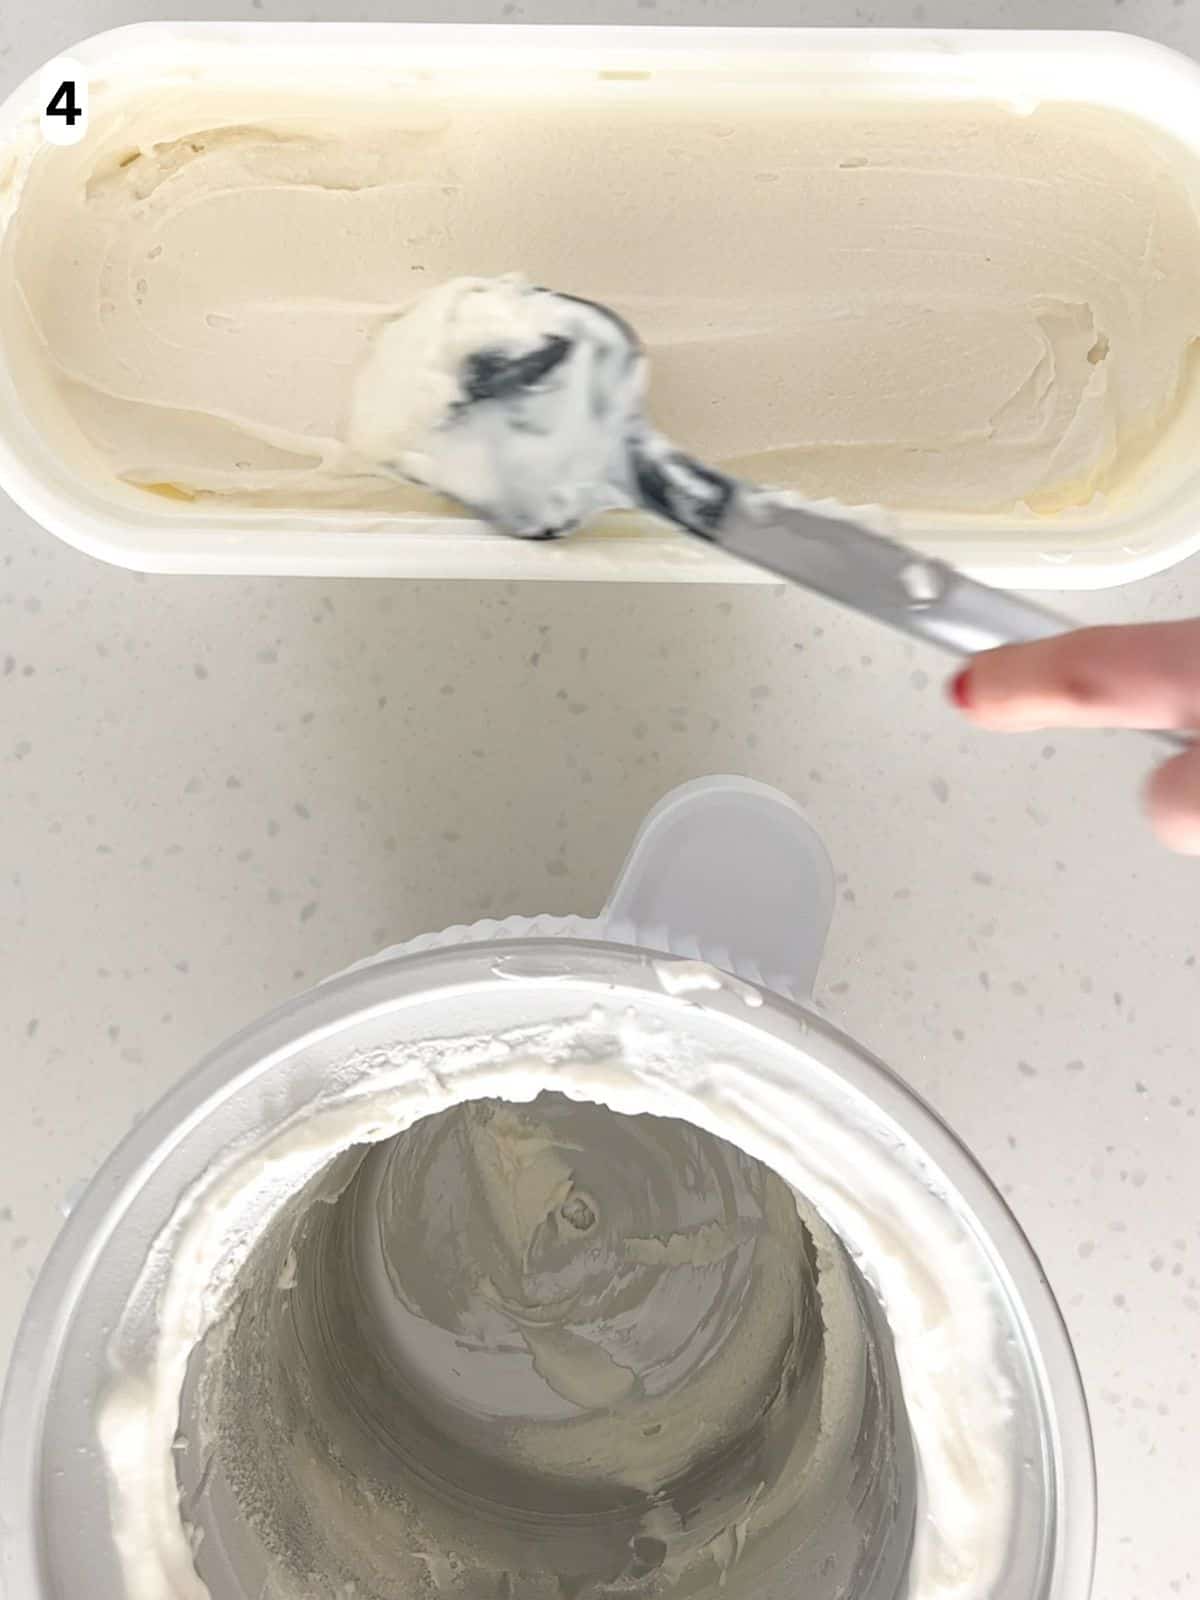
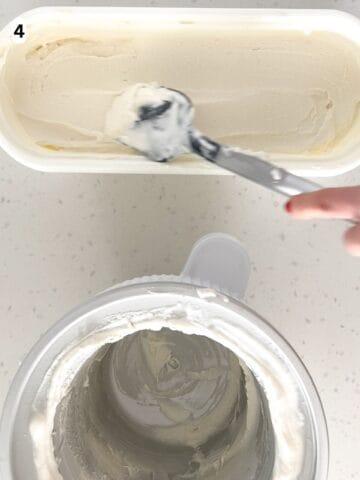
Step 4: Serve immediately or transfer to a freezer-safe container. Smooth the top with a spatula or the back of a spoon so it freezes evenly and is easier to scoop (image 4). Freeze for at least 2 hours for a firmer texture.
Equipment
- Ice cream maker: I use a KitchenAid ice cream maker attachment. It's convenient since I already have the stand mixer!
- 8-cup measuring cup with a spout: this is my preferred way to mix the ingredients. The spout makes it easier to pour the mixture into the ice cream maker.
- Freezer-safe container: I love the Tovolo Glide-a-Scoop Ice Cream Tub. It's airtight and stacks well in the freezer. I use the 2.5 quart size for this recipe.
Storage & Make Ahead
- Storage: store the vanilla ice cream in an airtight container in the freezer for up to 2 weeks. We eat it quickly in my house, so I haven't tested beyond that!
- Make ahead: this ice cream is perfect for making ahead of time. Prepare and freeze it at least 2 hours before serving for a firmer, scoopable texture. You can also make it several days in advance, keeping it frozen until you're ready to serve.
Save This Recipe! 💌
Expert tips
- Start with very cold dairy: keep the half and half and heavy whipping cream refrigerated until use. A cold base freezes faster in the ice cream maker. This keeps the ice crystals small for a smoother, creamier texture.
- Completely dissolve the sugar: whisk the ingredients until you can no longer feel any sugar crystals. I like to drag a spoon along the bottom of the bowl to check. With this no-cook ice cream, the sugar needs to dissolve during mixing rather than with heat. This helps create a smooth texture.
- Follow your ice cream maker's instructions: preparation and churn times vary by model. Some bowls need to be frozen for up to 24 hours in advance, and some machines need to be running before you pour in the base. Following the instructions for your specific model helps the ice cream freeze and churn properly.
- Use texture, not just the clock, to determine doneness: churn until the ice cream thickens to the consistency of soft serve. Mine takes 20-30 minutes, but the exact time will depend on your ice cream maker, ingredient temperature, and even your kitchen temperature.
- Don't over-churn: stop churning once the ice cream reaches a thick, soft serve consistency. Churning for too long can cause the fat to separate, giving the ice cream a grainy or buttery texture. If you prefer firmer ice cream, freeze it after churning rather than leaving it in the ice cream maker longer.
FAQs for No Egg Vanilla Ice Cream
Philadelphia-style ice cream is made without eggs or a cooked custard base. Instead, it typically uses dairy, sugar, and flavorings like vanilla for a simple, fresh flavor. This no egg vanilla ice cream is Philadelphia-style, with heavy whipping cream and half and half creating its rich, creamy texture.
Yes, you can easily make vanilla ice cream without eggs. Heavy whipping cream and half and half give this recipe a rich, creamy texture without the need for a cooked egg custard. An ice cream maker keeps the texture smooth and creamy as it churns.
If your homemade vanilla ice cream is not thickening, first make sure the dairy is very cold and your ice cream maker is properly prepared. I keep the dairy refrigerated until I'm ready to use it and carefully follow my ice cream maker's instructions, especially for freezing the bowl. I've also found that it's important to not wait for the ice cream to become firm in the machine, as over-churning can produce a buttery, grainy texture. It's ready when it reaches a soft serve consistency. For a firmer, scoopable texture, freeze it for at least 2 hours.
An ice maker is needed when making no egg vanilla ice cream because it churns the mixture as it freezes, incorporating air and preventing ice crystals from forming. This creates a lighter, smoother, and creamier texture instead of ice cream that is dense or icy.
You don't need to chill no egg vanilla ice cream before churning. Because it's a no-cook ice cream, the mixture doesn't need to cool down before adding it to the ice cream maker. Starting with cold dairy lets you churn right away.
Serving Suggestions
This no egg vanilla ice cream is delicious on it's own and pairs well with so many desserts. Here are some of my favorite ways to serve it:
- With pie: serve it alongside strawberry blueberry pie in the summer or pumpkin custard pie in the fall for a classic dessert.
- With cake: pair it with chocolate ricotta cake or Italian almond cake for a creamy contrast to the rich chocolate and nutty flavors.
- Make a sundae bar: serve it with espresso ice cream, homemade whipped cream, and chopped air fryer roasted peanuts for an easy dessert when entertaining.
- Make ice cream sandwiches: place scoops of ice cream between easy brown sugar cookies, chocolate chip sugar cookies, or lemon blueberry cookies for an extra flavorful twist on a classic ice cream sandwich.
More Chilled Desserts
Did you make this recipe? Leave a star rating and comment below! Subscribe to my newsletter for more recipes straight to your inbox.
Recipe
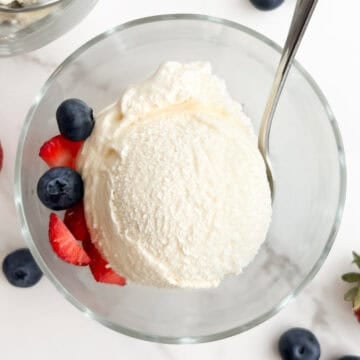
No Egg Vanilla Ice Cream
Save This Recipe! 💌
Ingredients
- 1 cup cane sugar
- 1 tablespoon vanilla extract
- 2 cups half and half (cold)
- 2 cups heavy whipping cream (cold)
Instructions
- Prepare ice cream maker and whisk the ingredients: follow the manufacturer's instructions to prepare your ice cream maker. Some models require the bowl to be frozen for up to 24 hours in advance. When ready, add the cane sugar, vanilla extract, half and half, and heavy whipping cream to a large bowl or measuring cup with a spout. Whisk until the sugar is completely dissolved.

- Pour into the ice cream maker: immediately pour the mixture into the ice cream maker, following the manufacturer's instructions. I use a KitchenAid ice cream maker attachment and must turn it on before adding the mixture.
- Churn: following the ice cream maker's instructions, churn the mixture until it reaches a thick, soft serve consistency. I churn mine for 20 to 30 minutes.
- Serve immediately or store: Serve the ice cream immediately or transfer it to a freezer-safe container. Smooth the top of the ice cream with a spatula or the back of a spoon. This helps it to freeze evenly and makes it easier to scoop. Freeze for at least 2 hours for a firmer texture.
Video
Notes
- Keep the ice cream mixture cold: keep the dairy refrigerated until you're ready to use it, then churn immediately after mixing. This helps the ice cream freeze quickly for a smooth, creamy texture.
- Completely dissolve the sugar: for the smoothest ice cream texture, whisk the mixture until you can no longer feel any sugar crystals.
- Don't over-churn: once the ice cream reaches a thick, soft serve consistency, it's done. Churning for too long can give it a grainy texture. For firmer ice cream, freeze it after churning.
- Storage: Store for up to 2 weeks in the freezer in an airtight container.
- Equipment: ice cream maker; large 8-cup measuring cup with a spout (preferred for easy pouring); freezer safe container.
Nutrition
The provided nutrition and storage information is estimated. Accuracy is not guaranteed.
See our Disclaimer for more information.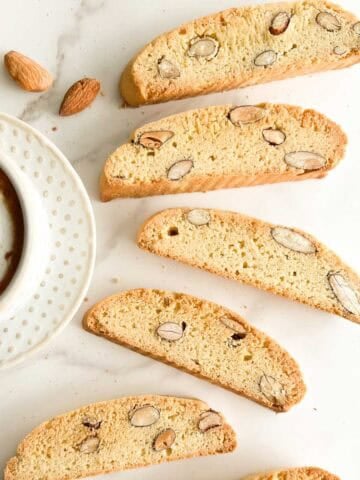
Sheila says
Can u replace 2 cups of half & half with 2 cups of milk?
Maria D'Errico says
Hi Sheila,
Great question! I haven't tried replacing the half and half with milk, but I'd be concerned that the ice cream could turn out icier and less smooth due to the lower fat content. If you don't have 2 cups of half and half on hand, you could try substituting with 1.5 cups of whole milk and 0.5 cup of heavy cream. This should have a closer fat content to the original recipe. If you end up trying this substitution, I'd love to hear how it turns out!
Anne says
This ice cream was easy to make and my family loved it. Pairs well with Little Nonni’s walnut biscotti. You will never buy ice cream again.
Maria says
Thank you, I'm so happy you enjoyed the ice cream!
RD says
I never thought that homemade ice cream could be this quick, easy, and delicious! It’s ready in no time at all. I like to eat a bit as soon as it’s ready, it’s just like the soft serve ice cream of my childhood. After it sets up in the freezer it is the perfect consistency for cones or sundaes. It also goes great with your biscotti!
Maria says
I'm so happy you love this ice cream. It's so good with the walnut biscotti!