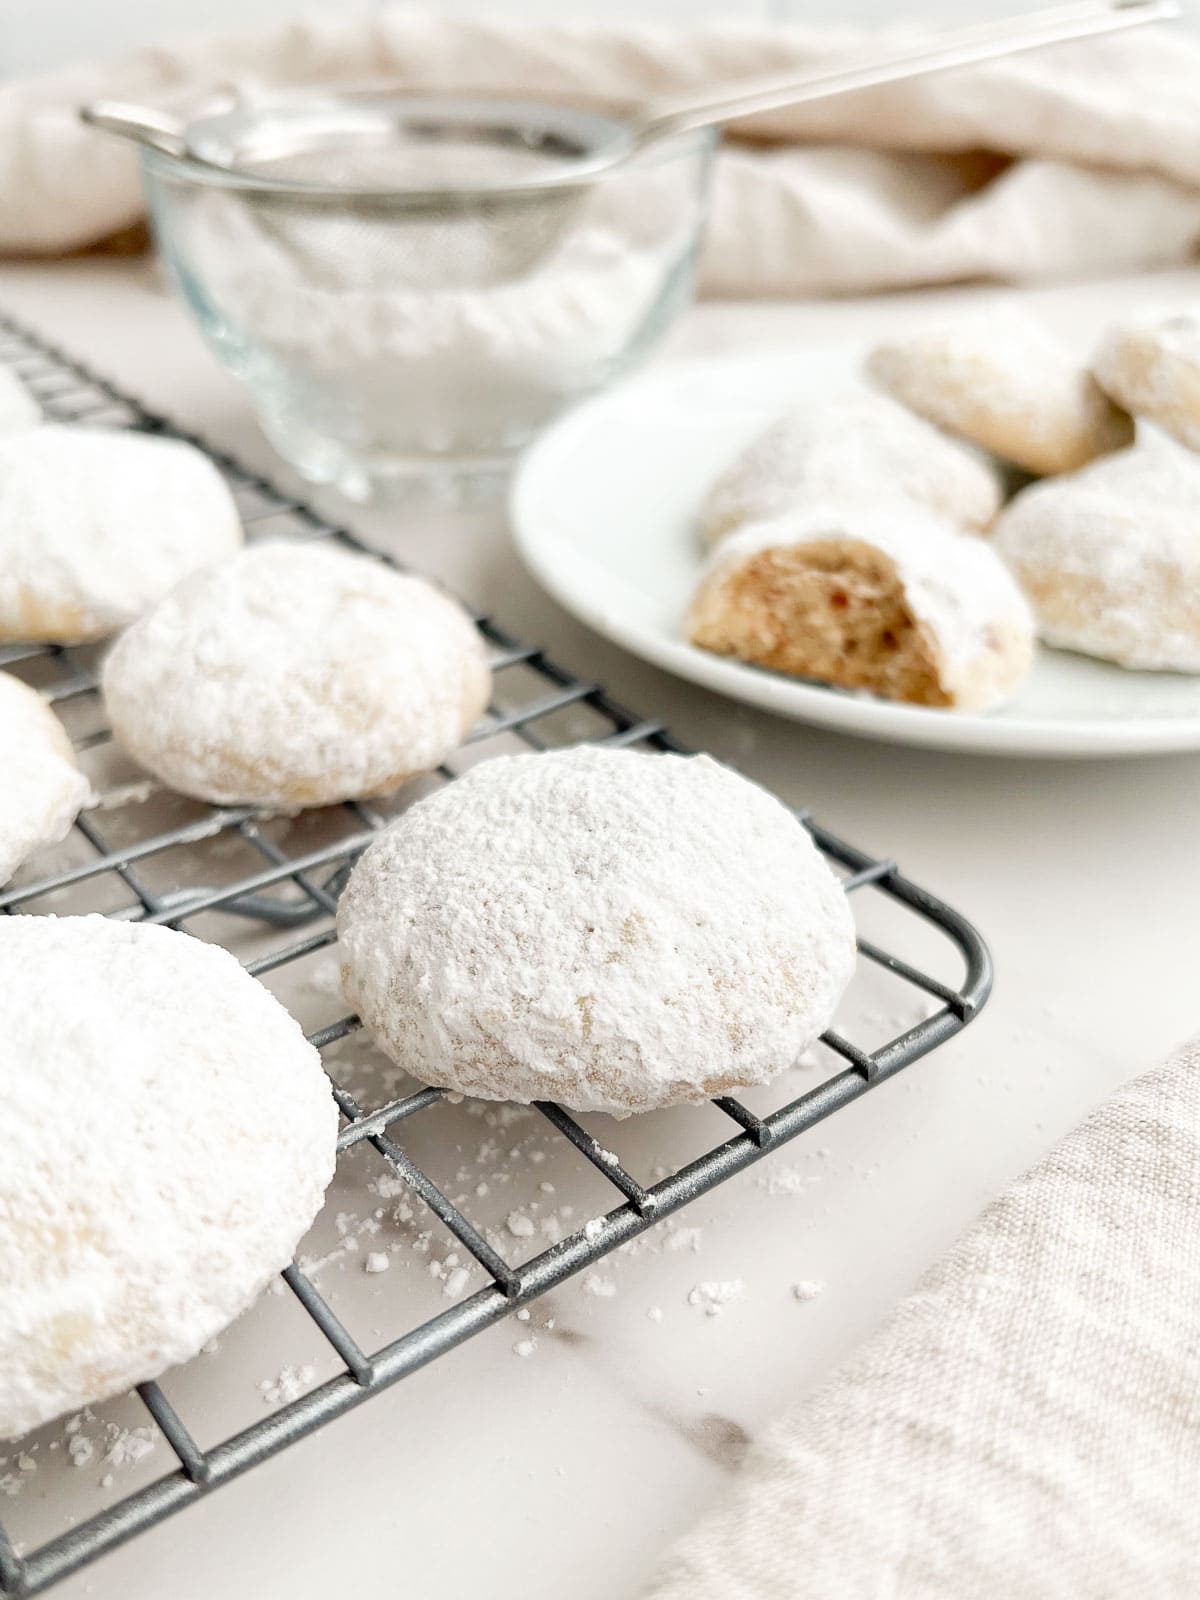
Italian wedding cookies are a timeless classic! Crisp and delicate, these cookies strike the perfect balance of texture and flavor. Made with simple, everyday ingredients, they bring a touch of sweetness and tradition to any occasion. Whether you're celebrating a wedding, the holidays, or just craving something sweet, these cookies are sure to impress!
Save This Recipe! 💌
Italian wedding cookies, also known as Italian snowball cookies, have been a treasured treat in my family for decades. Every Christmas, my nonni brought over a tin of these cookies, neatly packed alongside her famous walnut biscotti. But these cookies weren't just for the holidays –they were a mainstay at every family celebration, from birthdays to Easter. Their aroma and taste always bring back special memories of my nonni and the love she put into every batch.
I'm so excited to share this recipe with you, and I hope they become as cherished in your family as they are in mine. These cookies are perfect - lightly crisp on the outside, with a delicate interior that melts in your mouth. Sweet and buttery, they are rolled in powdered sugar before serving for the perfect bite. They are easy to make with simple ingredients, and my recipe will guide you every step of the way!
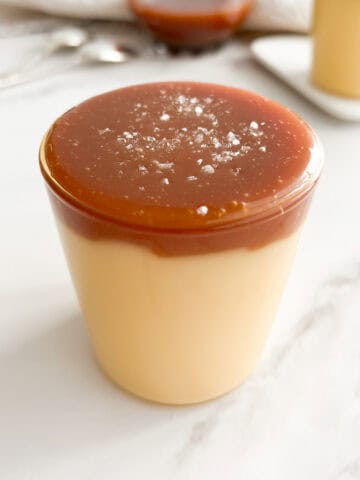
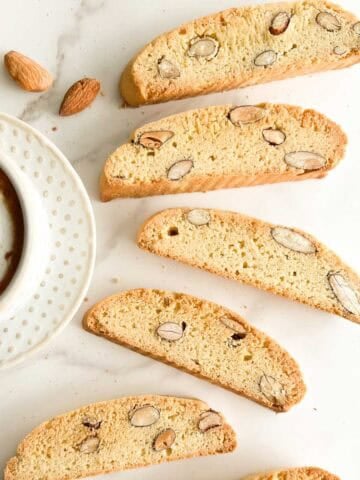
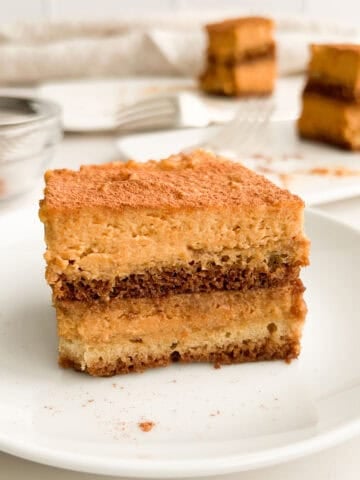
I love to serve these cookies during the holidays alongside other Italian Christmas cookies like pignoli, cantucci, and savoiardi ladyfingers. If you're short on time, they pair well with simple Italian American favorites, like 3 ingredient sugar cookies and rice crispy treats with marshmallow cream. For more delicious Italian desserts, you'll love almond Italian cake, caramel budino, and pumpkin tiramisu!
Jump to:
Ingredients
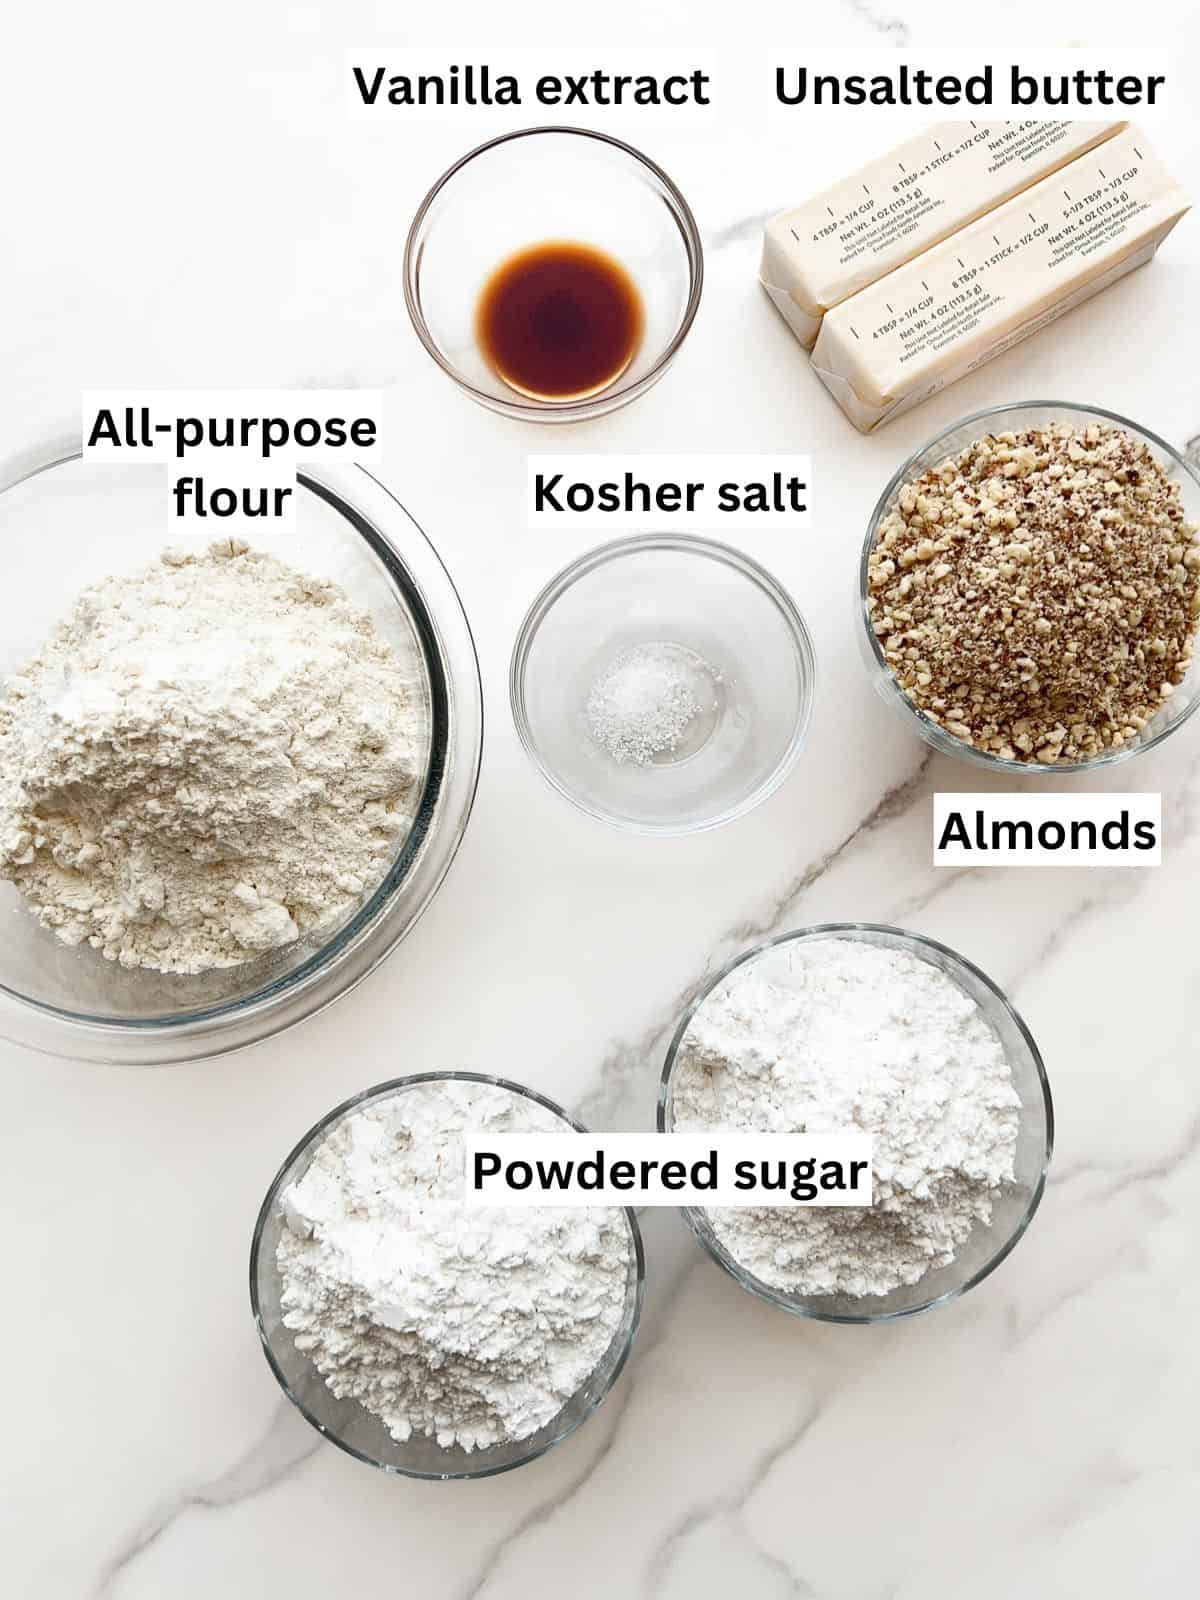
Ingredient Notes
- Unsalted butter: the butter should be softened to room temperature so it blends well with the other ingredients. Since these cookies are simple, the butter flavor really shines through. I recommend using a high quality butter, with my favorite being grass-fed butter from pasture-raised cows. It gives the cookies a richer, creamier taste and a more tender, melt-in-your-mouth texture. Grass-fed butter may also be more nutritious than regular butter, with higher levels of omega-3 fatty acids and antioxidants.
- Almonds: the almonds should be finely chopped, but not completely ground. The little chunks of almond add texture to the delicate cookies. I love using a food processor to prep the almonds, pulsing them until they're finely chopped into small pieces. Some almond flour will naturally form during the chopping process, which adds richness to the dough. You can also finely chop them with a knife.
- Powdered sugar: the powdered sugar is used in two ways: mixed into the dough for sweetness, and then the cookies are rolled in it after baking for a beautiful, snowy finish. Powdered sugar typically contains a small amount of tapioca starch or cornstarch to prevent clumping, and both versions work well for this recipe. However, I prefer using powdered sugar with tapioca starch, as that's often how the organic products are made. Over the years, I've come to love this version for its slightly sweeter flavor and lack of a chalky aftertaste that can come with cornstarch-based sugars. I also find that it gives the cookies a slightly glossy finish when rolled, which adds a beautiful, festive touch. In terms of texture, the cookies may have a softer, more tender crumb since tapioca starch is a less potent thickening agent than cornstarch. But really, it's all about personal preference!
See recipe card for quantities.
Substitutions and Variations
- Use a different nut: you can substitute the almonds with a chopped nut of your choice. Walnut snowball cookies are a delicious option. Pecans and pistachios would also work well. If you prefer snowball cookies with no nuts, you can omit them altogether.
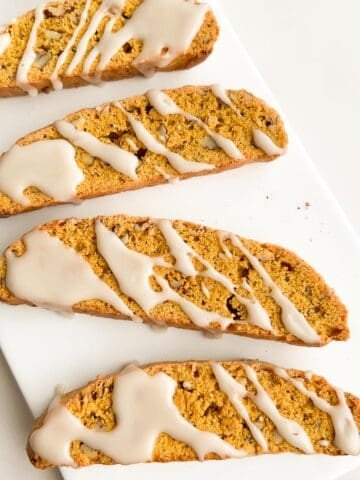
- Add a different garnish: instead of the traditional powdered sugar coating, you can drizzle a glaze on top. I love using the vanilla glaze in my pumpkin biscotti recipe or the citrus glaze I use for my blueberry lemon cookies.
- Enhance the almond flavor: for fellow almond lovers, you can add a bit of almond extract to enhance the flavor!
- Add spices: for a festive touch, you can add a bit of cinnamon, nutmeg, or cardamom to the dough. It pairs well with the sweet almond flavors.
Instructions
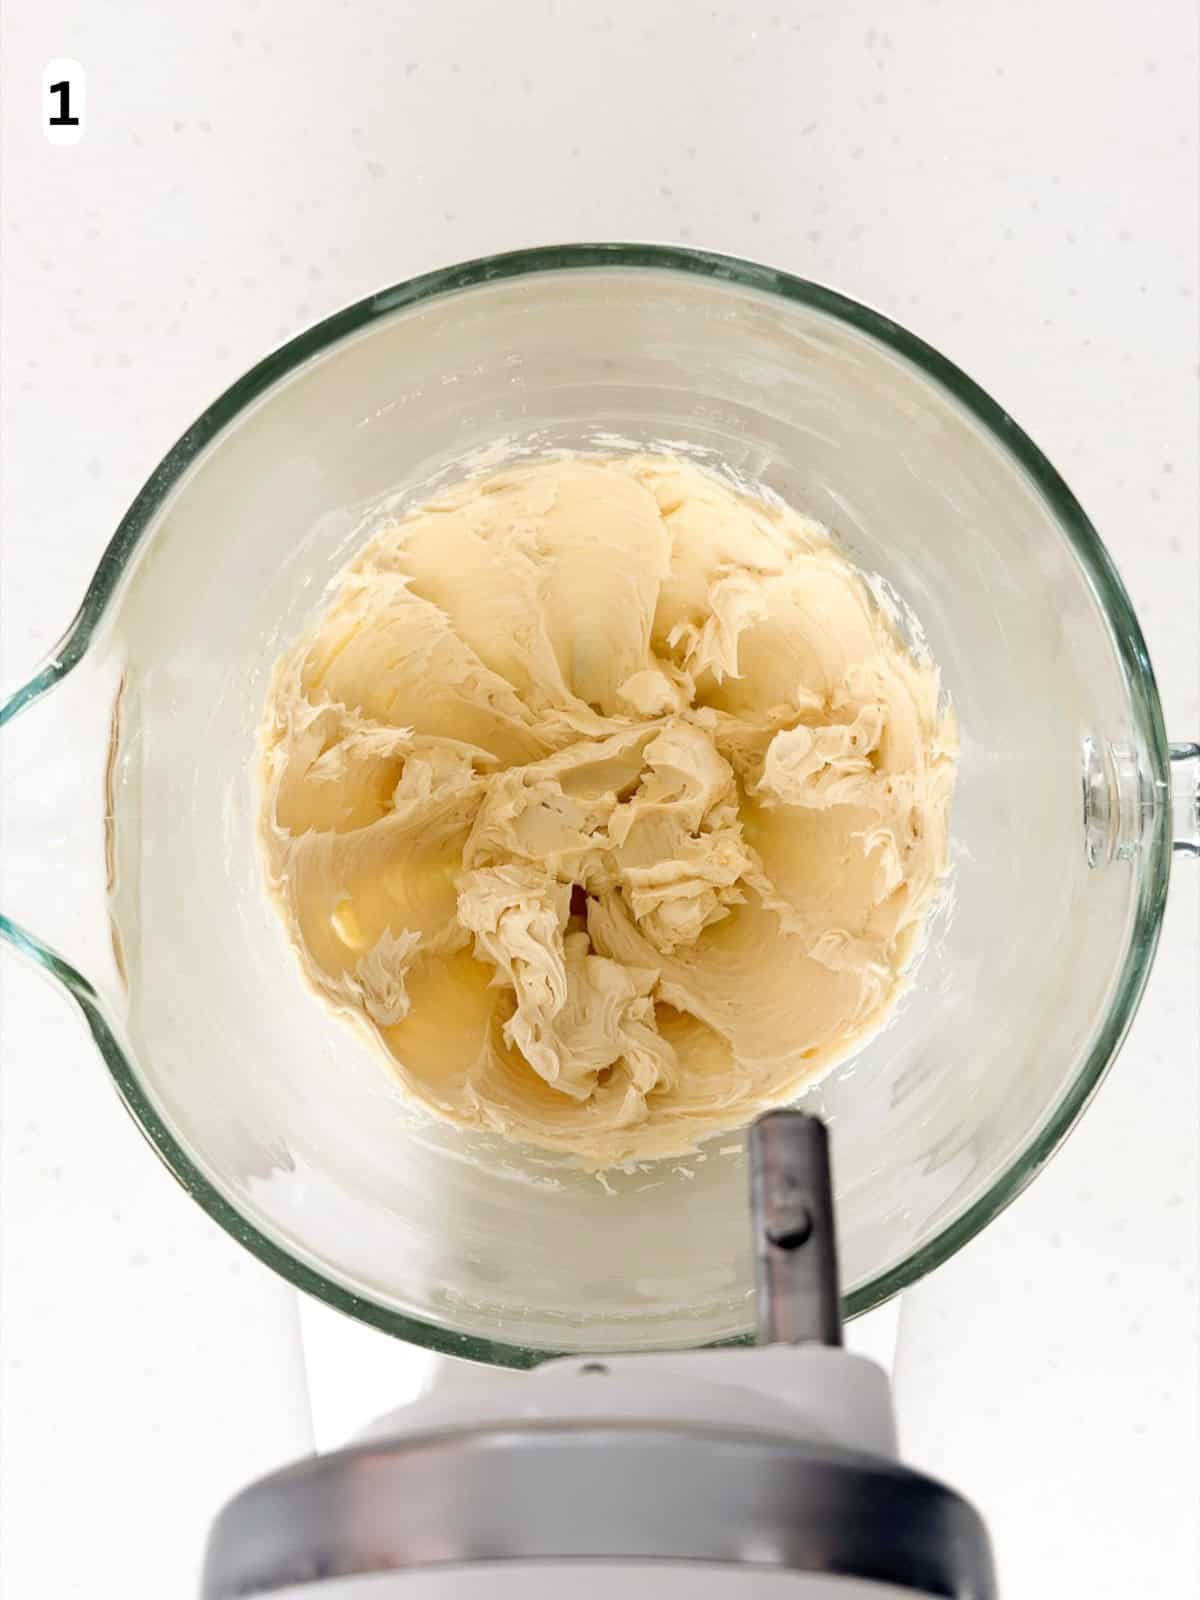
Step 1: using a handheld or stand mixer fitted with a paddle attachment, cream the butter and half of the powdered sugar on medium-high speed until light and fluffy, about 2 minutes. Then mix in the vanilla extract until just combined (image 1).
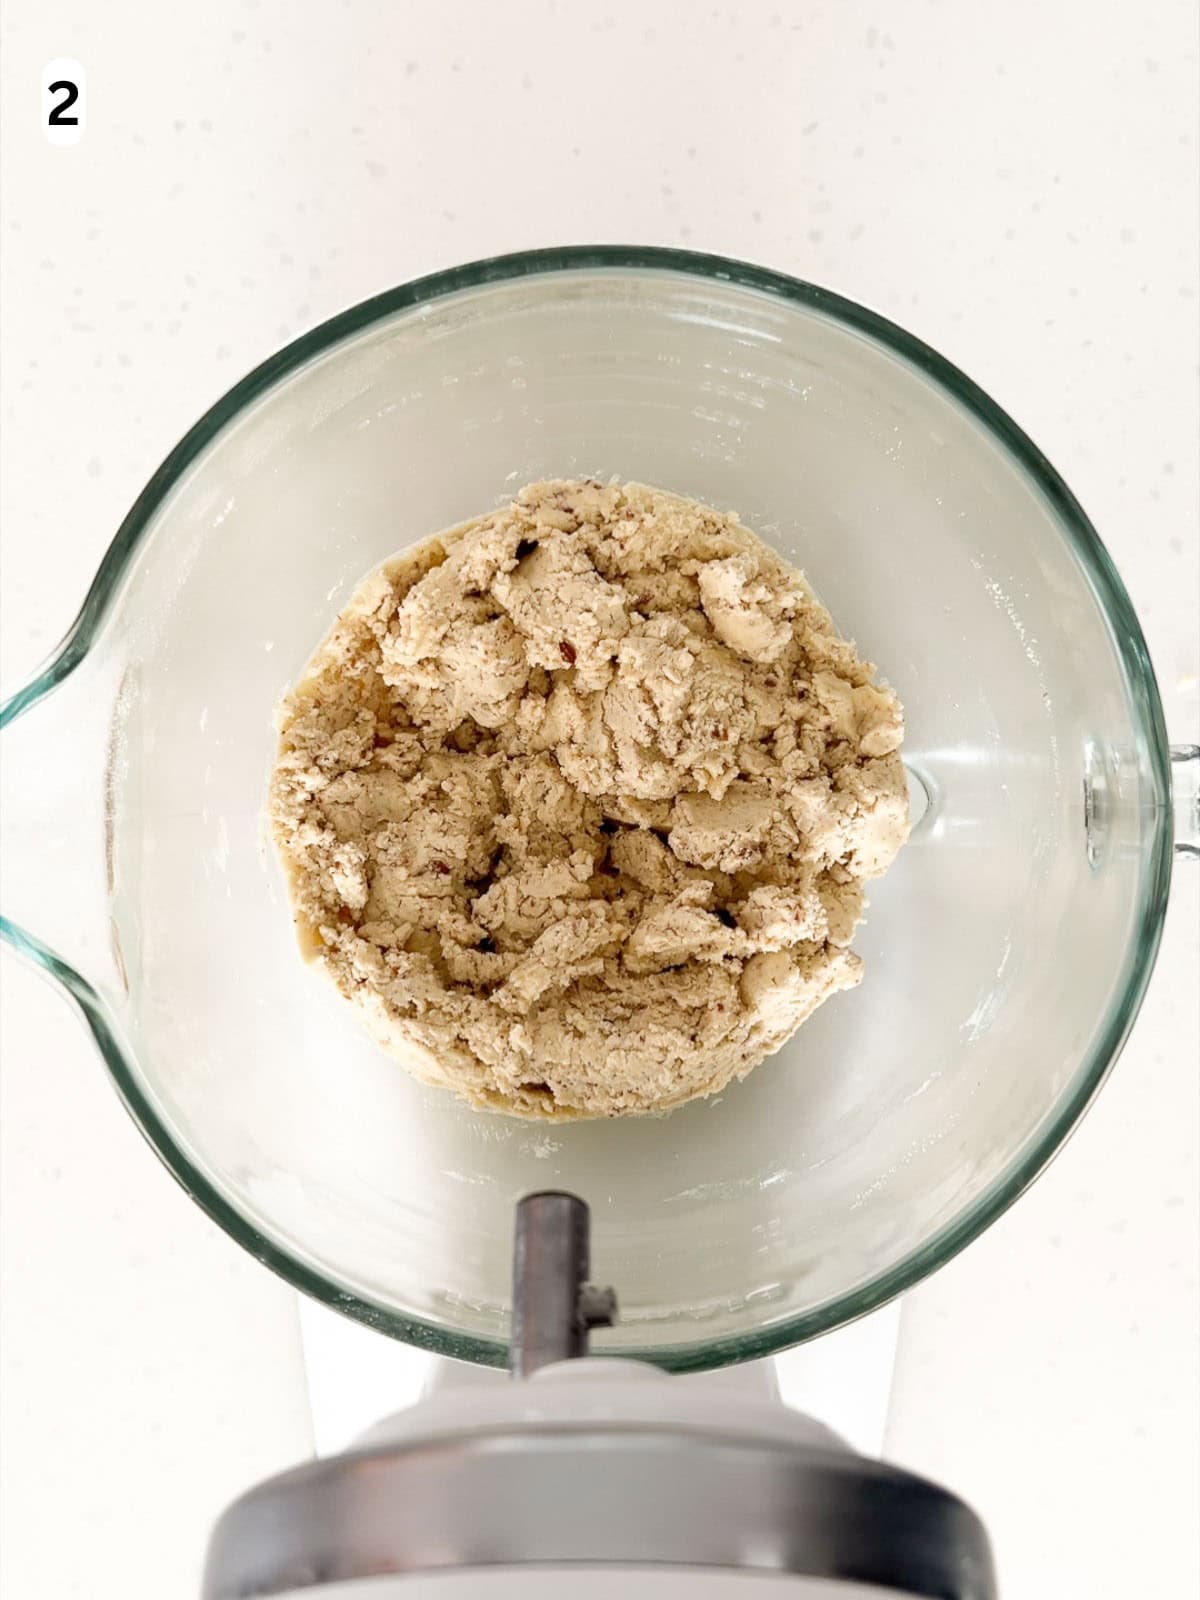
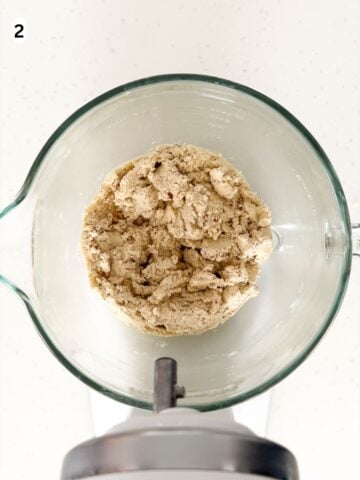
Step 2: with the mixer on low speed, gradually add the kosher salt and flour until just combined. Then stir in the chopped almonds until evenly distributed (image 2).

Step 3: cover the dough and chill in the refrigerator for 30 minutes. In the meantime, preheat the oven to 325°F (163°C). Line a baking sheet with parchment paper and set aside (image 3).
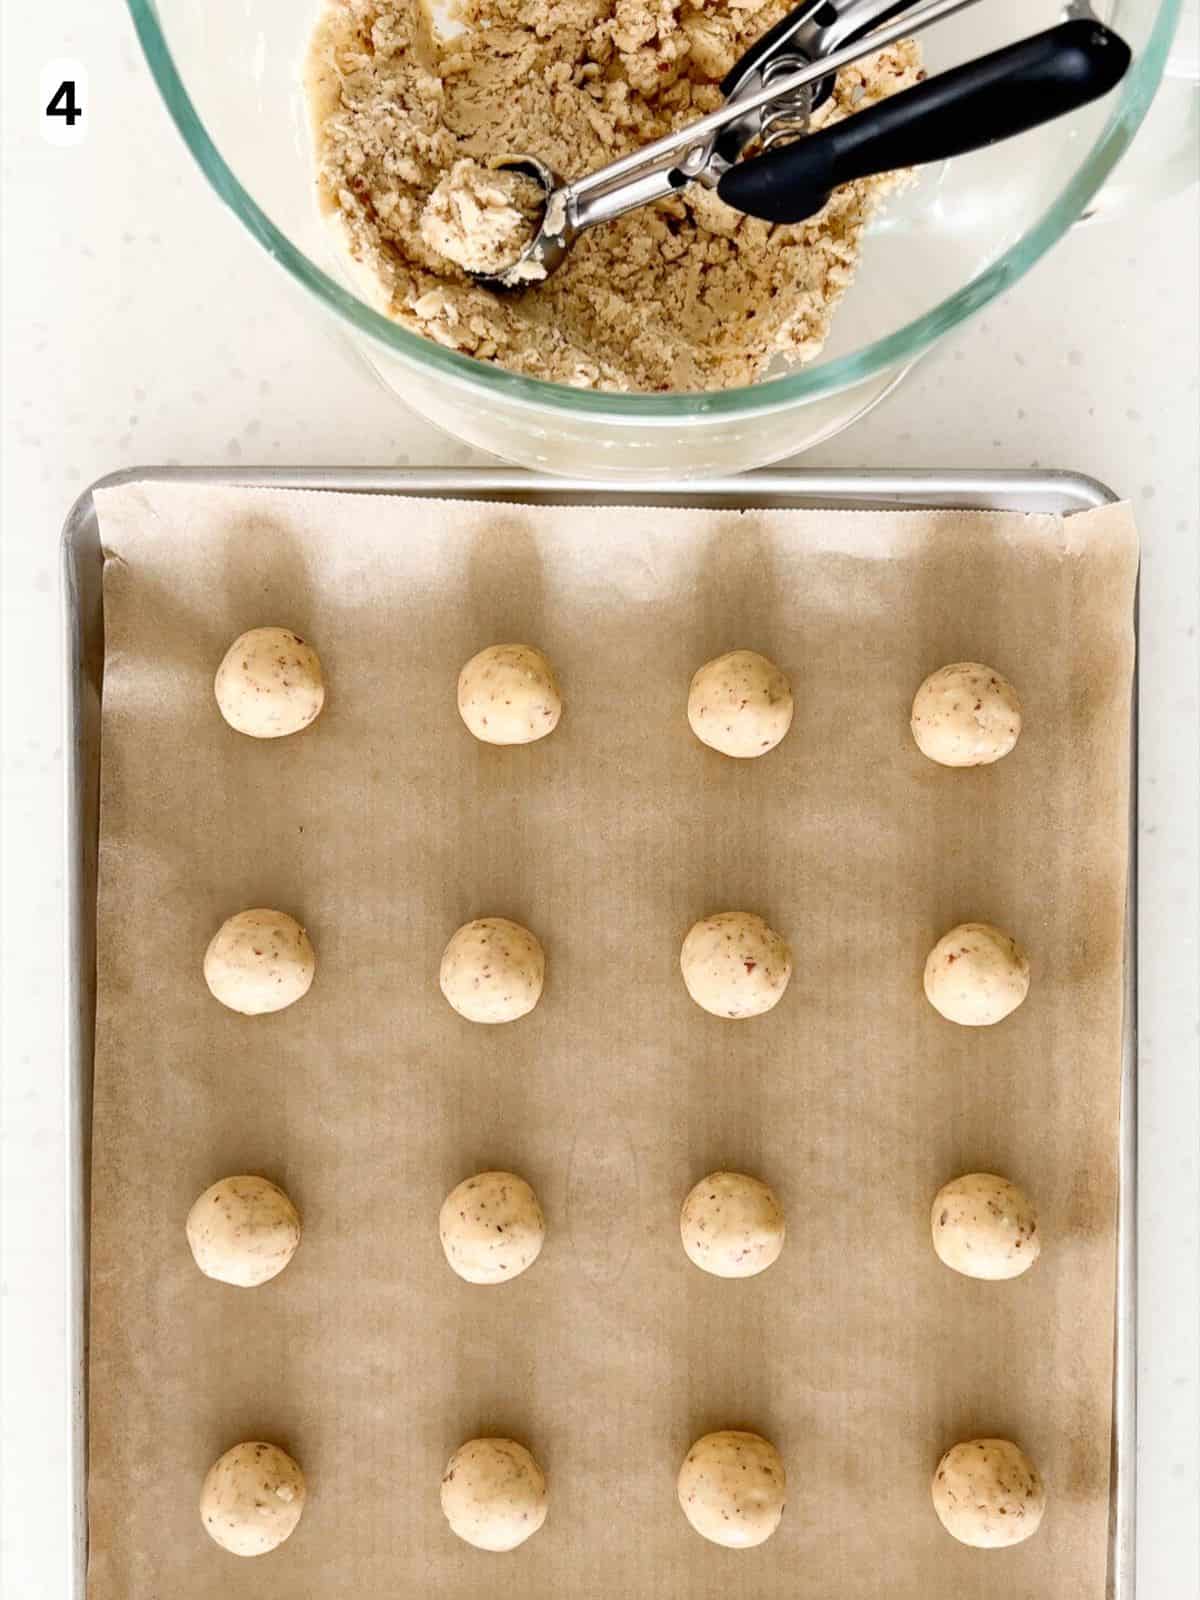
Step 4: after the dough is done chilling, use a tablespoon-sized cookie scooper or measuring spoon to scoop the dough. If using a food scale, each scoop should weigh about 20 grams. Roll the dough into 1-inch balls and place them on the prepared baking sheet. Space them at least 1-inch apart so they don't spread into each other as they bake (image 4).
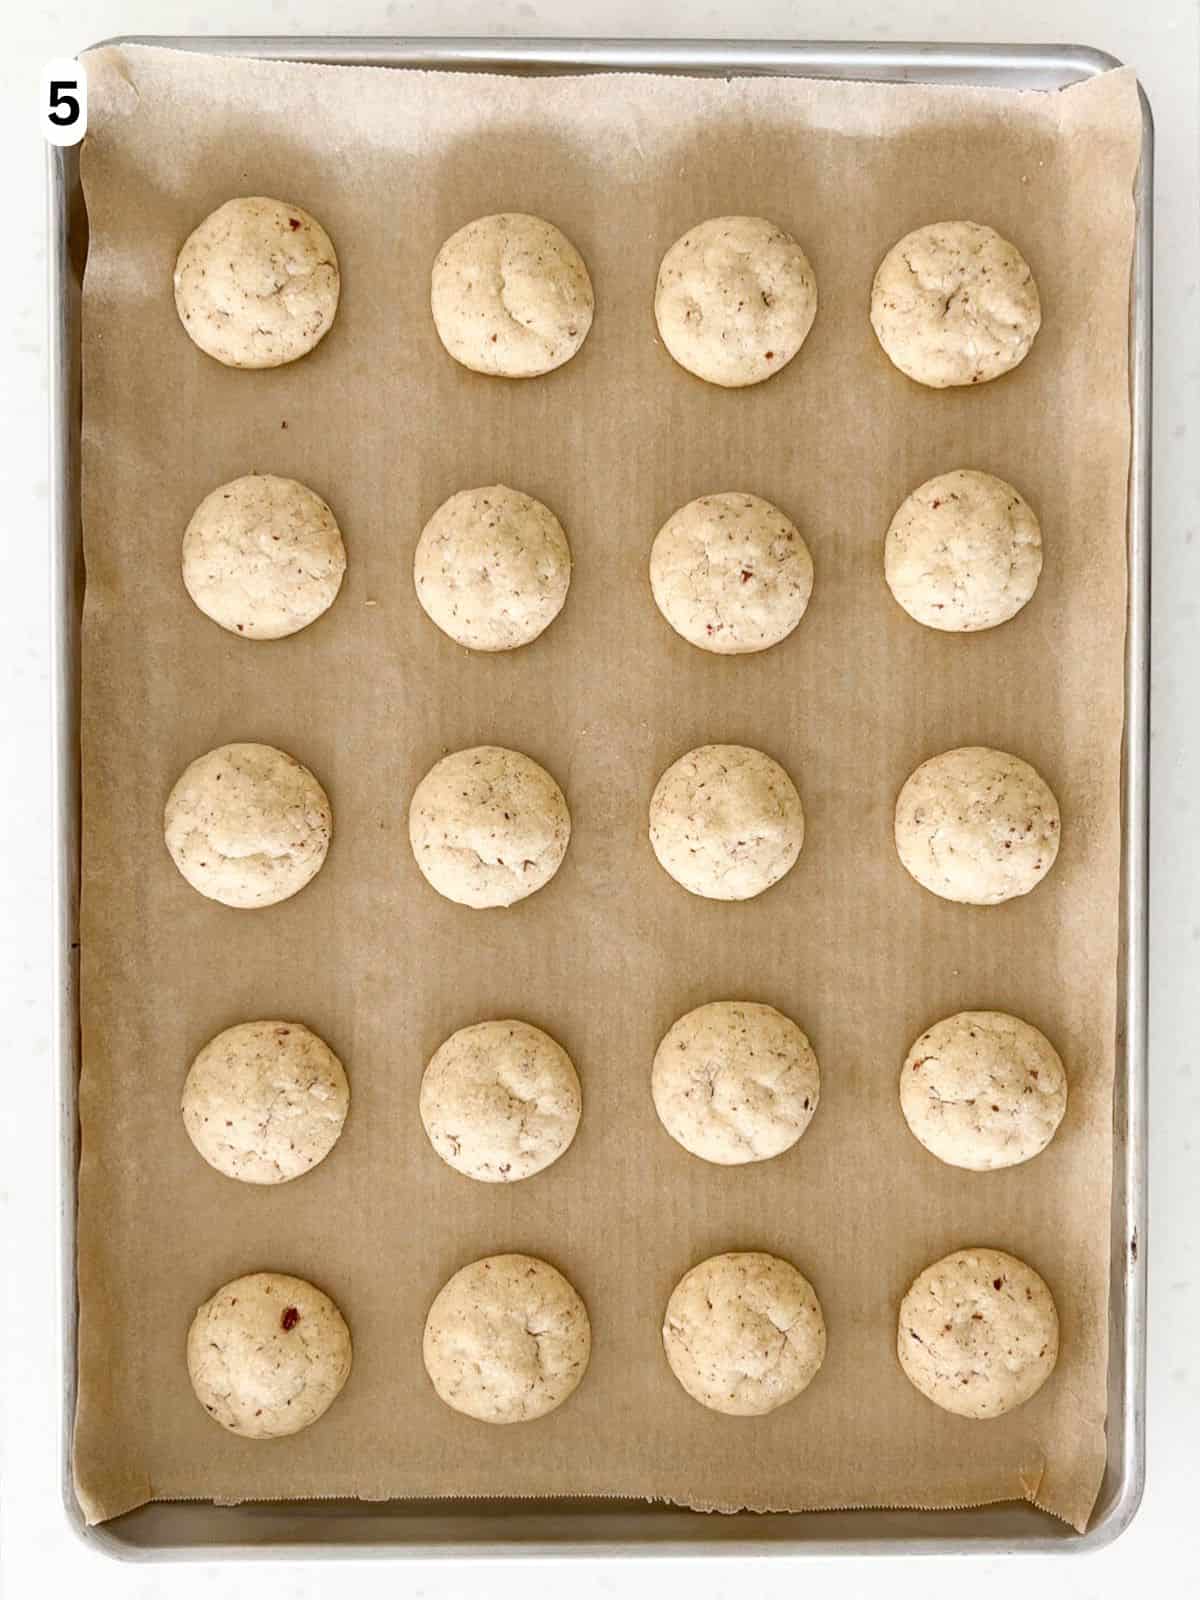
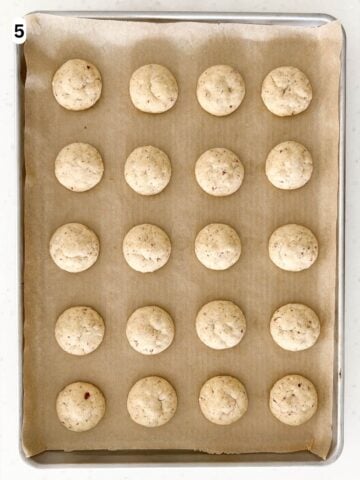
Step 5: bake the cookies on the middle rack of the oven for 12 to 15 minutes, or until lightly golden along the edges (image 5). Then remove the cookies from the oven and allow them to cool for 5 minutes before transferring them to a wire rack.
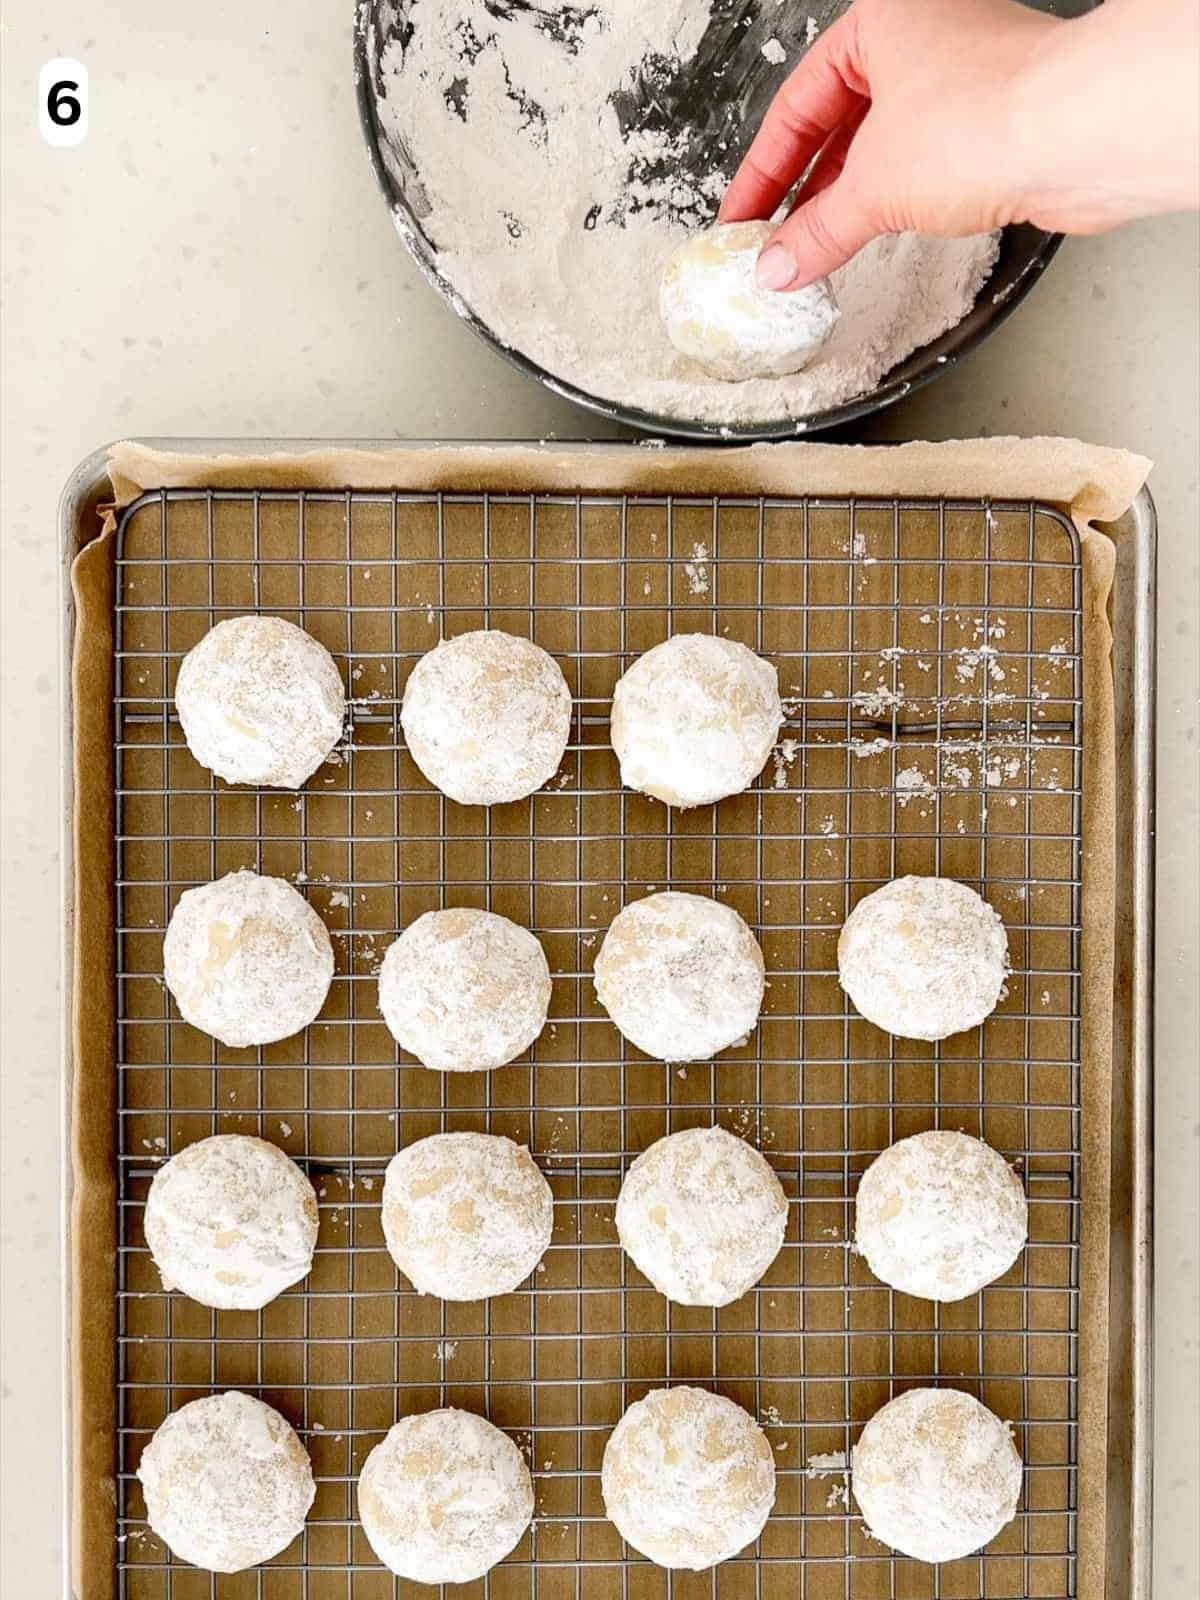
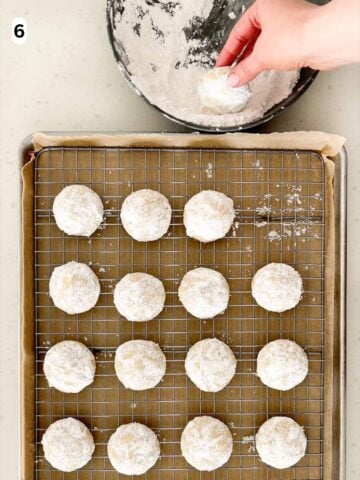
Step 6: transfer the remaining half of the powdered sugar to a shallow bowl. When the cookies are still a little warm to touch, toss them in the powdered sugar until generously coated on all sides (image 6). Serve and enjoy!
Storage & Make Ahead
- Storage: leftover Italian wedding cookies can be stored in an airtight container at room temperature for up to 1 week or in the freezer for up to 3 months. If storing stacked, place parchment between the layers to prevent sticking. Thaw frozen cookies overnight in the refrigerator before eating. To freshen them up, you can sift fresh powdered sugar on top before serving.
- Make ahead: you can make the dough up to 1 day ahead of time and store it covered in the refrigerator until you're ready to bake. If making the dough more than a day in advance, roll into balls and freeze them in a single layer on a baking sheet to maintain their shape. Once frozen, transfer the dough balls to an airtight container, with parchment between each layer to prevent sticking. The dough balls will store for up to 3 months in the freezer. When you're ready to bake, simply thaw them overnight in the refrigerator and bake as directed in the recipe.
For more helpful information about how to store leftovers safely, check out this USDA Leftovers and Food Safety guide.
Expert Tips
- Measure the flour properly for best results. You can either use a food scale to measure in grams, or use the spoon-and-level method with a measuring cup. Simply spoon the flour into the cup without packing it down, then level off the top with the back of a knife.
- Chill the dough for 30 minutes before baking to prevent the cookies from spreading. This helps them maintain the classic, domed shape that Italian wedding cookies are known for!
- For the perfect snowy finish, roll the cookies in powdered sugar while they are still slightly warm. This ensures the sugar adheres properly without melting.
FAQ
Chilling the dough for 30 minutes before baking is an essential step to prevent spreading. This helps the cookies to maintain their domed shape and gives the flavors time to meld, resulting in a more flavorful cookie. It's also important to not flatten the balls of dough onto the baking sheet before baking. However, if your cookies spread, don't worry! They will still be beautiful and delicious.
These cookies are often referred to as Italian wedding cookies because they are a traditional dessert served at Italian weddings and other celebrations. Also known as Italian butterball cookies and snowball cookies, their light, delicate texture and sweet flavor make them the perfect addition for any occasion. While their exact origin varies by region, these cookies have become a staple in Italian-American communities and are associated with celebrations and family gatherings. Growing up, my Italian grandmother brought a fresh batch to parties throughout the year!
Related
Looking for more cookie recipes? Try these favorites:
Pairing
These are my favorite desserts to serve alongside Italian wedding cookies:
Did you make this recipe? Leave a star rating and comment below! Subscribe to my newsletter for more recipes and tips straight to your inbox!
Recipe

Italian Wedding Cookies
Save This Recipe! 💌
Ingredients
- 1 cup unsalted butter (softened to room temperature)
- 2 cups powdered sugar (divided into two, 1-cup portions)
- 2 teaspoons vanilla extract
- ¼ teaspoon kosher salt
- 2 cups all-purpose flour
- 1 cup almonds (finely chopped)*
Instructions
- Cream the butter and sugar: using a handheld or stand mixer fitted with a paddle attachment, cream the butter and 1 cup of powdered sugar on medium-high speed until light and fluffy, about 2 minutes. Then mix in the vanilla extract until just combined.
- Add the dry ingredients: with the mixer on low speed, gradually add the salt and all-purpose flour until just combined. Then stir in the chopped almonds until evenly distibuted.
- Chill dough, preheat oven, prepare baking sheet: cover the dough and chill in the refrigerator for 30 minutes. This prevents the dough from spreading too much as it bakes. Preheat the oven to 325℉ (163℃). Line a baking sheet with parchment paper and set aside.
- Shape the cookies: after chilling, use a tablespoon-sized cookie scooper or measuring spoon to scoop the dough. If using a food scale, each scoop of dough should weigh about 20 grams. Roll the dough into 1-inch balls and place them on the prepared baking sheet, spacing them at least 1-inch apart to prevent spreading into each other as they bake.
- Bake: place the baking sheet on the middle rack of the oven and bake for about 12-15 minutes, or until the cookies are just beginning to turn golden at the edges. Then remove the cookies from the oven and allow them to cool on the baking sheet for 5 minutes before transferring them to a wire rack.
- Coat with powdered sugar: place the remaining cup of powdered sugar in a shallow bowl. When the cookies are still a little warm to touch, roll them in powdered sugar until generously coated on all sides. Serve and enjoy!
Video
Notes
- Almonds: they should be finely chopped but not completely ground. I use a food processor to chop them into small pieces. This naturally forms some almond flour during the chopping process, which adds richness to the dough. You can also finely chop them with a knife. The almonds can be substituted with a nut of your choice, like chopped walnuts, pecans, or pistachios. You can also omit them.
- Add a different garnish: instead of rolling the cookies in powdered sugar, you could top them with a sweet glaze. I love using the vanilla glaze in my pumpkin biscotti recipe or the citrus glaze I use for lemon blueberry cookies.
- Enhance the almond flavor: you can substitute the vanilla extract for almond extract, or use a teaspoon of each!
- Add spices: for a festive twist, add ½ teaspoon of ground cinnamon. Or you could add ¼ teaspoon of nutmeg or cardamon. Do so in Step 2 of the recipe when adding in the other dry ingredients.
- Storage: leftover cookies can be stored in an airtight container at room temperature for up to 1 week or in the freezer for up to 3 months. If storing stacked, place parchment paper between the layers to prevent sticking. Thaw frozen cookies in the refrigerator before enjoying. To freshen them up, dust a bit of fresh powdered sugar over the top before serving.
- Make ahead: the dough can be made a day in advance by following Steps 1 and 2 of the recipe. Cover the dough and store in the refrigerator. When ready to bake the cookies, proceed with the remainder of the recipe. If making more than a day ahead, roll the dough into balls and freeze them on the baking sheet so they maintain their shape. Then transfer them to an airtight container once frozen, placing parchment paper between each layer to prevent sticking. The dough will store for up to 3 months in the freezer. When ready to enjoy, thaw overnight in the refrigerator, then proceed with baking the cookies and rolling them in powdered sugar as directed in the recipe.
Nutrition
The provided nutrition and storage information is estimated. Accuracy is not guaranteed.
See our Disclaimer for more information.








Maria D'Errico says
I hope you enjoy my recipe! These Italian wedding cookies have been a cherished tradition in my family for generations, and I hope they become just as special to your family as they are to mine. They’re perfectly sweet, melt-in-your-mouth, and so simple to make! I’d love to hear how they turn out for you. Let me know in the comments!
stacey richard says
What would you suggest in place of almonds? I don't do nuts.
Maria D'Errico says
Hi Stacey,
Thanks so much for your question, it inspired me to test a nut-free version of the recipe! I'm happy to share that the cookies turned out delicious. They had a slightly softer texture since they didn't have the crunchiness of the nuts, but were still buttery and tender. I didn't use a substitute in this test, just followed the recipe as written but omitted the almonds. The batch made fewer cookies (27 instead of 36), and I added a few extra minutes to the bake time (though ovens may vary). I also used a bit less powdered sugar for rolling. I hope this helps, and if you try the cookies I'd love to hear what you think!