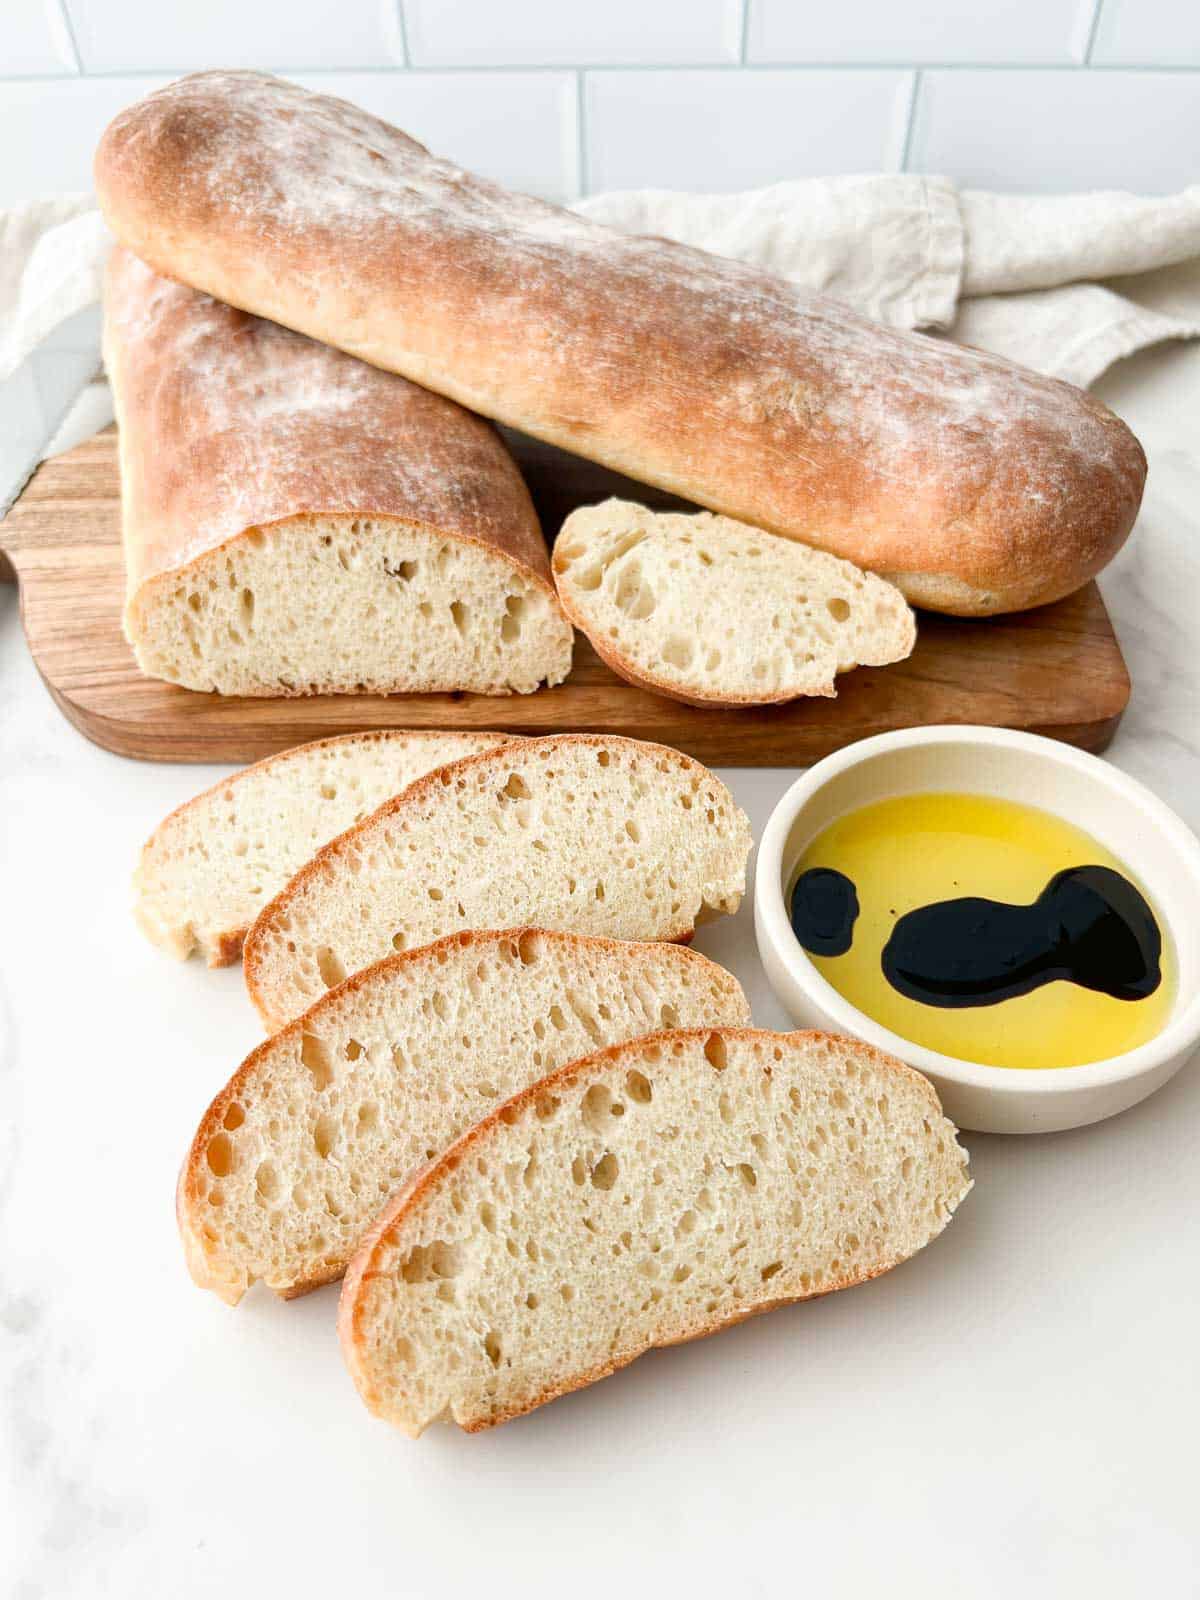
Italian baguettes have a crisp crust and a perfectly chewy texture. Known as "stirato" in Italian, the dough is stretched before baking, giving the bread a beautiful, rustic appearance. The bread is easy to bake and incredibly versatile, making it ideal for sandwiches, bruschetta, crostini, and more!
Save This Recipe! 💌
When it comes to bread recipes, I love ones that can be used for a variety of dishes. This is my go-to Italian bread recipe that's perfect for deli-style sandwiches, crostini, or simply dipped in olive oil and balsamic vinegar.
Italian baguettes are also known as "stirato," which means "stretched" in Italian. This is a fitting name, as the dough is stretched into long loaves before baking. Stretching develops the gluten strands, giving the bread it's characteristic chewy texture. It also creates surface tension that helps the dough to rise in the oven and develop a perfectly crisp crust.
Since stirato can be made with or without kneading, this recipe includes how to make the bread both ways. The main recipe instructions will detail the traditional kneading method and the notes in the recipe card will explain how to make the bread without kneading.
When deciding whether or not to knead, it's all about personal preference. I prefer to knead because it gives me control over the dough's consistency and fermentation, which develops a perfectly chewy and textured crumb. The bread is also ready much faster, since it doesn't need to ferment overnight. But not kneading is a great option if you're looking to simplify the recipe with less hands-on time. The bread will still be delicious, but will have a more open crumb structure.
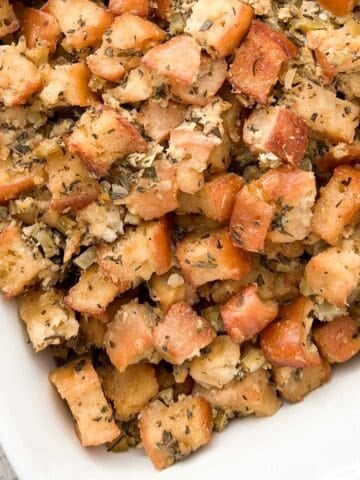
Serving this bread is the easiest part since it goes with everything! I use it to make burrata bruschetta because the bread toasts well and doesn't get soggy underneath the tomato basil topping. I also use it to make pangrattato, a coarse Italian breadcrumb with fresh herbs. I love to serve this bread alongside my burrata caprese and spinach arugula salad, using it to soak up the tasty dressing. For fellow carb lovers, this bread goes great with pasta, including pasta al pesto, bucatini pomodoro, and rigatoni al forno. And dipping it in this basil balsamic vinaigrette is life changing!
Jump to:
Ingredients

Ingredient Notes
- Bread flour: it contains a high protein content that develops the gluten and helps the bread to rise.
- Active dry yeast: this produces fermentation that gives the dough it's rise and complex flavor. I prefer to use products with "yeast" as the only ingredient. I find that yeast alone will give the bread an artisanal texture and taste. Although some yeast products add emulsifiers that prevent them from drying out, I have never had an issue using yeast without these additives.
- Warm water: the water temperature should be 110-115°F (43-46°C) when proofing the yeast. Water that is too hot will kill the yeast and water that is too cold may result in a slow or failed fermentation. I recommend using a quick read thermometer for best results. If you don't have one handy, you can use water that is slightly warmer than body temperature.
See recipe card for quantities.
Substitutions and Variations
- Use all purpose flour instead: you can substitute the bread flour with all purpose flour. When doing so, you may need to use more water than the recipe calls for. Start off using the same amount and add more when mixing the dough to reach the desired consistency. Since all purpose flour contains less protein, it may require less kneading. Also, it will produce a softer, less chewy bread.
- Use instant yeast: you can substitute the active dry yeast with instant. When doing so, proofing the yeast is optional. However, I always prefer to proof since it gives me peace of mind that the yeast is alive and will rise the dough. If you prefer to skip the proofing, you can mix the instant yeast directly into the dry ingredients.
- Sugar: you can substitute the cane sugar with granulated sugar.
Instructions

Step 1: add the cane sugar and warm water in a small bowl. Mix together until combined. Then add the yeast, gently stirring to combine. Let sit for 5 minutes until bubbles start to appear at the top of the water. This means the yeast is alive and will rise the dough.

Step 2: add the flour and salt to a large bowl. Whisk together until combined.

Step 3: make a small well in the center of the dry ingredients and pour in the yeast mixture. Mix together until a shaggy dough forms.

Step 4: lightly dust a work surface with flour and place the dough on top. Loosely shape the dough into a ball and knead for 10 to 15 minutes until it is smooth and elastic. To do so, press the heels of your hands into the dough in a firm forward motion. Fold the dough in half lengthwise and press into the dough again. Then rotate the dough 90 degrees and fold it in half again, this time widthwise. Repeat until it reaches the desired consistency.

Step 5: add the olive oil to a large bowl, swirling it around so all sides are greased. Then add the ball of dough and cover it with plastic wrap. Let rise in a warm place for 1 to 2 hours until it doubles in size.
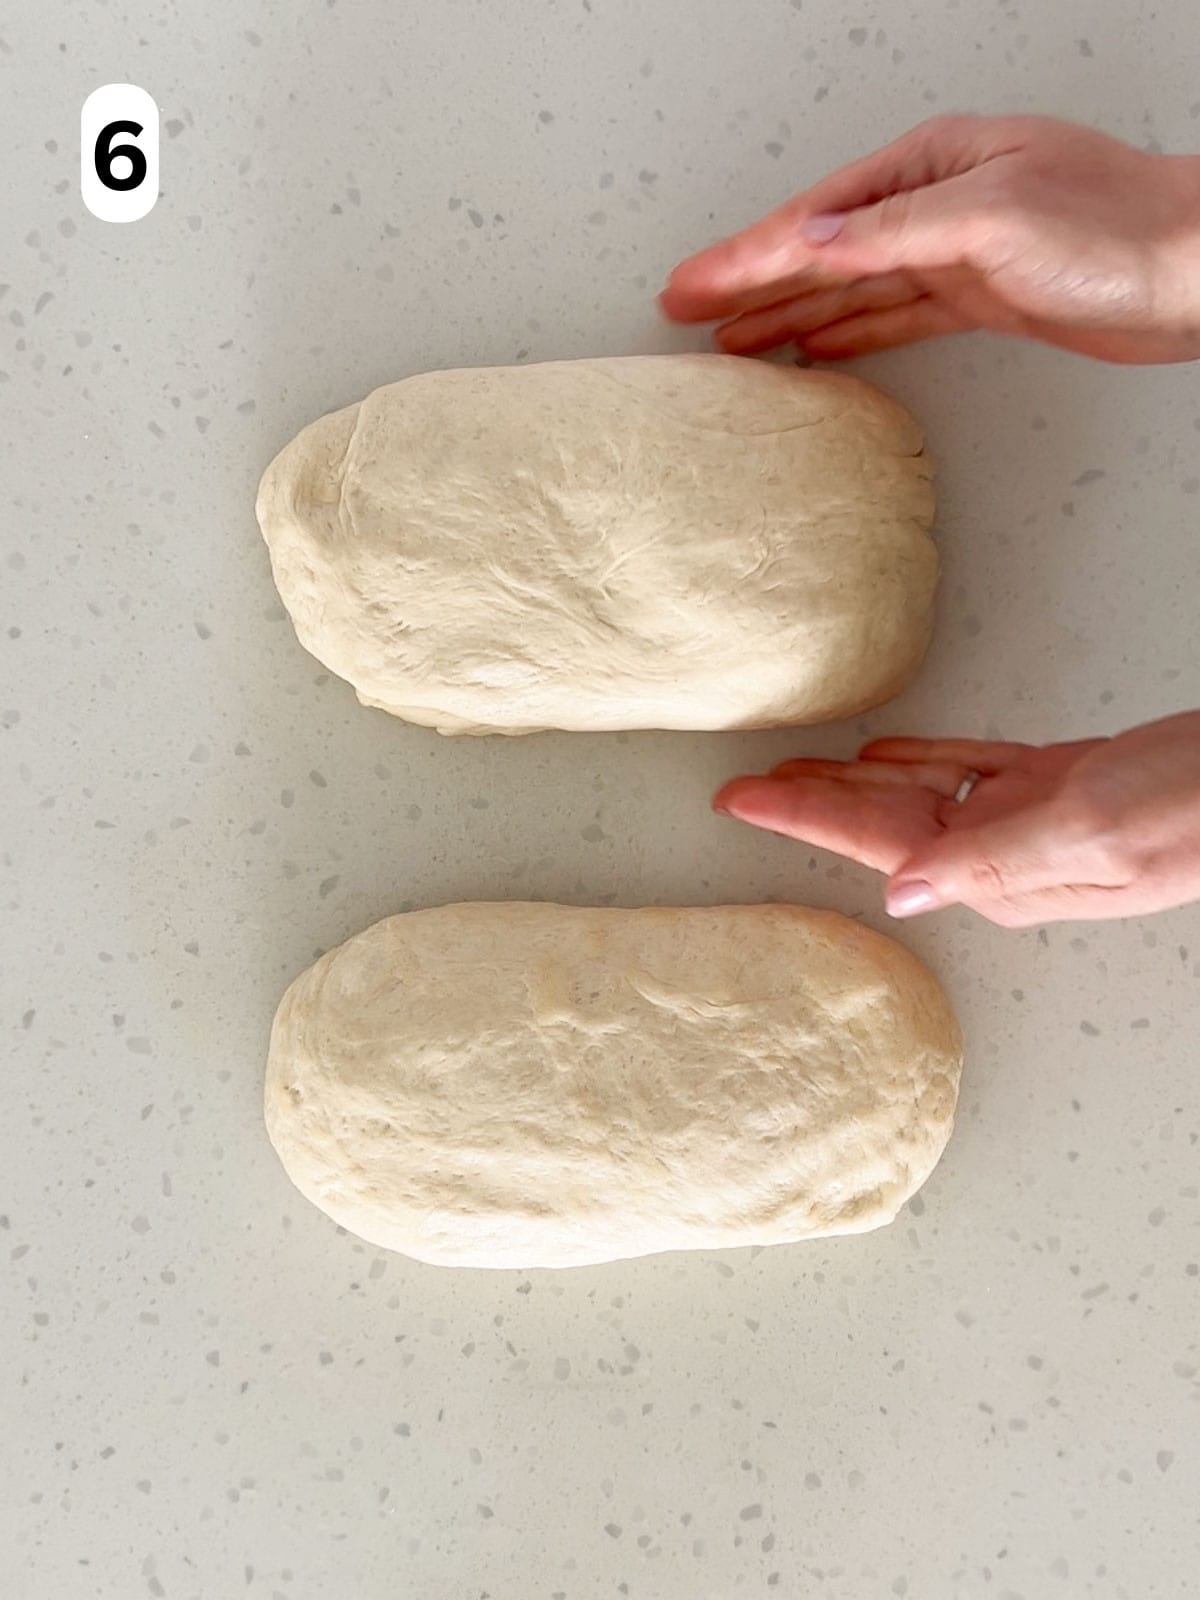
Step 6: after the dough is done rising, divide it into 2 equal portions. Shape each portion into an oval loaf measuring 4 inches wide by 7 inches long, slightly wider and shorter than a traditional baguette.

Step 7: place both loaves on a baking sheet lined with parchment paper. Cover loosely with plastic wrap and let proof for 30 to 60 minutes until the loaves have doubled in size. While proofing, preheat the oven to 425℉ (220℃).
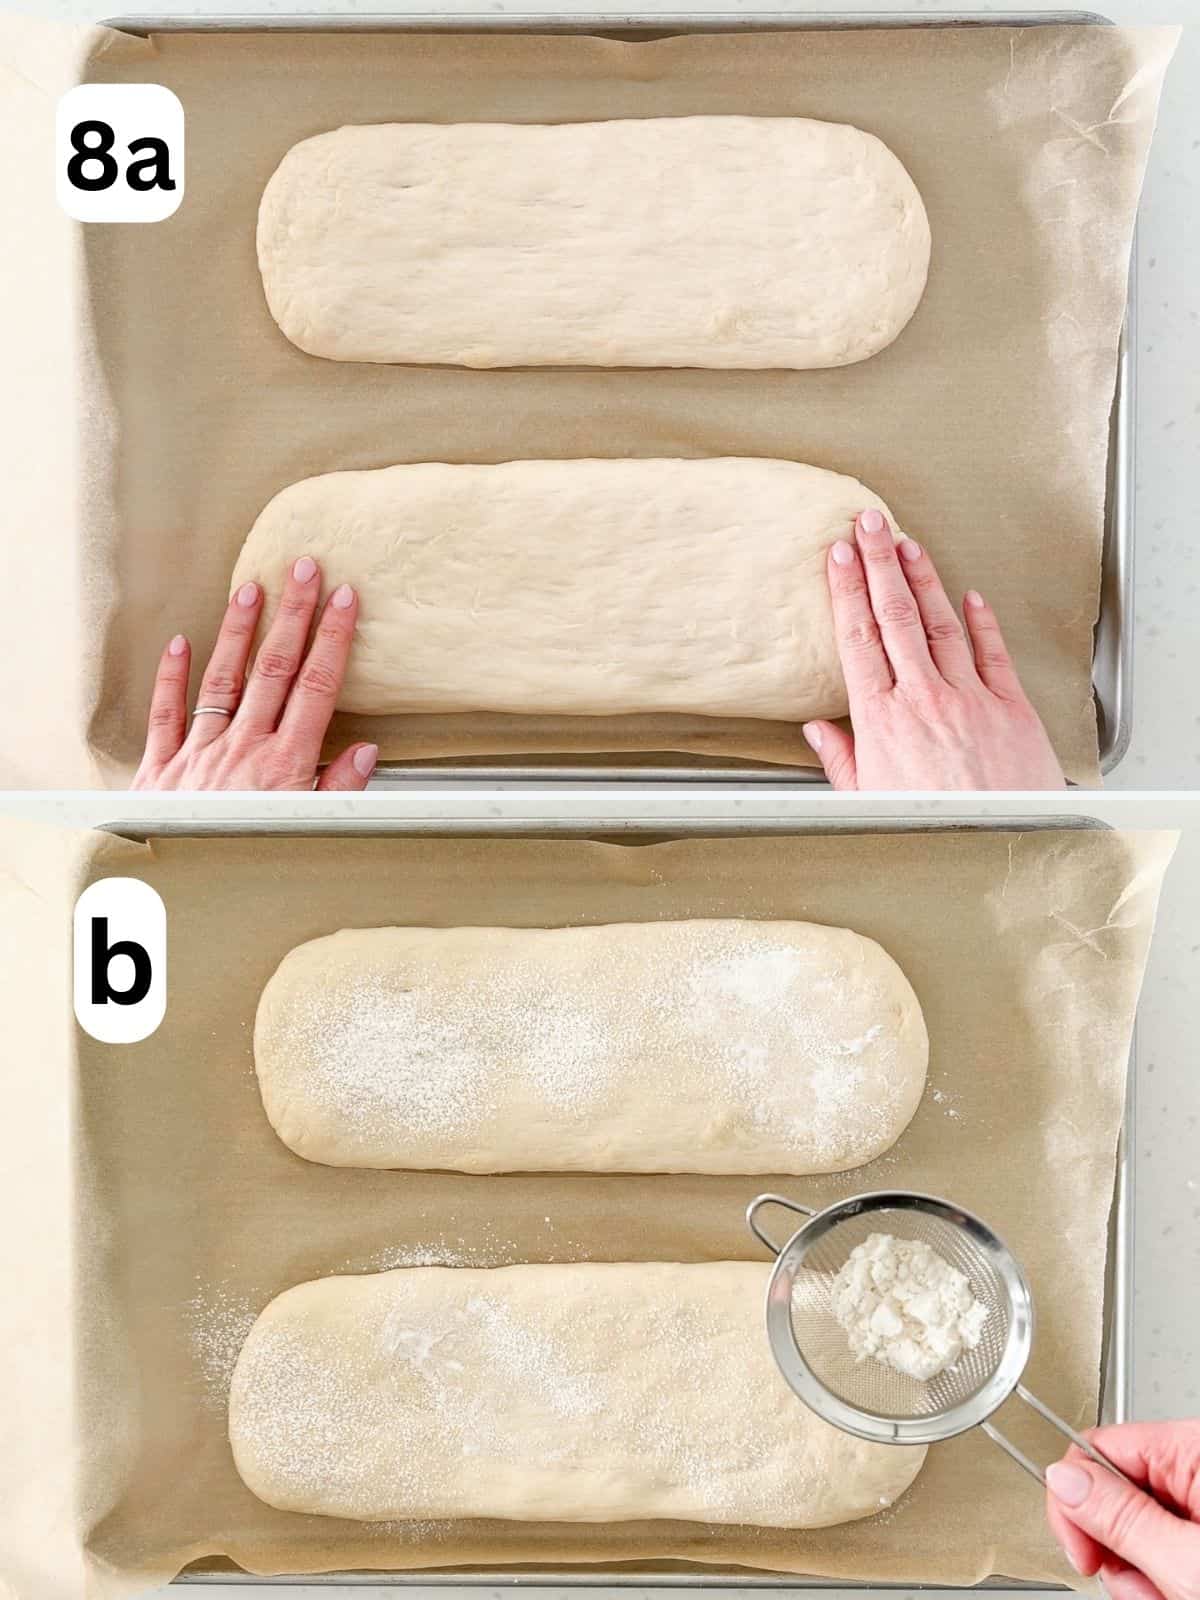
Step 8: gently stretch the loaves with your hands until they are 12 inches long, 4 inches wide, and 1 inch deep. Ensure they are at least 2 inches apart on the baking sheet so they don't spread into each other while baking. Then lightly dust the tops with flour.

Step 9: bake for 20 to 25 minutes until the loaves are golden brown. They should sound hollow when tapped.
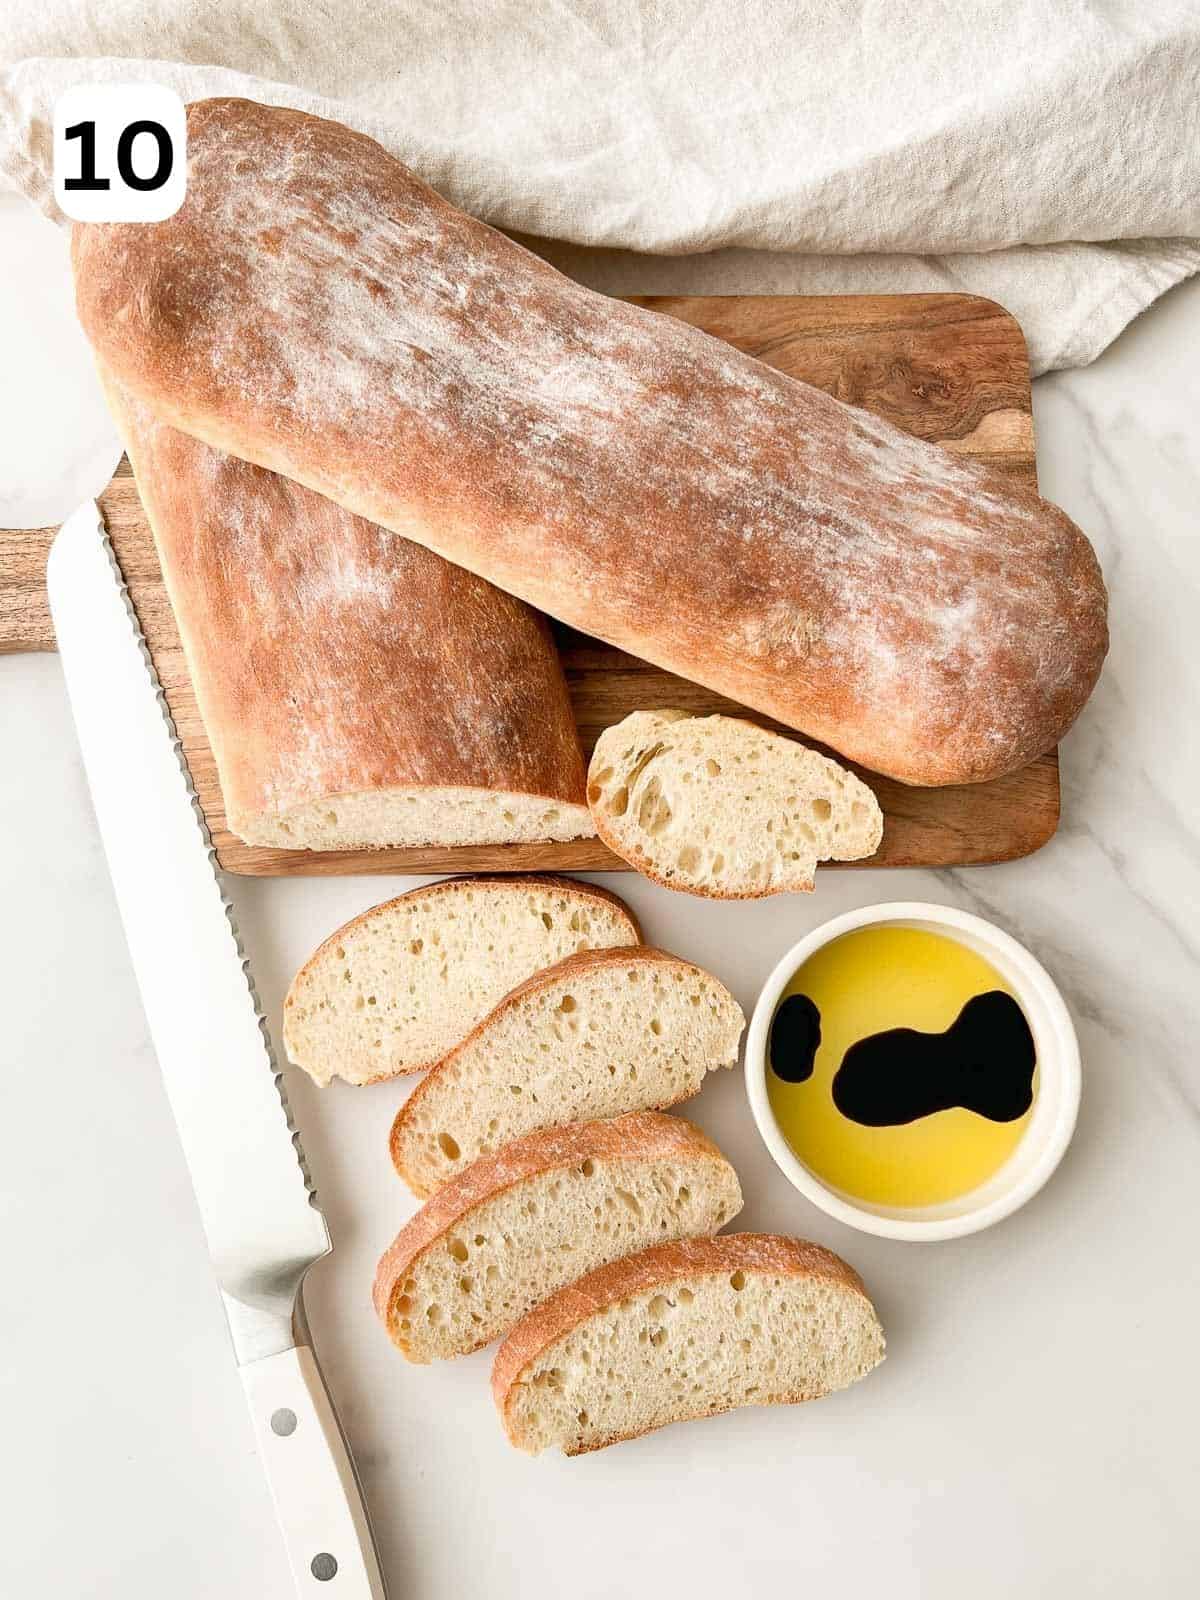
Step 10: transfer to a wire rack to cool completely. Shake off any loose flour before slicing and serving. Enjoy!
Storage
You can store this bread at room temperature for up to 2 to 3 days. I recommend storing it in a breathable container, such as a paper bag or bread box. I avoid sealing it in an airtight container as this may trap moisture and lead to mold growth.
For longer term storage, the bread can be frozen for up to 3 months. I like to wrap it in parchment paper and place it in a resealable freezer bag. When ready to enjoy, you can thaw it overnight in the refrigerator. It can be reheated in a 350°F (177°C) oven for 10 to 15 minutes until warm throughout.
For more information about how to store leftovers safely, check out this USDA Leftovers and Food Safety guide.
Expert tips
- Measure the flour precisely for best results. The most accurate way is to use a food scale and measure the flour in grams. If you don't have one handy, you can instead use the "spoon and level" method. To do so, lightly spoon the flour into a measuring cup. Then use the back of the knife to level off the top.
- When covering the dough as it rises, it's important to use a non-porous, tight fitting cover that prevents any air movement. This supports active fermentation by keeping the dough warm. It also prevents it from developing a skin that can make it difficult to shape. Some great options include a bowl cover, sheet tray, or plastic wrap.
FAQ
The dough can be kneaded by hand, using a stand mixer with a dough hook attachment, or not kneaded at all. This recipe provides guidance on how to make Italian baguettes using all three approaches. The main recipe instructions explain how to knead the dough by hand. I prefer this approach because it gives me greater control over it's consistency. The notes section of the recipe card details how to make the bread by kneading with a stand mixer or without kneading at all.
Steaming the oven is not necessary when making stirato because the dough contains enough moisture to create steam during the initial stages of baking. Stirato also has a thinner crust than other bread varieties, so it does not require as much steam to reach the desired consistency. Although some recipes call for steaming the oven, I prefer a simple approach that yields a perfectly crisp crust and chewy interior without the need to steam.
Related
Looking for other bread recipes? Try these favorites:
Pairing
These are my favorite dishes to serve with Italian baguettes:
Did you make this recipe? Leave a comment below and tag @little.nonni on Instagram!
Recipe

Italian Baguettes (Stirato)
Save This Recipe! 💌
Ingredients
- 1½ cups warm water (110-115℉ or 43-46℃)*
- 1 teaspoon cane sugar *
- 2¼ teaspoons active dry yeast (one ¼-ounce packet)*
- 4 cups bread flour (plus more for dusting)*
- 2 teaspoons kosher salt
- 2 teaspoons extra virgin olive oil
Instructions
- Proof the yeast: combine the cane sugar and warm water in a small bowl. Mix together until the sugar is dissolved. Then add the yeast, gently stirring to combine. Let sit for 5 minutes until bubbles start to appear at the top of the water. This bubbling means the yeast is alive and able to rise the dough.
- Whisk the dry ingredients: add the flour and salt in a large bowl. Whisk together until combined.
- Add the yeast mixture: make a small well in the middle of the dry ingredients. Pour the yeast mixture into the well. Use a spatula or wooden spoon to mix together until a shaggy dough forms.
- Knead the dough: lightly dust a work surface with flour and place the dough on top. Loosely shape the dough into a ball and knead for 10 to 15 minutes until it becomes smooth and elastic. To do so, press the heels of your hands into the dough in a firm, forward motion. Fold the dough in half lengthwise and press into the dough again. Then rotate the dough 90 degrees and fold it in half again, but this time widthwise. Repeat this until the dough reaches the desired consistency. Then form the dough into a ball.
- Rise the dough: add the olive oil to a large bowl and swirl it around so all sides are greased. Place the ball of dough in the greased bowl and cover it with plastic wrap. Let the dough rise in a warm place for 1 to 2 hours, until it doubles in size.
- Shape the dough into loaves: after the dough has risen, divide it into two equal portions. Shape each portion into an oval loaf about 4 inches wide by 7 inches long, slightly wider and shorter than a traditional baguette.
- Proof the dough and preheat the oven: place both loaves on a baking sheet lined with parchment paper. Cover them loosely with plastic wrap and let them rise for another 30 to 60 minutes, until they have doubled in size. While the dough proofs, preheat the oven to 425℉ (220℃).
- Stretch the loaves and dust with flour: after the loaves are done proofing, gently stretch them into longer, oval-shaped loaves about 12 inches long, 4 inches wide, and 1 inch deep. The loaves should be at least 2 inches apart on the baking sheet so they don't spread into each other as they bake. Then very lightly dust the tops with flour.
- Bake: place in the oven and bake for 20 to 25 minutes until the loaves are golden brown. They should sound hollow when tapped.
- Cool and serve: transfer the loaves to a wire rack and let them cool completely. Then shake off the loose flour before slicing and serving. Enjoy!
Video
Notes
- Warm water: for best results, use a quick read thermometer. Water that is too hot will kill the yeast and water that is too cool slows fermentation, resulting in a dough that doesn't rise. If you don't have a thermometer, you can use water that is slightly warmer than body temperature.
- Cane sugar: you can substitute this with the same amount of granulated sugar.
- Yeast: you can use the same amount of instant yeast instead. When doing so, Step 1 (proofing the yeast) is optional. I prefer to still proof, since it gives me peace of mind that the yeast is alive and will rise the dough. If you prefer to skip it, you can start at Step 2 and mix the instant yeast into the dry ingredients. You would then add the warm water and follow the rest of the recipe as written. You may need to use a warmer water temperature when using instant yeast, so be sure to follow the directions on the packet.
- Bread flour: you can substitute this with the same amount of all purpose flour. When doing so, you may need more water than the recipe states. Start with the same amount and add more as needed in Step 2 to reach a desired shaggy dough consistency. Since all purpose flour has less protein, it may require less kneading. It will yield a softer and less chewy bread.
- Knead with a stand mixer: you can knead the bread with a stand mixer equipped with a dough hook attachment instead of by hand. Mix on low speed until the dough comes together. Then increase to a medium speed and knead the dough for about 8 to 10 minutes until it becomes smooth, elastic, and pulls away from the sides of the bowl.
- No-Knead method: you can make the stirato without kneading if desired. Follow the recipe through step 3. Then place the dough in a bowl and cover with plastic wrap and let sit in the refrigerator for 12 to 18 hours until it has doubled in size and has a few bubbles on the surface. The dough will be very sticky. Let it come up to room temperature before transfering it onto a well-floured work surface. Then proceed to Step 6, following the rest of the recipe as written.
- Storage: the bread can be stored at room temperature for 2 to 3 days in a breathable container, such as a paper bag or bread box. It can be frozen for up to 3 months. I like to wrap it in parchment paper and place it in a resealable freezer bag to keep it fresh. When ready to enjoy, thaw it in the refrigerator overnight. It can be reheated in a 350°F (177°C) oven for 10 to 15 minutes until warm throughout.
Nutrition
The provided nutrition and storage information is estimated. Accuracy is not guaranteed.
See our Disclaimer for more information.


rd says
I am a committed bread-o-phile, and I am in love with this recipe! I never thought I could make the delicious Italian bread that I love, at home, but now I can. This bread recipe is straightforward and simple to follow. These amazing loaves are perfect for sandwiches, crostini, breakfast toast…the sky’s the limit. I think my favorite way to eat this delicious bread is fresh from the oven with butter. If you love bread as much as I do, you HAVE to try this recipe - you won’t regret it!
Maria D'Errico says
I'm glad you love this bread! I'm guilty myself of eating the bread fresh from the oven with butter. So good!